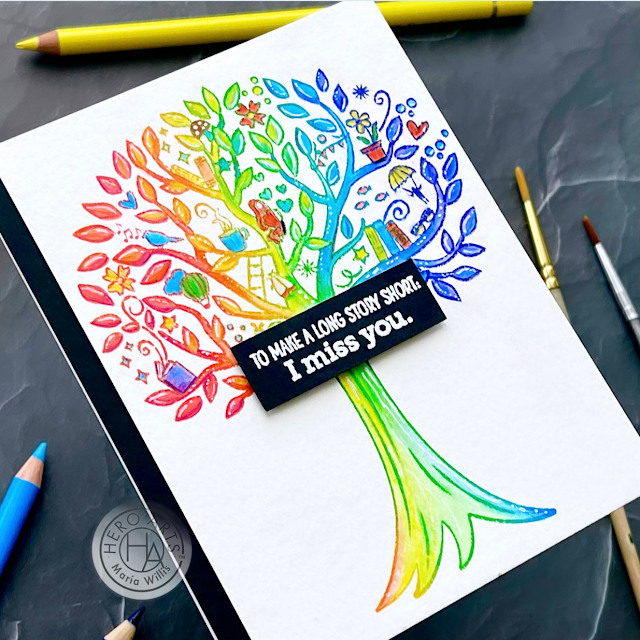
Hello everybody! Can you believe that the Hero Arts Winter Catalog is finally here?! And, it's absolutely amazing too! I've got eight cards to share with you today but before we dive I want you to know that today's post is part of an awesome blog hop with a ton of inspiration sharing the new holiday products. Head down to the bottom of my post to hop along with us. We also have some really great GIVEAWAYS today so make sure to check the bottom of my post and get yourself entered to win!
In other big news... you can now register for the next Hero Arts Stamp-Along!!! The last one was so much fun and this one packs an even bigger punch because for the same $25 fee you will now get two days of instruction and ten different classes! You can sign up now to join the fun!
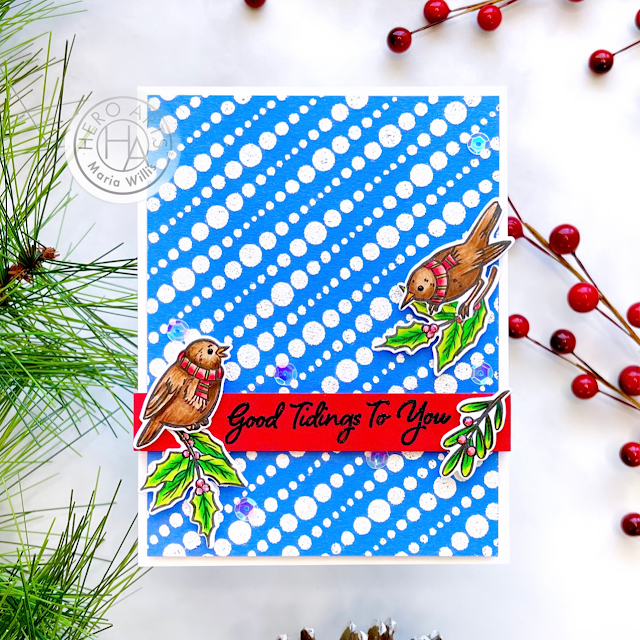
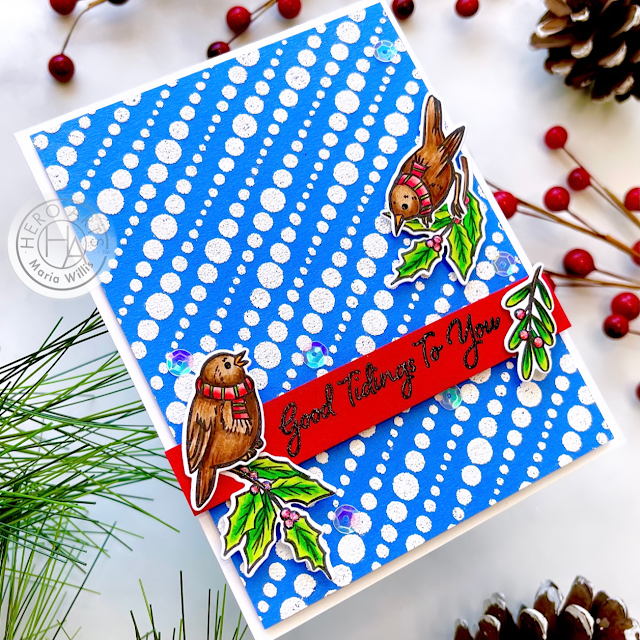
And now on to my cards! For my first card I heat embossed the String Dots Bold Prints stamp in white puff embossing powder onto Lapis cardstock.
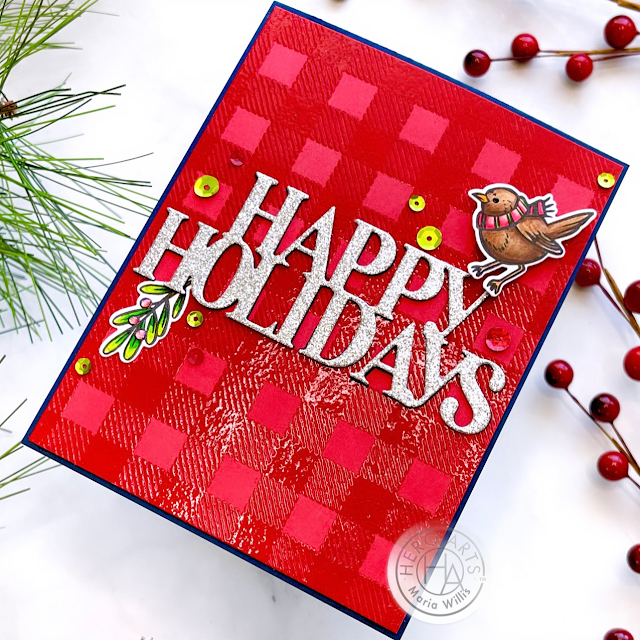
I stamped the birds and some branches from the
Christmas Robins stamp set and colored them with my copics before cutting them out with the coordinating dies.
I heat embossed my sentiment using Onyx Pigment ink and clear embossing powder onto Cherry cardstock. I added that to my background with foam tape and then layered my colored images on top. The finishing touch was to add some sequins from the Winter Sequins mix.
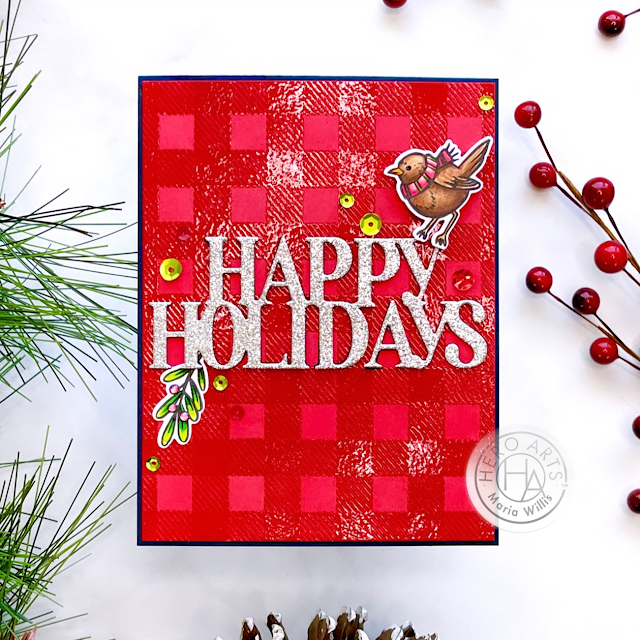
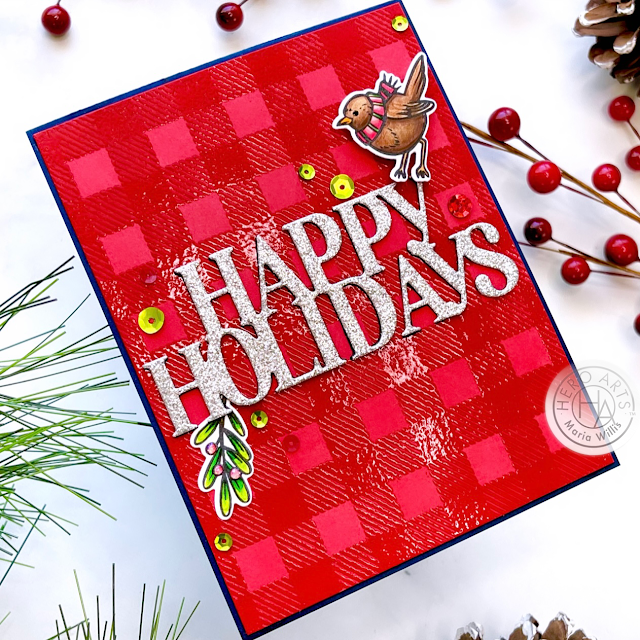
Next, I colored and cut images from the
Christmas Robins set.
I die cut the sentiment from the
Christmas Holidays Stamp & Cut XL in silver glitter paper. Then I added my images and some green sequins.
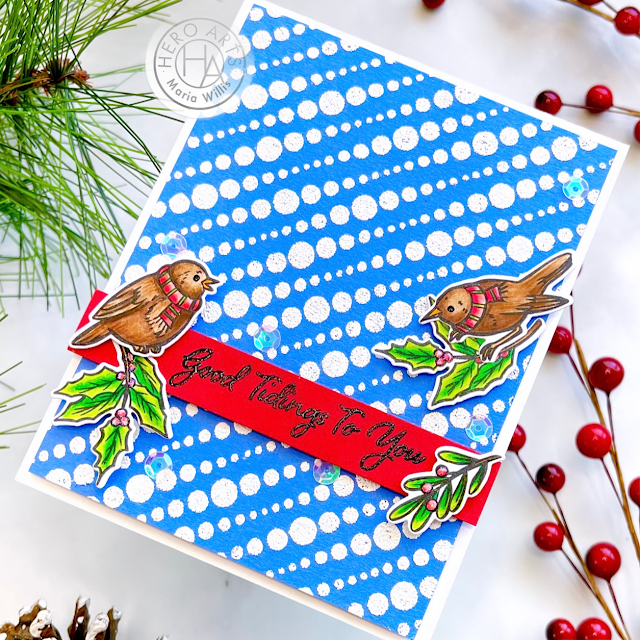
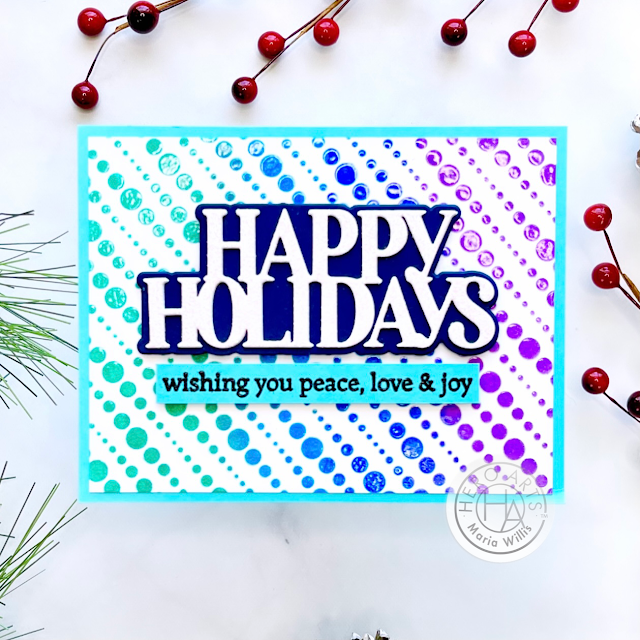
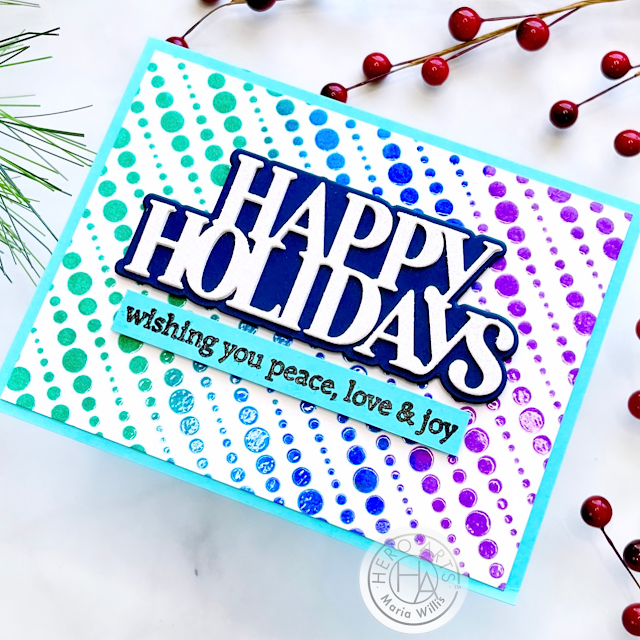
For my next card I put the
String Dots Bold Prints stamp in my misti so that I could stamp repeatedly. I inked it up with Aegean, Summer Sky, and Orchid inks and stamped my background. I left the background in my misti, added Versamark ink and Clear Embossing Powder and then heat set it for some great shine.
I cut and stamped my sentiment using the
Christmas Holidays Stamp & Cut XL. I love that you can use the die cut sentiments alone or with the shadow die cut background (Nautical cardstock).
My background is mounted on Paradise cardstock which matches the stamped sentiment strip.
My next card was made using the
Graphic Lines Holiday stamp and coordinating die set. This is a bold, graphic set that I can see being really fun for holiday art journaling as well as for handwritten/ hand decorated holiday cards.
I heat embossed the stars from the set in gold glitter embossing powder onto Cherry cardstock. Then I sprayed it with Ranger spray in Antique Bronze and splattered it with White Glimmer Metallic ink. I stamped and die cut the tree, star and sentiment. I added my handwritten words to the tree to make it a little more meaningful to me.
I added my background onto some Pitch Black cardstock before adhering my other pieces with foam tape.
This next card was so easy to put together! I started out by stamping a piece of Cherry cardstock with the
Buffalo Check Bold Prints stamp in Raspberry Jam ink.
I saved the letters for my next card and used Precision glue to adhered the gold die cut to my background. It was so quick and easy to put together and is so bold and eyecatching!
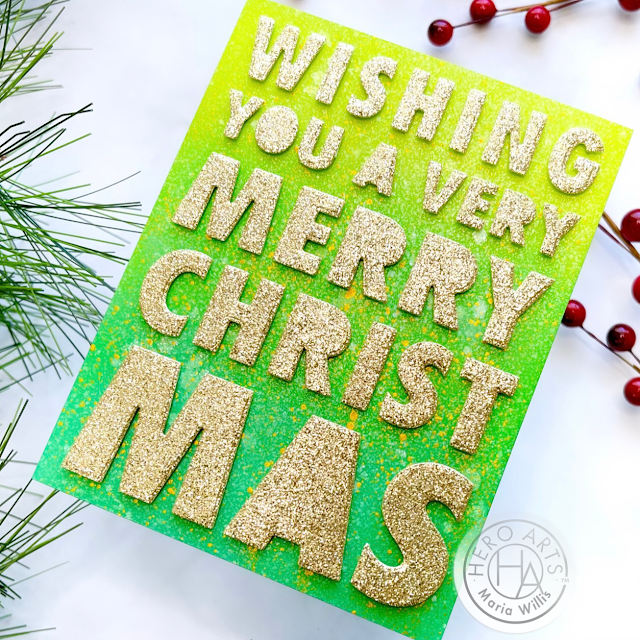
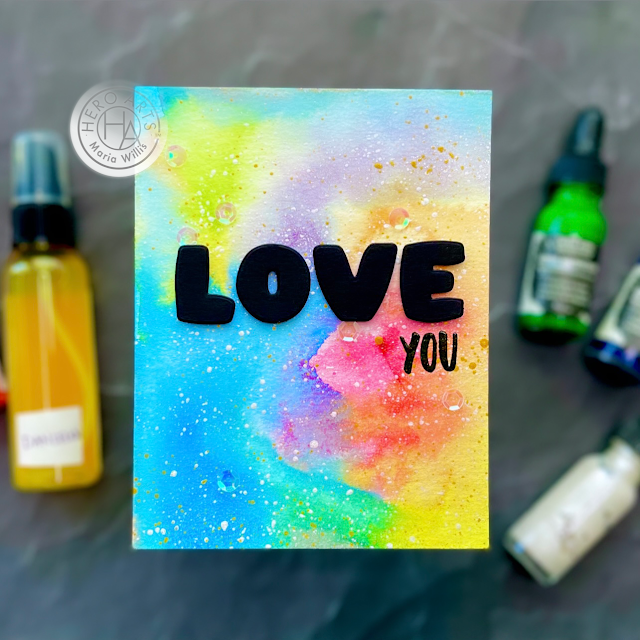
My next card started out by inkblending Key Lime Fizz, Green Apple and Blue Raspberry inks on white cardstock.
I sprayed the background with White Iridescent Shimmer Mist and then splattered it with Gold Glimmer Metallic ink.
Finally, I added the
die cut letters that were left over from my last card. To line them up perfectly I added tape to the front of the die and stuck the letters back into the
die. They stuck to the tap and stayed in place allowing me to add foam tape to the backs of all of the letters. Then, I flipped the die over, aligned it with my background and pressed down to adhere the letters in the perfect position.
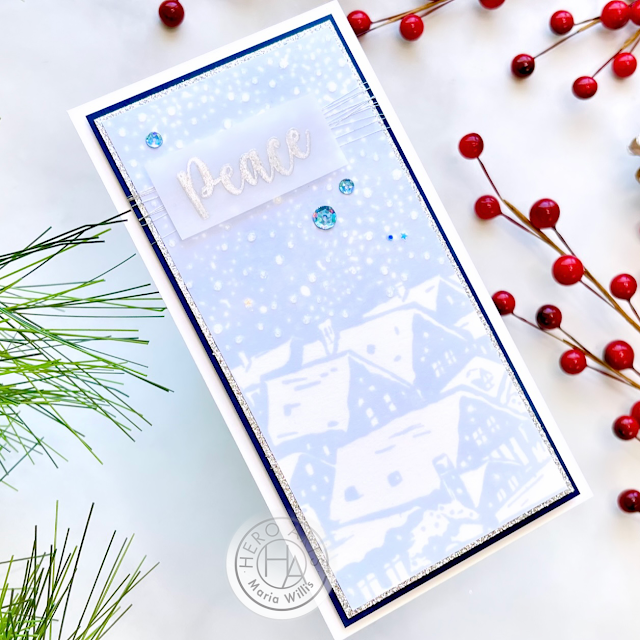
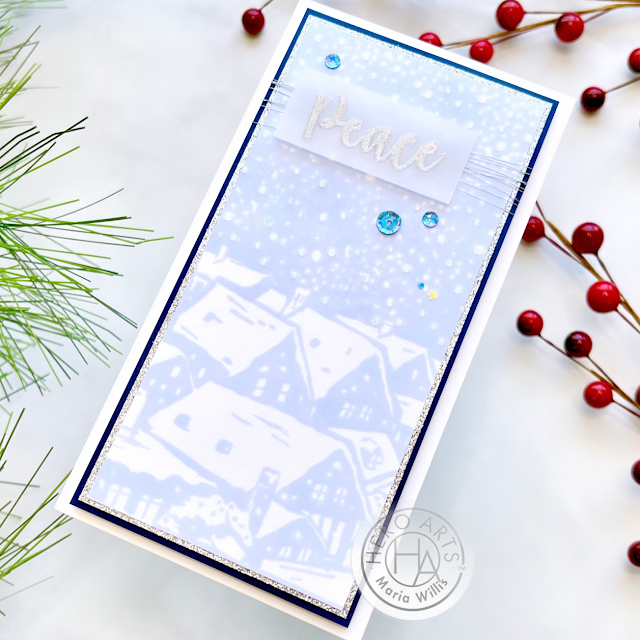
This next card is a mini slimline card. I stamped the
Snowy Rooftops Bold Print in Soft Sky ink and cut it down.
I heat embossed the sentiment from the
Christmas Rose stamp in silver onto vellum. I wrapped silver thread around my image piece and layered the sentiment on top.
I added layers of silver glitter and Nautical cardstock before adhering the whole shebang to the white card base with some sequins.
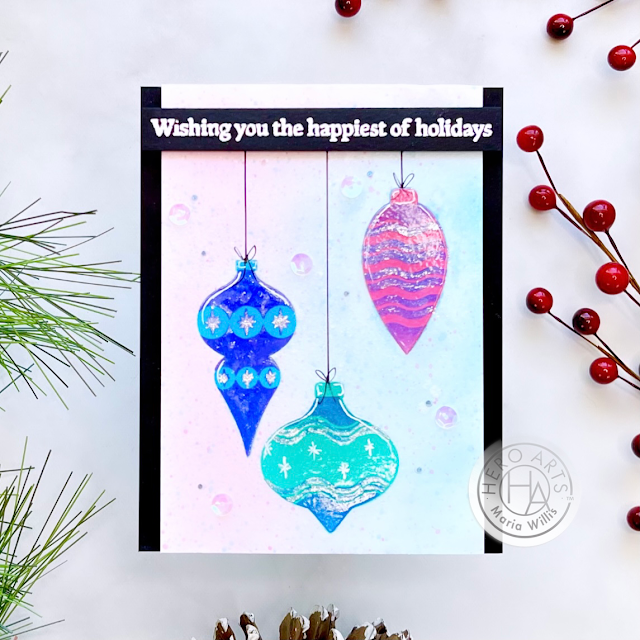
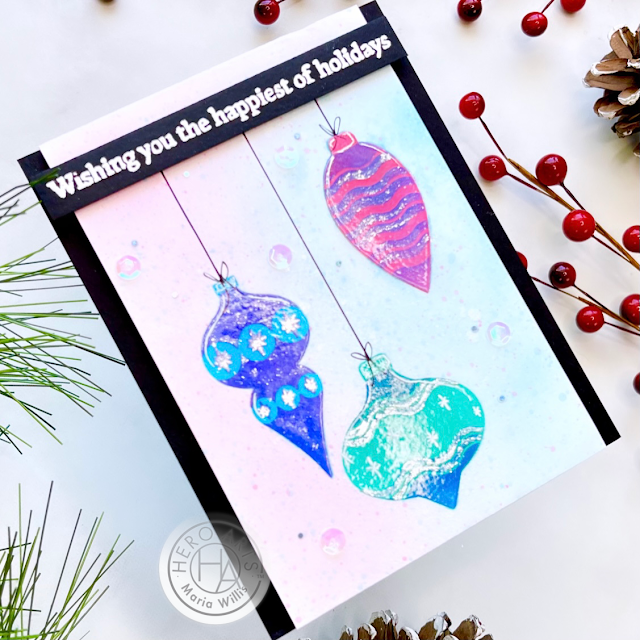
My next card was made entirely by using one single stencil... the
Layering Ornaments & Trimmings Stencil. This stencil does coordinate with a stamp and die but it can be fun to see what you can create using only the stencil.
I used the stencil to add layers of color and detail to the card before heat embossing each ornament with clear embossing powder.
I inkblended the background, splattered it, added sequins and glued it to a black cardbase. The final touch was to add some extra detail with a white gel pen.
And that does it for today you guys! I hope you'll enter the giveaway below and keep on hopping along with us.
Have an awesome day!
Maria
GIVEAWAY:Hero Arts will give away THREE $50 gift cards, drawn from the comments left across the hop. Enter by Sunday, August 29th at 11:59pm pacific, and the winner will be announced on the Hero Arts blog the following week.
BLOG HOP LIST:
PRODUCT SUPPLY LIST (Affiliate links may be used at no extra cost to you):

