Showing posts with label Hero Wax. Show all posts

Tuesday, February 7, 2023

Hero Arts February 2023 Premium My Monthly Hero Kit: Mixed Media!

Hey everybody! I hope you're having an awesome day! Today I'm excited to be back with another creation using goodies from yesterday's Hero Arts release. Yesterday the new Premium My Monthly Hero kit came out and I absolutely died when I saw the rub-ons (image transfer sheets) that are included in the kit. These are so cool because you can rub them onto a background if you want, or, you can rub the butterflies onto paper, vellum, etc and use the coordinating butterfly dies (also in the Premium kit) to cut them out. On this project I've done both.

I started out by using my Rounded Rectangle Infinity Dies to cut out a piece of watercolor paper. I sprayed that with DIY Reactive Sprays in Root Beer and Blue Raspberry and ink blended around the edges with Indigo Core ink. Next, I added some of the floral and star rub-ons to the background then stamped the Background Texture Strips in Sand ink. I added White and Gold Glimmer Metallic ink splatters too.

Cardbomb, Maria Willis,Hero Arts,My Monthly Hero  February 2023, MMH, mixed media, butterflies, art, color, sprays, DIY, handmade,Hero Wax, stamps, stencils, rub-ons, die cutting

To add more texture to the background I stamped the Background Texture Strips again using Onyx Pigment in and then heat embossed that in clear. I rubbed the edges into some Versamark embossing ink and added Sand Embossing Powder. This added some amazing, gritty texture to the edges. Next, I grabbed my Star Cluster Stencil and added some Gold Hero Wax. I wanted a little more of that gold so I rubbed some Hero Wax around the edges with my finger.
Cardbomb, Maria Willis,Hero Arts,My Monthly Hero  February 2023, MMH, mixed media, butterflies, art, color, sprays, DIY, handmade,Hero Wax, stamps, stencils, rub-ons, die cutting

Once my background was done I used the gorgeous butterfly rub-on and transferred it a piece of white cardstock. I die cut it with the coordinating dies from the Premium kit. Then I added a coiled up piece of black metallic thread to the back with some foam tape and added that to my project to finish it off.
Cardbomb, Maria Willis,Hero Arts,My Monthly Hero  February 2023, MMH, mixed media, butterflies, art, color, sprays, DIY, handmade,Hero Wax, stamps, stencils, rub-ons, die cutting

That's it for today you guys but please come back tomorrow as I'll be sharing three cards that I made with the gorgeous new Papillons Digital Card kit!

Have an awesome day and I'll see you back here soon!
Maria


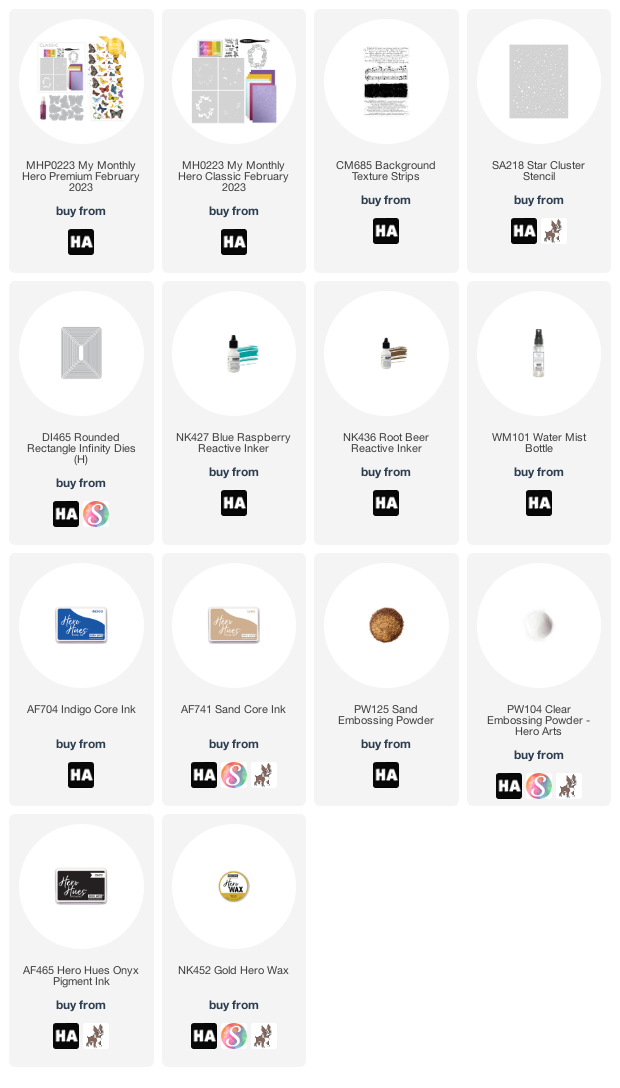
PRODUCT SUPPLY LIST (Affiliate links may be used at no extra cost to you):

Tuesday, September 20, 2022

Let That Shitake Go!

Hey everybody! It's Maria here and I am really happy to be here to share a mixed media card that I had so much fun making. I started out wanting to focus on the beautiful new Leaf Circle Stencil (so great for Autumn cards, right?) and when I saw how magical it looked in gold I decided to go with more of a nature/woodland theme. I know this card looks like a lot but it's actually easy to make so let me walk you through it step-by-step.


BACKGROUND:

  1. Cut a piece of Luxe Watercolor Cardstock to 4.25" x 5.5"
  2. Spray the background with liquid watercolor sprays of your choice (I added liquid watercolor and water to a spray bottle to create my own sprays). I used Leaf, Jungle Mist, Indigo and Art Print Brown. Allow to dry.
  3. Spray the same watercolor colors onto your work surface and smoosh your dried background into the color. This will add unpredictable visual texture and some extra color to your background. Allow to dry.
  4. Place your Leaf Circle Stencil over your background piece. I secured mine from the back with washi tape so that it would stay in place. Use your palette knife to spread Gold Hero Wax through the stencil. Don't worry about perfection- partial stenciling will add character to your background.
  5. Remove the stencil (put it in water so it will be easy to wash later) and immediately sprinkle some Sand Embossing Powder over the wet wax (a couple of pinches should do the trick). Make sure not to completely cover the wax so that you can still see the gold.
  6. Heat the embossing powder and wax to set them. This will melt the Sand Embossing Powder and it will also bubble the wax for extra texture.
  7. Splatter the background with White Glimmer Metallic Ink for extra magic.

Cardbomb,Maria Wills,Hero Arts,mixed media,Hero Wax,stencils,heat embossing,die cutting,mushrooms,leaves,stamping,handmade, cards, diy, watercolor

FOCAL POINT:
  1. Stamp the text stamp from the Sending Love Mail stamp in Granite ink onto vellum.  Cut this piece to 2.5" x 3.5" and set it aside.
  2. Use the Mushrooms and Ferns Fancy Dies to die cut mushrooms and ferns from Luxe Watercolor Cardstock. I left the ferns white.
  3. Using Liquid Watercolor sprays, spray the tops of the mushrooms Orange and the stems Art Print Brown.
  4. I used Tomato ink (ink-blending) and Copic markers to add a little bit of extra color and shading to my my mushrooms.
  5. Stamp the sentiment from Zen Messages in Aquamarine Pigment ink, heat emboss it in clear and cut it into a strip.

Cardbomb,Maria Wills,Hero Arts,mixed media,Hero Wax,stencils,heat embossing,die cutting,mushrooms,leaves,stamping,handmade, cards, diy, watercolor


ASSEMBLE:

  1. Add your background to a cardbase. I used Precision Glue to do this.
  2. Adhere your sentiment strip to the vellum piece then layer the ferns and mushrooms on top using either foam adhesive or glue dots to create dimension.
  3. Add foam adhesive to the vellum making sure to hide it behind the sentiment, ferns and mushrooms. Attach the focal point to the background.
  4. The final step is to splatter the focal point with White Glimmer Metallic ink. I covered my sentiment with a piece of washi tape to protect it. 


Cardbomb,Maria Wills,Hero Arts,mixed media,Hero Wax,stencils,heat embossing,die cutting,mushrooms,leaves,stamping,handmade, cards, diy, watercolor

Now you've got a finished card with tons of color and eye-catching texture! I hope some of you might have fun recreating this card or using some of the techniques I've shared today.

I hope you all have an awesome day today, but if your day is feeling hard, try to just let that shitake go!

Crafty hugs,

Maria


01 09 10