Hello everybody! Thanks for stopping by today. I'm glad you did because today Hero Arts and Reverse Confetti are teaming up with a fun collaboration stamp set called Better Together! This stamp set was designed by Ellie, the daughter of Reverse Confetti owner Jen del Muro. If that isn't cool enough, the proceeds from this stamp set will be donated to the Human Rights Campaign!
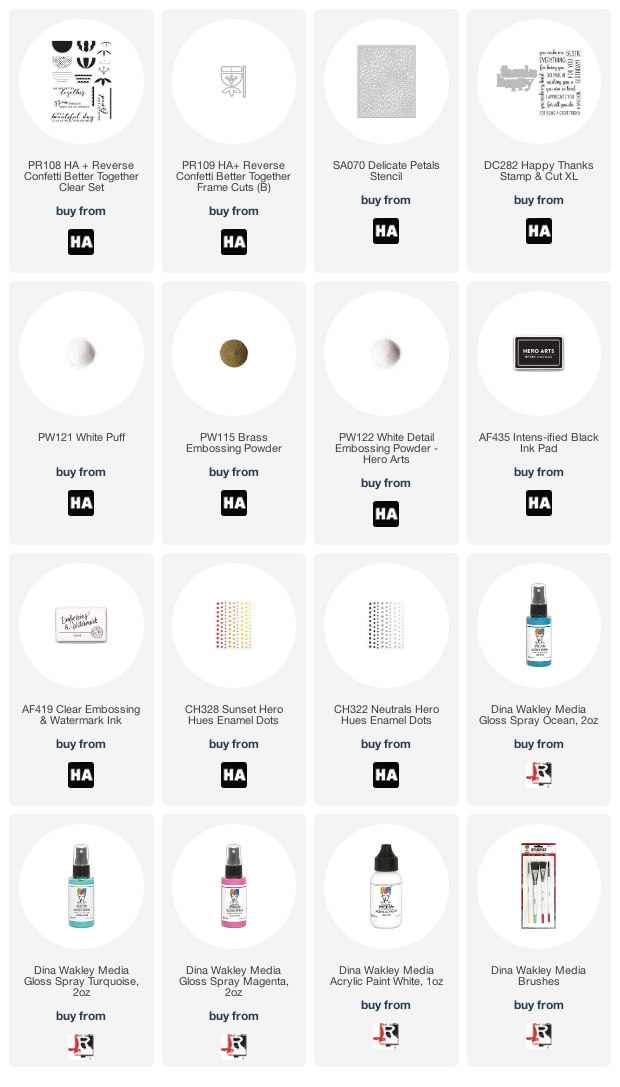
Now, this set is intended to be used for stamping flowers but I really felt like doing a little mixed media today. Lucky for me there are some fun patterns included in this stamp set and I was able to use two of the stamps to create this background. I started out by using glossy spray paint to coat my background in color. Once the paint dried (it dries quickly) I used the dotted stamp and some black ink to stamp repeatedly on my background.


Have an awesome day!
Maria
We are giving away $50 gift cards to TWO lucky winners, drawn from comments left across the blog hop. One gift code will be to the Hero Arts store, and the other to Reverse Confetti. Comment on the hop by Thursday, February 25th at 11:59pm pst. The more blogs you leave comments on, the more chances to win!
BLOG HOP LIST:
Hero Arts
Reverse Confetti
Kathy Schweinfurth
Lisa Henke
Jeanne Jachna
Amy Tsuruta
Candice Fisher
Tricia Barber
Amy Kolling
Audrey Tokach
Channin Pelletier
Daniel West
Ilina Crouse
Jessica Frost-Ballas
Libby Hickson
Lydia Fiedler
Maria Willis
Mindy Eggen
Seeka
Julee Tilman
Nichol Spohr
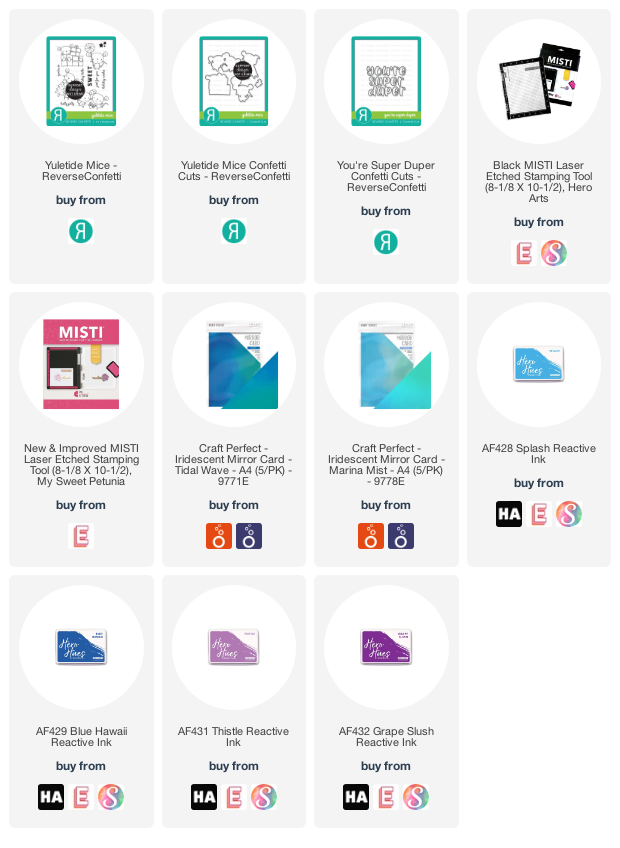
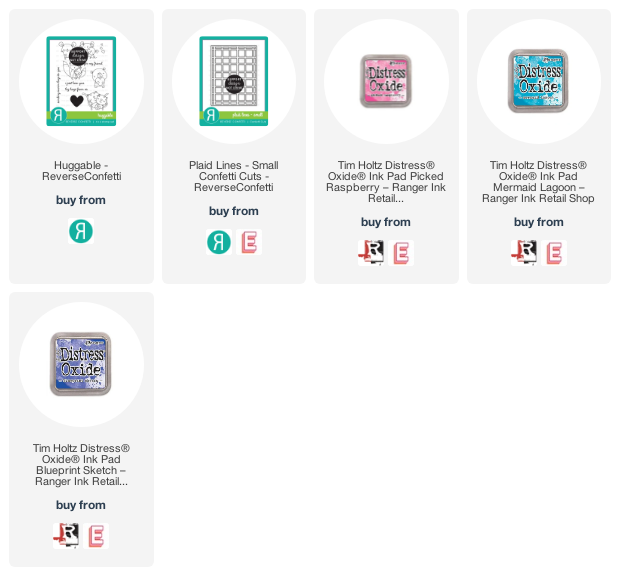
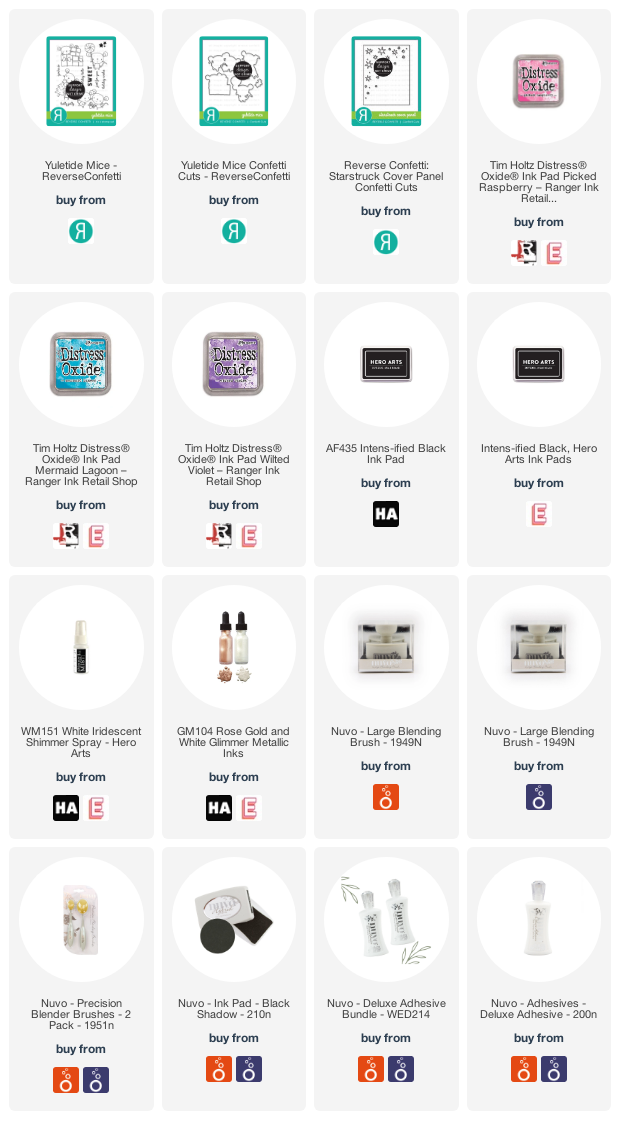
PRODUCT SUPPLY LIST: