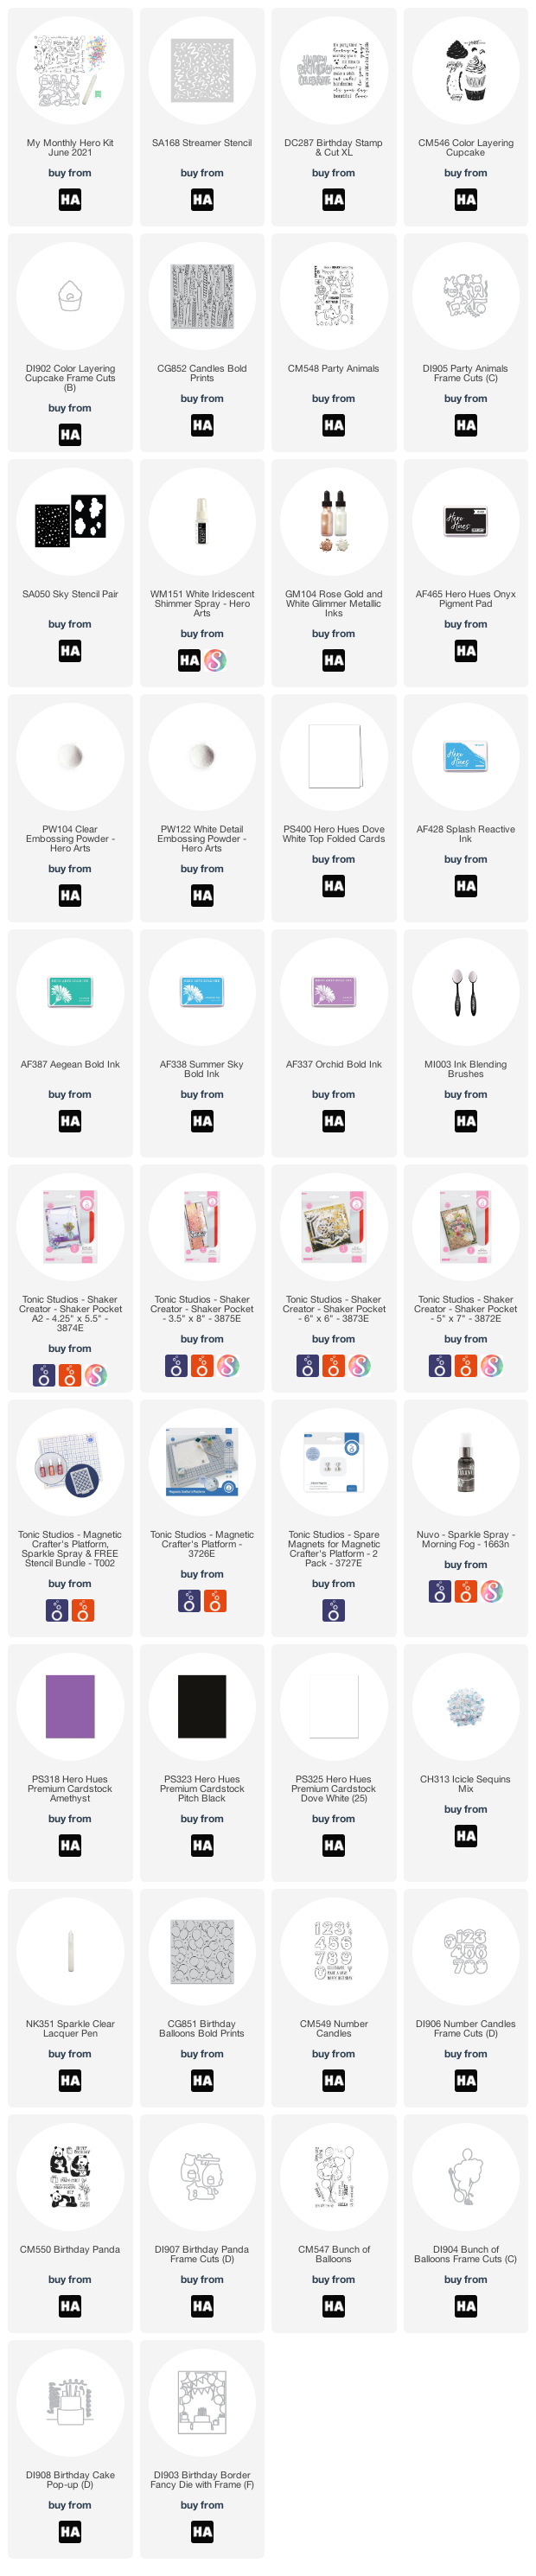
Hi everybody and happy Hero Arts release day! The June My Monthly Hero Kit is here and it is the purrrfect set for birthdays... Ha! Sorry that was so cheesy but I couldn't help it.
If you aren't familiar with the My Monthly Hero kit, it's a kit that is released by Hero Arts on the first Monday of every month. It always has a fun, themed collection of stamps, dies and other goodies. The cost is just $34.99/month and the value is always much greater! This month's kit is valued at $72!
You have the option to subscribe (subscribing now means your first kit will be the July release), or, to buy your favorite kits as a one-off purchases. Be aware that once these kits sell out they are gone for good. If you see a kit you like make sure to snatch it up quickly! There are also always a ton of fantastic add-on products offered. You can choose to buy your favorites or buy them all at a discounted rate.
Ok now let's get on to my cards because I've got four cards and a VIDEO to share with you today and there's also a GIVEAWAY (details at bottom of post)! My first card is a shaker card and let me tell you that this is the easiest shaker card I've made in my life! You can watch me quickly put it together in the video but here's how I made it... I started out by stamping two adorable kitties and a cake from the kit in INTENSE-ified Black Ink. I colored my images with copic markers and then die cut them (the kit always comes with coordinating dies) and set them aside.
If you'd prefer to watch me put this together in the video then here you go!
If you're having trouble viewing this video you can watch it HERE.
Next, I used the new Streamer Stencil to ink blend my background using Agean, Summer Sky and Orchid Bold Inks. These three colors blend beautifully together and you'll see this combo on three of my cards today. Ink blending was made totally easy bc I held the stencil down with my magnetic platform from Tonic Studios. After ink blending, I left the magnets in place to hold the stencil down and I used the White Iridescent Shimmer Spray to spritz on a coating of beautiful, transparent shimmer (which of course doesn't show up in the pics). I put this background face down on a Tonic Shaker Pocket and adhered three of the flaps to the back, leaving the top flap open. I poured in a bunch of shaker guts including confetti from the kit and some Icicle Sequins. When my shaker had enough shaker guts I sealed the top flap of the shaker pocket to seal my card front. I've made shaker cards like this before and have done it all from scratch. Having these precut acetate pieces with adhesive flaps is a total shaker card game changer!
After sealing up my shaker card I used foam tape to add all of the adorable images from the kit that I had already colored. The sentiments that I used were from the new Party Animals set. If two kitties diving head first into a cake isn't wild then I don't know what is, lol!
For my next card I ink blended the same trio of inks as on my last card. Then, I used Morning Fog Sparkle Spray and the Streamer Stencil to create a bold and sparkly background.
Next, I used the Color Layering Cupcake to create a focal point for my card. Now, I am the worst at color layering stamps and I hardly ever use them but, I'd like to get better at them so I decided to go for it because this cupcake is awesome! I made a few blunders along the way but nothing that couldn't be fixed with a copic marker (I didn't line the cake up properly with the liner and had a gap but a marker quickly fixed that). I die cut the cupcake with the coordinating dies and added some sparkle laquer and confetti bits from the main kit.
I wanted to add a candle to my cupcake so I stamped the Candles Bold Prints stamp in black ink. I selected the candle with the stars and cut it out with my scissors after coloring it with copic markers. I cut the bottom of the candle off in a curve so that it would look like it was stuck in the frosting. I added the cupcake and candle to my card and finished it off with a sentiment from the Color Layering Cupcake set.
For my next card I again used the Streamer Stencil and Hero Arts Bold Inks to ink blend my background.
Then, I added my sentiment from the Birthday Stamp & Cut XL. I die cut the sentiment three times (Amethyst, Pitch Black and Silver Glitter) and layered them together using liquid adhesive. I heat embossed the sentiment in white on black and cut it out with my paper trimmer.
After adhering my card face to a black cardbase I added the sentiment pieces with foam tape. The final touch was to add some confetti bits for a little bit of texture.
This last card is the one that I shared a couple days as a sneak peek. You can learn more about this card by heading over to the original blog post by clicking HERE.
Ok, you guys, that's it for today! I hope that you think the June My Monthly Hero Kit and add-ons are as much fun as I do. We've got a blog hop with a ton of inspiration so I hope you'll keep hopping along with us (blog list below). Also, check out the giveaway details below!
Have an awesome day!
Maria
GIVEAWAY:
Hero Arts will give away one $50 gift card, drawn from the comments left across the hop. Enter by Sunday, June 13th at 11:59pm pacific, and the winner will be announced on the Hero Arts blog the following week.
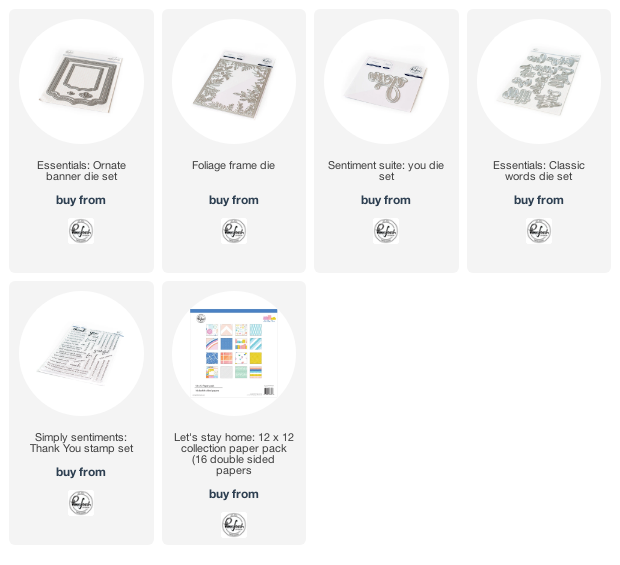
Hello everybody! Thanks so much for stopping by today! Today I'm excited to be joining Pinkfresh Studio for their Essentials Die release. This release is packed full of amazing dies and I'll be sharing two cards that I made with the new Mini Slimline Essentials Bundle Dies. I love these dies because they come with two complete layering sets of dies for mini slimline cards. They also include two sets of detailed circle dies that are sized perfectly for mini slims.
For my first card I used the new Mini Slimline dies to cut layers from white paper as well as from the Let's Stay Home paper collection.
I glued my layers together adding a yellow layer cut with the Essentials Ornate Banner Die Set. I finished the card off by adding a sentiment from the Classic Words Die Set.
The last step was to create myself a coordinating envelope using the new Mini Slimline Envelope Dies. I cut the main piece once and the wing piece twice. Hot tip: if you are cutting your envelope from patterned paper make sure you cut one wing from the "wrong" side of the paper so that when you put your envelope together your pattern will be on the correct side of the paper.
For my second card I used the new Mini Slim Line card dies again and added in the new Essentials Stitched Scalloped Circle, the Foliage Frame Die, the Sentiment Suite You Die and the Simply Sentiments Thank you stamp set. I started by die cutting my layers and gluing them together.
I cut out the Stitched Scallop Circles and taped them together in the back so I could use both of them. I ink blended them with some Sky Blue ink before adhering them with foam tape. Then I added in some vellum foliage from the Foliage Frame Die.
I heat embossed my sentiment, added some pearls and jewels, then made a matching envelope and called it good.
Ok, that's it for today you guys but before you go I want to let you know to check out the amazing giveaways and promos below. I've also linked up the products that I've used today in case you want to check anything out.
Have and awesome day!
Maria
GIVEAWAY:
-We will be giving away the full release on the Pinkfresh blog & YouTube channel
-We will be giving away a total of TEN $25 gift cards along the hop. As per usual with blog hops - the winners will be picked from the comments.
Winners will be posted on May 31 , 2021 on the Pinkfresh Studio GIVEAWAY PAGE. Winners must check that page & claim their prize within 2 weeks.
SHOPPING PROMO:
-Pinkfresh Studio is offering free US shipping on all orders $50+ from May 24th to May 30th.
-There is also a free die that will be automatically added to all orders over $35 - no code needed.
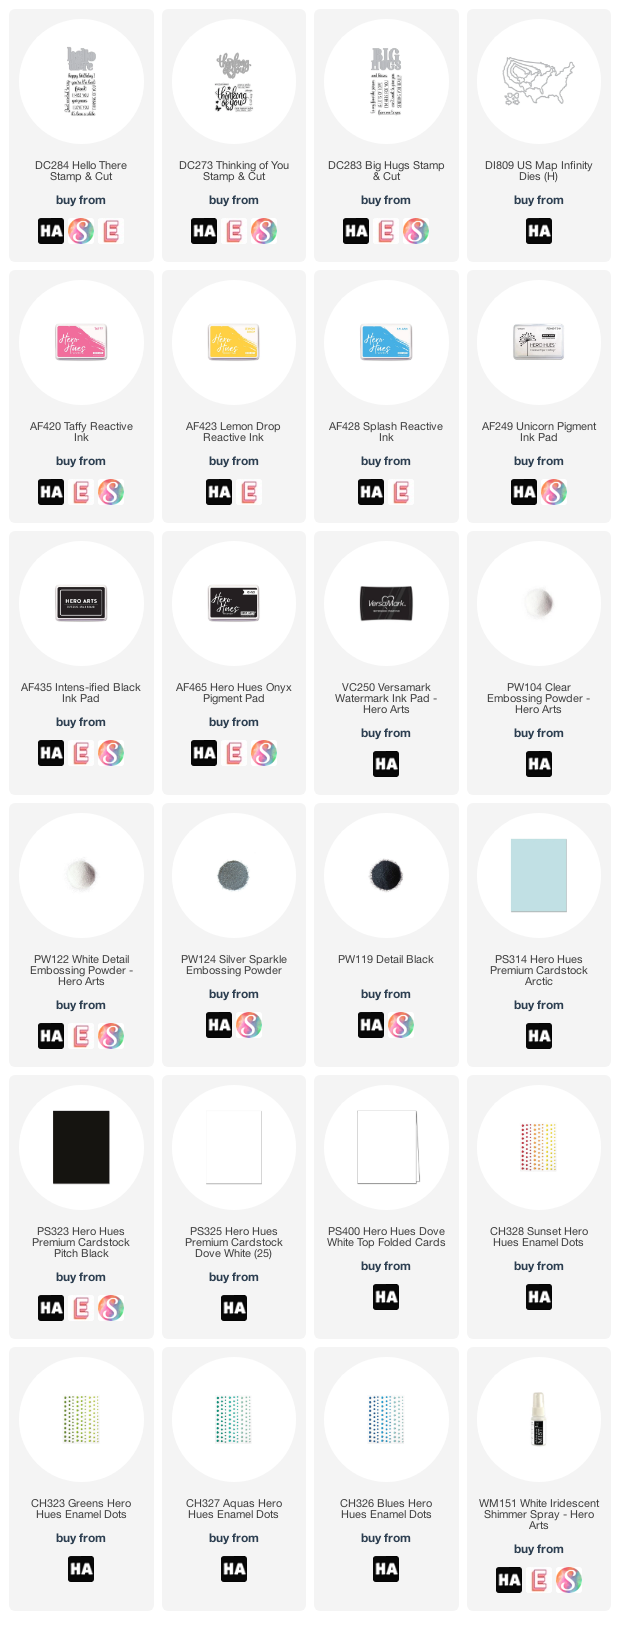
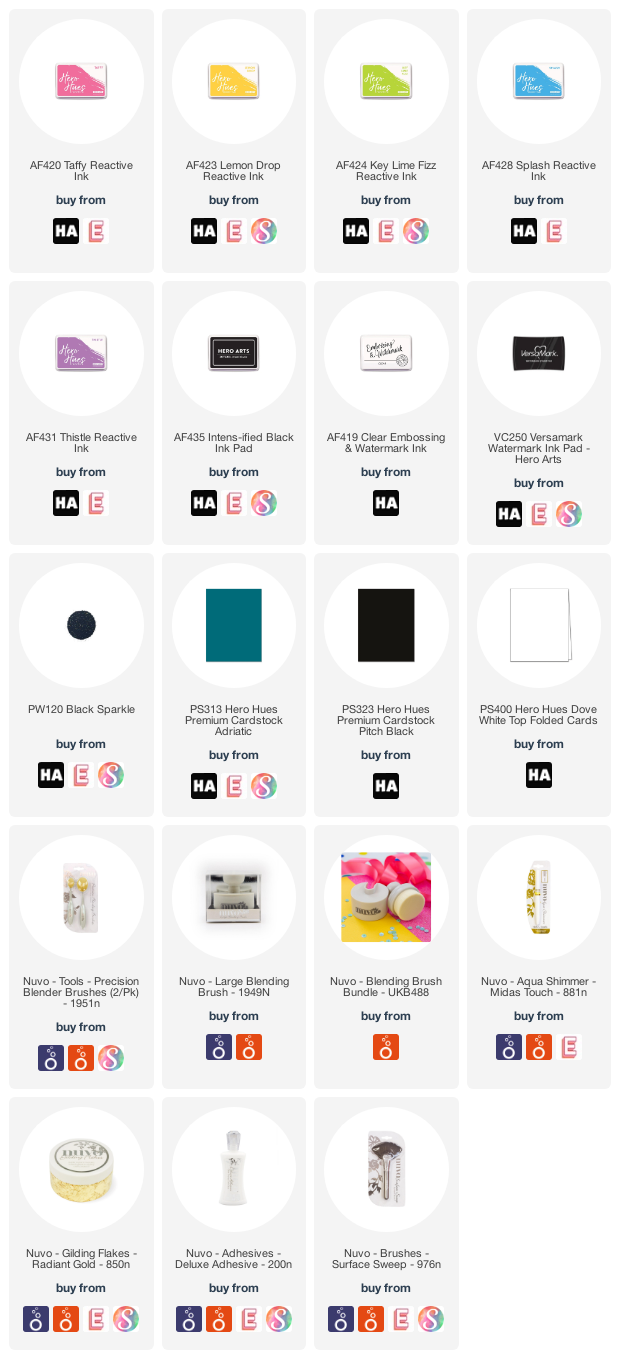
Hi everybody! I am so excited because today is launch day for the new Hero Arts Summer Catalog and it is on fire! You can check out the whole catalog HERE if you'd like to but first join us for an amazing blog hop full of crafty inspiration using the new products. I've got four cards to share with you today so let's get to it!
For my first card I paired the new Brick Wall Bold Prints, the new Message Strips Stamp and Cut, and the Hello There Stamp & Cut. I started by ink blending my background panel in Taffy, Lemon Drop and Splash Reactive Inks.
Next, I put my background in my Misti along with the Brick Wall Bold Prints stamp and stamped it using Unicorn White Pigment ink. This resulted in my background having a light and subtle look. Now, if you've used pigment ink before you know it can take a little time to dry... I don't always have the patience for all of that waiting so I tossed some clear embossing powder onto the wet ink and heat embossed it. This added extra texture and shine to my "bricks." When I stamped, the ink on my background reacted with the wet ink and some of it lifted off my card and the color stayed on the stamp. I used that residual ink to stamp a second background panel which you will see on my last card today.
I heat embossed the "I miss you" from the new Message Strips Stamp & Cut in Onyx Pigment ink and clear embossing powder. Then, I mounted my background onto a black card base and added "Hello There" and some enamel dots to finish my card off.
My next card is a slimline card and although it looks pretty fancy it really wasn't all that hard to make. I recently made a similar card using different products so if you'd like to watch the process you can find that video HERE. I used my slimline stencils to cut out a panel and then ink blended it using Lemon Drop, Taffy and Splash reactive inks (my three favorite reactive inks). Then I used the new Floral Tile Stencil to add Moonstone Glimmer Paste to the background. Now, this isn't a slimline stencil so I just readjusted it and added more paste where I wanted it.
I heat embossed the new Succulent Bouquet stamp in silver onto vellum. This is so easy and creates such a gorgeous look! I die cut the succulents and then adhered them to my background using foam which I had cut into small pieces to hide it from sight.
To finish my card off I added a sentiment using both the Thinking of You Stamp & Cut as well as the Message Strips Stamp & Cut. The final step was to add some jewels and pearls for a little bling.
This next card was made using the new Looking Glass Canyon Lands dies. This is just one set in an amazing collection of Looking Glass dies and I hope that you'll check them out! There are also two different sized stencils to help you with alignment so that you can always get perfect placement of your dies! I cut all three dies out of separate pieces of cardstock and then colored them with copic markers. I also prepared a background sky using splash ink and White Iridescent Shimmer Spray.
Next, I layered my die cuts together making sure that they were properly aligned (when I made this card I didn't have the alignment stencils yet and had to wing it). I adhered the layers using foam tape so that there would be depth to my scene.
Once my little die cut scene was properly put together, I used a square die to cut a black card panel. I created a gold frame using two square dies and glued that on to frame the hole. Then I heat embossed my sentiment below the frame. I adhered my little scene to the back of the black cardstock so that it was perfectly framed. I added extra foam tape to the back of the panel and attached it to a cardbase to finish off the card.
I thought the card needed a little something more so I added some tiny arrows from the US Map Infinity Die set.
Ok, you guys, that's all I've got for today! Thanks so much for stopping by and I hope you will continue on with the rest of this inspiration filled blog hop celebrating the launch of the Hero Arts Summer Catalog. Make sure to check out the Giveaway info below and leave a comment right here on my blog to be entered to win!
Have an awesome day!
Maria
GIVEAWAY:
Hero Arts will give away THREE $50 gift cards, drawn from the comments left across the hop. Enter by Sunday, May 30th at 11:59pm pacific, and the winner will be announced on the Hero Arts blog the following week.
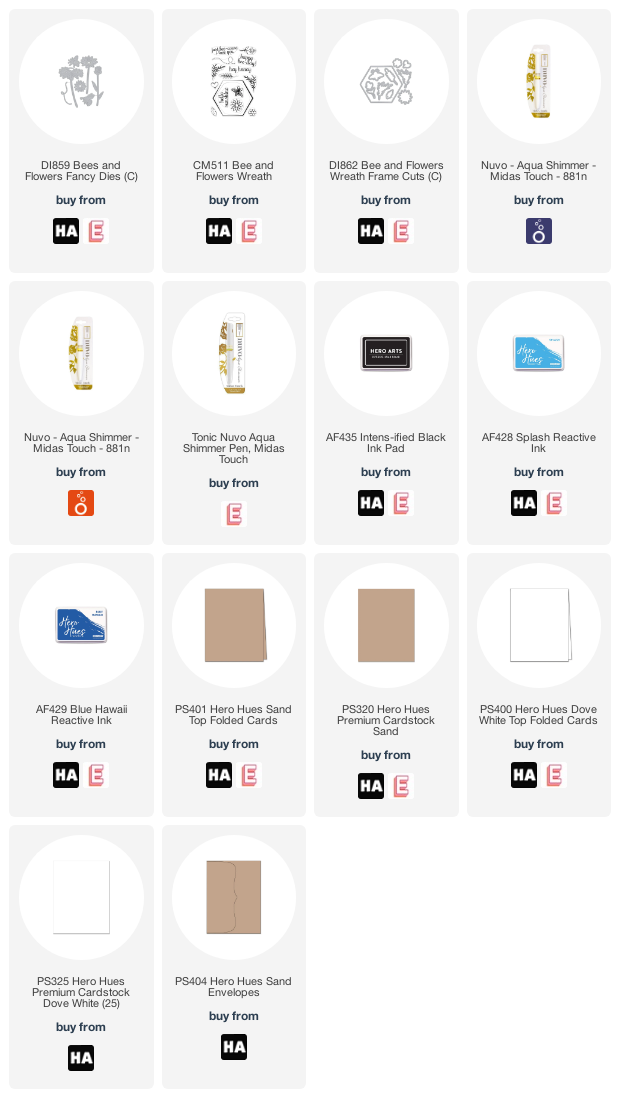
Hi everybody! I hope you're having a great day! I'm just dropping by to share these sweet and simple cards that I made earlier in the month and forgot to share. I used a combination of the Hero Arts My Monthly Hero kit and some of the add-ons from this month's release.
For my first card I ink blended a card panel using Splash Reactive ink. I wanted to add a little extra texture to the background so I sprayed it with White Iridescent Shimmer Mist then splattered it with some watered down Splash ink.
I stamped the "hey honey" sentiment from the Bee and Wreath Flowers set in black. Then I added foam adhesive to the back of the ink blended panel and adhered it to a white card base.
To finish my card off I added a chunky, adorable bee from the My Monthly Hero kit. This bee was stamped in black ink, watercolored with Daniel Smith watercolors and even has some iridescent paint on his wings.
My second card is also simple and sweet and features another buzzy little bee from the MMH kit. This time I started out by splattering my background with both both black ink and gold splatter. Then I stamped my sentiment which is again from the Bee and Flowers Wreath Stamp set.
Next, I covered the back of a piece of gold foil cardstock with double sided adhesive tape. I used a beautiful flower die from the Bees and Flowers Fancy Dies and cut a flower from the gold cardstock. This gave me flower shaped sticker. Before adding my flower sticker to the card I used the dashed line die to die cut my card front to make it look like my bee was flying. I did this before adding the flower and bee so that I put them over the ends of the dashed line.
I added my golden flower sticker to the bottom right of my card. Then I added my lazy little bee at the end of his flight line with foam tape to give him some dimension.
That's it for today you guys! I had a ton of fun putting these together and love it when a quick and easy card can also be very pretty. Have you all been mixing up your products to come up with new ideas at lately? If so, let me know in the comments below!
Hi everybody! I hope you're all having a great day today. I'm so glad you stopped by because you are in for a real treat today! Today Hero Arts is teaming up with Pear Blossom Press for a collaboration blog hop. We will be showing off how to use the Pear Blossom Press EZ-Lights with a variety of Hero Arts products. We've got a great blog hop full of really fun light-up cards and some GIVEAWAYS so make sure to hop along with us today. As you hop make sure to leave comments on each of the blogs to enter to win either a $50 gift card to Hero Arts, or, a $50 gift card to Pear Blossom Press.
For today's card I was inspired by this set from the Stamping Village. The Hero Arts contribution is so cute (small stamp of weiner dog with three cupcakes on his back) so I decided to recreate the small stamp but much larger. I used the Birthday Paw-ty stamp set to make make my card and it's perfect bc it had all the same elements as my inspiration stamp, but, on a larger scale. I started out by stamping my sentiment and image in Hero Arts INTENS-ified Black ink. I love this ink because it plays nice with both alcohol inks and watercolor. Then, I colored in my image with copic markers.
Next, I used my craft pick to poke holes in all three of the candle flames. I turned my card over and a grabbed a set of EZ-Lights. Each EZ-Light unit consists of a battery unit that has a button on it and three wires that extend from the battery unit and have tiny light bulbs on their tips. I taped one light bulb behind each hole that I had poked. Then, I secured the battery pack at the bottom left corner of my card front using tape adhesive. This placement will allow for the button to easily be pushed to light up the candles. I gently looped the excess length of wires and taped them to the back of the card. Last, I added a double layer of foam tape and adhered my card face to a top folding card base. To see pictures of what the guts of these cards look like make sure you stop by the Hero Arts blog. I shared a card over there as well and took quite a few pictures of the process of putting the card together.
When you press and hold the bottom left corner of my card the candles light up like this...
I had so much fun making this card today. My idea to recreate the stamp from the Stamping Village set came together so easily. It's simple but the lights really take it up a notch and add a fun-factor!
Ok, you guys! That's all I've got for today. I hope you'll keep hopping along with us and check out all of the other fun light-up cards on this blog hop. Remember to comment below for your chance to win the GIVEAWAY! Two lucky winners will be randomly selected from comments along the hop. There are two $50 gift cards up for grabs: one each to Hero Arts and Pear Blossom Press!
Hi everybody and welcome to Erin Lee Creative's first release of 2021! This month's release is full of beautiful things (picture of everything with links at end of post) but I decided to focus on this gorgeous Sparkling Palms Stencil. I made two cards using the same stencil to show you two completely different looks with it.
For my first card I started out with white cardstock. I taped it to the stencil so that it would stay in place and ink blended it using blending brushes and my Hero Arts Reactive Inks. I love these inks because they blend so smoothly together and have a dreamy look when applied lightly.
I selected a sentiment from the Stay Golden stamp set. Side note: I have to keep stopping myself from saying, "Stay Golden, Pony Boy." Have any of you read the book, The Outsiders? It's a great a book and that's where that saying comes from (there's a movie too). Anyhow, I heat embossed the sentiment in black sparkle embossing powder onto a double layer of vellum. When I stuck that down I added a wad of metallic black thread to the card.
To finish my card off I added some black sequins and called it a day!
For my second card I used the same Sparkling Palms stencil for a completely different look. This time I started with a beautiful, dark blue-green piece of cardstock. I taped it to the stencil so it wouldn't move while I was using it. This time instead of using ink to fill in the stenciled areas I used liquid adhesive. I did this by squirting liquid adhesive onto my work surface. Then I used a sponge blending tool to pick it up and dab it onto my cardstock through the stencil. I made sure to apply it thinly so that it would not bleed under the stencil and ruin the image.
After I removed the stencil I waited until the glue was dry enough to feel tacky. It didn't take long because I had applied such a thin layer of glue. I grabbed my Nuvo Gilding Flakes in gold and rubbed them all over the card. The golden flakes stuck to the glue revealing my stenciled image. I used my Surface Sweep Brush to remove the extra flakes from my card and to clean up my desk. I know gilding flakes can be daunting for a lot of people but they can be so much fun if you remember to turn off your fan/AC first, don't sneeze, and have the proper tool for easy cleanup (Surface Sweep).
To add a sentiment I used the Stay Golden Word Die. I cut it out three times in black and glued the layers together. I wanted it to pop off of my card so I placed the die on vellum, traced around it, and, cut it out. Voila! A perfect halo for my sentiment! I used glue dots to adhere the sentiment piece. To finish my card off I splattered with gold sparkle from my Midas Touch pen, cut down the left side of the cardstock by 1/4", and added some gold sequins. This got mounted onto a black, A2 sized cardbase.
Here's a look at this month's full release from Erin Lee Creative. It's a really fun release with stamps, stand-alone dies, a stencil, and, three kinds of rainbow holographic paper! Click HERE to shop the release now!
I will add links to all of the products that I've used today below in case you're interested in checking any of them out. There's also a fun giveaway and a blog hop. All the info you need is listed below.
Have an awesome day you guys!
Maria
GIVEAWAY:
Comment on all blogs in the hop to be entered to win a $50 gift voucher to shop at Erin Lee Creative! Two winners will be chosen at random from the comments!
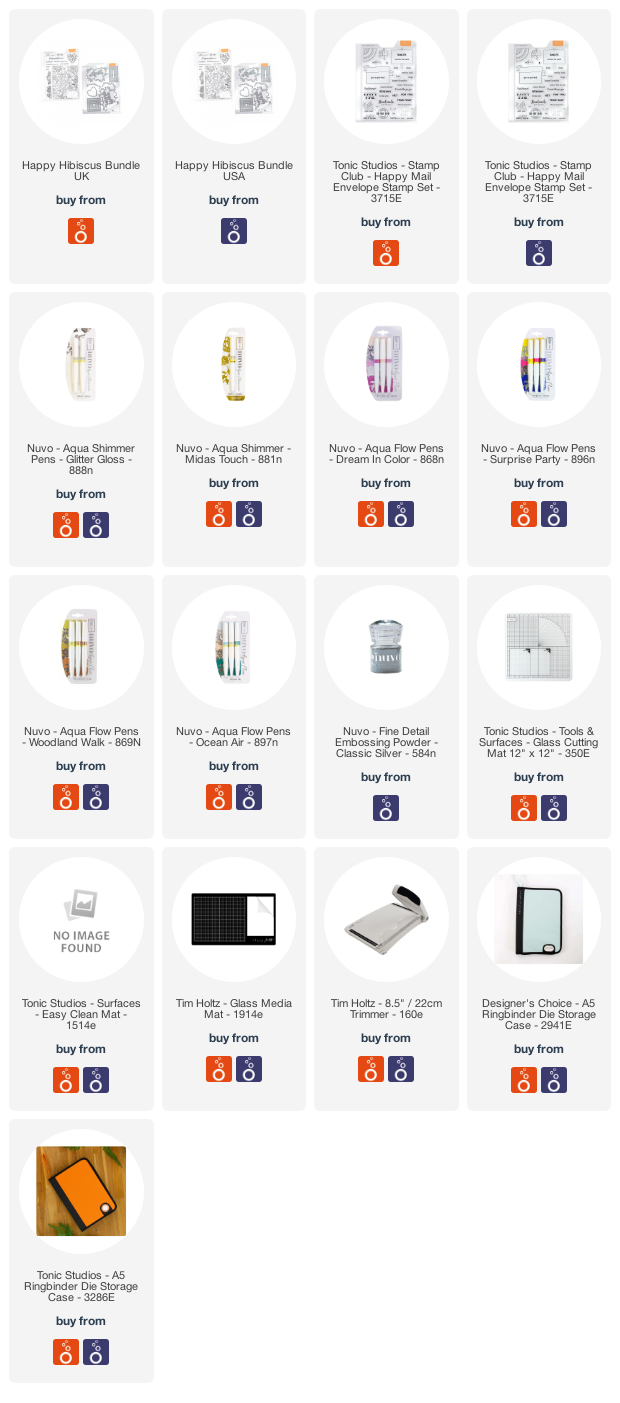
Hello everybody and welcome to this month's Stamp Club launch from Tonic Studios! This month's release is called Happy Hibiscus. The release is a large, 6" x 8" stamp and die bundle that includes gorgeous, tropical themed stamps, lovely sentiments and a die set that is packed full of useful dies (including stitched square and rectangle dies!). The stamp and die will only be sold as a bundle and there is limited stock so get yours while they're still available because once they sell out they are gone for good! To see all the details of the release you can head over to Tonic Studios (Tonic UK)! We also have an amazing GIVEAWAY for you today too (details at the bottom of my post).
The main stamp in this Happy Hibiscus release is a large, background stamp which can obviously be used as a background stamp. The big surprise of this release is that this background stamp is actually a 3 in 1 concept! When you use the coordinating dies with this stamp you can cut it into two pieces: a floral frame and a floral bouquet. This means that you can use this one stamp as a background stamp, a frame, or a centerpiece. In my first card I will show you what it looks like when used as a background. I also have cards showcasing the floral frame and bouquet later in this post (there's a VIDEO too!).
For my first card I stamped the background stamp in Black Shadow ink onto watercolor cardstock using my Misti. Then, I watercolored it using my Nuvo Aquaflow pens. To add extra shading I also used some watercolors pencils (used as pencils, no water) and a sharpie.
I heat embossed my sentiments onto black cardstock and adhered them to my card with foam adhesive.
To finish my card off I added some highlights with white gel pen and some Silver Rain sequins.
Now that you've seen the main stamp, here's a look at what the whole Happy Hibiscus stamp set looks like. In addition to the background stamp there are also floral borders, a floral heart and some great sentiments in lovely fonts.
The die set has a coordinating die for every image in the stamp set. It also has two word dies that have background halos for layering and 7 different stitched square and rectangle dies. These stitched are particularly cool because they stitch both the positive and negative pieces of the paper that you die cut.
Here's a video I made to show everything included in this Happy Hibiscus bundle as well many cards and projects that I've made.
If you're having trouble viewing this video click HERE.
I've already shown you what the background stamp looks like when you use it as one piece so now let's take a look at what happens when you use the coordinating dies to cut it apart. For my next card I heat embossed the background stamp in silver embossing powder on watercolor paper. I selected a rainbow of Nuvo Aquaflow pens and watercolor washed the whole panel (see below for video) in color.
There are two dies in the set that cut this large image into two pieces. One die fits tightly to the outer floral frame. The other die fits tightly to the inside to cut out the floral bouquet. These must be cut out separately as the dies would overlap. First I cut out the floral frame and cut that piece down to 4.25" x 5.5". Then, I cut out the center piece and set it aside. I did a pale watercolor wash on another piece of watercolor paper and stamped, "It's your day!" on it.
Next, I adhered the floral frame to the watercolored piece with foam adhesive. I used the Happy Birthday dies to cut my main sentiment out of holographic paper with a black background. I popped that up on foam tape too. The final detail was to add some sparkly splatters with my glitter gloss pen and then to add some sequins.
For my last card I used the floral bouquet from the center of the image. I layered it on top of a stenciled piece of cardstock and cut off the pieces that were hanging off of the edges.
I layered that piece on top of some silver striped cardstock just to make it a little fancy. You can see the silver cardstock again behind the "For You" sentiment. If you watch the video below I have some die cutting tips as well as a great tip for easily lining these word dies up with the background AND how to do it without using glue!
After adhering my sentiment dies to my card with foam tape I adhered the whole front panel to a gray card face which was already attached to an A2 sized card base.
Here's that video I promised you. It shares how I made both my second and third cards today. It also has a great tip for perfect die cutting every time as well as a tip on how to easily align your word dies and to do it without glue!
If you're having trouble viewing this video click HERE.
Ok, that's all for me today you guys but before I go I've got tell you about a fantastic giveaway from Tonic Studios!
GIVEAWAY!!
Tonic Studios will be giving one lucky winner this Happy Hibiscus release AND a $50 gift card to spend at Tonic Studios ( £50 if you're in the UK!)! That is such a fantastic giveaway and someone is going to be so happy! To enter the giveaway you need to comment on every blog in this blog hop (the list of blog hoppers is down below). Get your comments in by 11:59 pm PST on November 25th, 2020. The winner will be announced on the Tonic Studios Instagram and Facebook accounts on November 27th, 2020 (so make sure you're following the Tonic Studios social media accounts). Good luck to you all!
Ok, the blog hop list is below (or just head over to Seeka's blog right now). I've also linked most of the products that I've used today in case you'd like to check anything out.
Have an awesome day (or evening if you're on the other side of the Earth from me)! Bye for now.