Showing posts with label #papercraft. Show all posts

Friday, March 26, 2021

VIDEO: Tonic Studios Stamp Club Release and Giveaway! I Love You Fairy Much!

Hi everybody! I'm so glad you're here because today is launch day for the newest Tonic Studios Stamp Club release called I Love You Fairy Much. I had so much fun with this release that I've got eight cards and a video to share with you today. Before I get to the cards I want to let you know that this release is available exclusively from Tonic Studios. There is a limited quantity of bundles and when they are sold out they'll be gone for good so make sure to grab yours before they sell out. If you want to grab an I Love You Fairy Much bundle for yourself here are the links:
       -Tonic Studios USA
       -Tonic Studios UK

There is also a GIVEAWAY over on my Instagram account @Cardbomb. If you'd like a chance to win this whole stamp and die bundle plus some Nuvo Hybrid inks and one of my favorite blending brushes, please head over to my Instagram account to enter the giveaway.

Ok, let's get on to the cards! For my first card I ink-blended a background, splattered it with Glitter Gloss and gouache, and stamped it with dragonflies.
#cardbomb,#maria willis,#tonicstudios,#nuvo,#cards,#handmade,#cardmaker,#fairy,#art,#ink,#color,#diy,#papercraft,#diecutting,#tonicstudiosstampclub,

Then I adhered the fairyland frame die cut to frame out my scene. I used it together with the outer frame so that it perfectly framed on an A2 sized card.

#cardbomb,#maria willis,#tonicstudios,#nuvo,#cards,#handmade,#cardmaker,#fairy,#art,#ink,#color,#diy,#papercraft,#diecutting,#tonicstudiosstampclub,

I added a fairy sitting on a mushroom to the left and added a sentiment to the right to finish my card off.
#cardbomb,#maria willis,#tonicstudios,#nuvo,#cards,#handmade,#cardmaker,#fairy,#art,#ink,#color,#diy,#papercraft,#diecutting,#tonicstudiosstampclub,


Here's a link to the video I made if you'd like to see this release in action...
 
If you're having trouble watching this video CLICK HERE to view it now.


My next card features a watercolored background in light pastels. It's splattered with Glitter Gloss for some extra shimmer and I used my Tim Holtz Deckle Trimmer to cut it down.
#cardbomb,#maria willis,#tonicstudios,#nuvo,#cards,#handmade,#cardmaker,#fairy,#art,#ink,#color,#diy,#papercraft,#diecutting,#tonicstudiosstampclub,

I added a die cut frame from Pinkfresh Studios. I layered a flagged sentiment on to the bottom and added some clear sequins to the background.
#cardbomb,#maria willis,#tonicstudios,#nuvo,#cards,#handmade,#cardmaker,#fairy,#art,#ink,#color,#diy,#papercraft,#diecutting,#tonicstudiosstampclub,

To finish the card off I added a copic colored fairy using foam adhesive to make it look like she is floating over the sentiment.
#cardbomb,#maria willis,#tonicstudios,#nuvo,#cards,#handmade,#cardmaker,#fairy,#art,#ink,#color,#diy,#papercraft,#diecutting,#tonicstudiosstampclub,

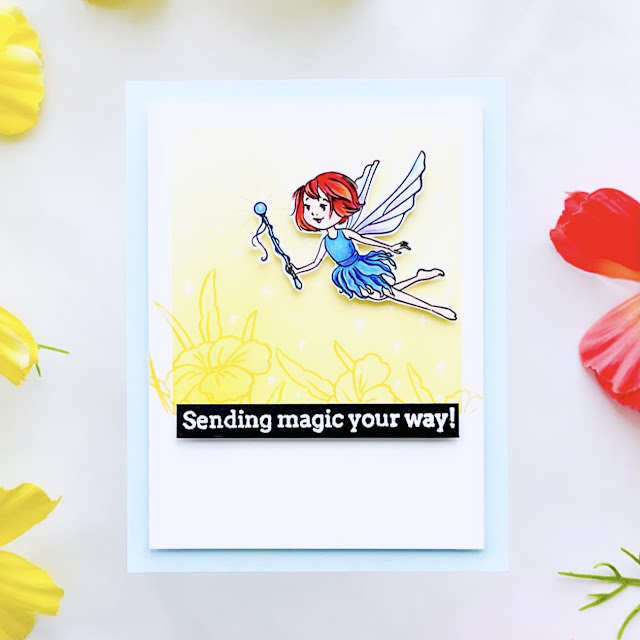
This next card is one of my favorites because I just love this little fairy! She's super spunky and I love her wand. I decided to mask off the background and ink blend a square in yellow. I used that same color of yellow ink to stamp some flowers on to the bottom of the square. I also stamped the wand glow onto the background right behind where I would place the fairy and her wand.
#cardbomb,#maria willis,#tonicstudios,#nuvo,#cards,#handmade,#cardmaker,#fairy,#art,#ink,#color,#diy,#papercraft,#diecutting,#tonicstudiosstampclub,


I mounted that card panel onto some light blue cardstock using foam adhesive. Then I heat embossed my sentiment in white embossing powder onto black cardstock and adhered that to my card as well.
#cardbomb,#maria willis,#tonicstudios,#nuvo,#cards,#handmade,#cardmaker,#fairy,#art,#ink,#color,#diy,#papercraft,#diecutting,#tonicstudiosstampclub,

Finally, I used foam adhesive to glue my fairy down. I love how it looks like she's hovering over a field of flowers.
#cardbomb,#maria willis,#tonicstudios,#nuvo,#cards,#handmade,#cardmaker,#fairy,#art,#ink,#color,#diy,#papercraft,#diecutting,#tonicstudiosstampclub,

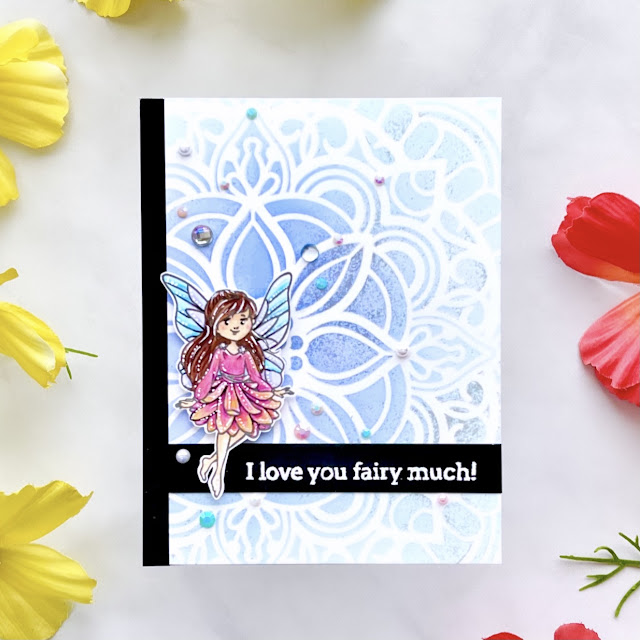
This card was fun to put together... I started out ink-blending the background with Nuvo hybrid ink. I especially like using this ink when I am going to apply a product on top of the ink bc this hybrid ink is permanent and will not react with water (or wet products). After ink-blending I added a thin layer of glacier paste on top. I cut the background down to four inches by five and a half inches. I glued this to the right side of a card base. I glued a one quarter inch strip of black cardstock to the left side of the card to fill in the remaining space.
#cardbomb,#maria willis,#tonicstudios,#nuvo,#cards,#handmade,#cardmaker,#fairy,#art,#ink,#color,#diy,#papercraft,#diecutting,#tonicstudiosstampclub,


I heat embossed my sentiment in white on black and added the strip to my card.
#cardbomb,#maria willis,#tonicstudios,#nuvo,#cards,#handmade,#cardmaker,#fairy,#art,#ink,#color,#diy,#papercraft,#diecutting,#tonicstudiosstampclub,


After that all I had to do was add my fairy and some rhinestones and jewels to my card front.
#cardbomb,#maria willis,#tonicstudios,#nuvo,#cards,#handmade,#cardmaker,#fairy,#art,#ink,#color,#diy,#papercraft,#diecutting,#tonicstudiosstampclub,


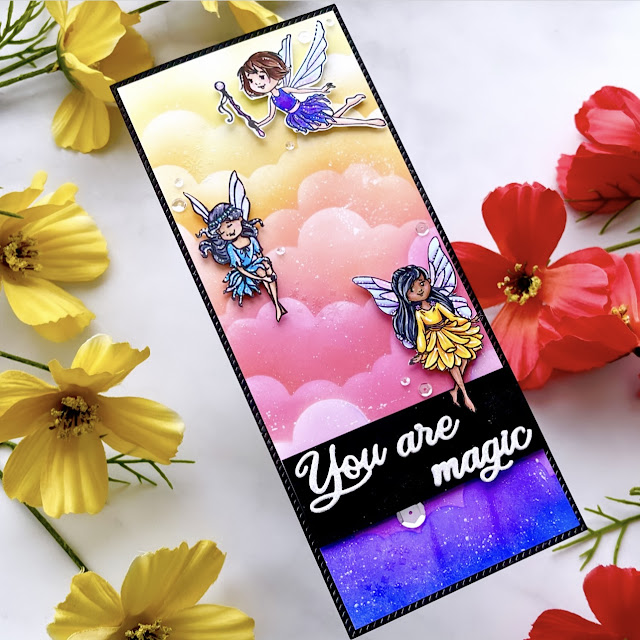
The I Love You Fairy Much bundle makes creating slimline cards a snap. With so many coordinating elements it's really easy to quickly fill up your card with images that go well together. I started this card by inkblending the background with card stencils that I made using the cloud dies from the second stamp club release. I used a rainbow of colors and then splattered it with Glitter Gloss and white paint. I also heat embossed the fairy dust stamp multiple times onto the background in the spaces between where the fairies would be placed.
#cardbomb,#maria willis,#tonicstudios,#nuvo,#cards,#handmade,#cardmaker,#fairy,#art,#ink,#color,#diy,#papercraft,#diecutting,#tonicstudiosstampclub,


Next, I die cut my sentiment multiple times in white cardstock. I also cut it out one time form glittery white cardstock. I glued the multiple layers together with the glittery cardstock on top. This gave me a fun, dimensional, die-cut sentiment that popped off of a piece of black cardstock.
#cardbomb,#maria willis,#tonicstudios,#nuvo,#cards,#handmade,#cardmaker,#fairy,#art,#ink,#color,#diy,#papercraft,#diecutting,#tonicstudiosstampclub,

To finish my card off I adhered all of my fairies using foam adhesive and then added a few subtle sequins.

#cardbomb,#maria willis,#tonicstudios,#nuvo,#cards,#handmade,#cardmaker,#fairy,#art,#ink,#color,#diy,#papercraft,#diecutting,#tonicstudiosstampclub,


If you look closely at the fairies you will be able to see that I used a white gel pen to add little highlights to their hair, wings and outfits. I think this gives them a sparkly, magical look.
#cardbomb,#maria willis,#tonicstudios,#nuvo,#cards,#handmade,#cardmaker,#fairy,#art,#ink,#color,#diy,#papercraft,#diecutting,#tonicstudiosstampclub,


I just love it when a stamp set is versatile and this bundle has got a lot going on. This mushroom stamp pairs perfectly with its punny sentiment to make for a great guy card! I started out by stamping the mushroom in Antique Linen Distress Oxide ink on black cardstock. Then, I colored the image in with colored pencils. This was my first time trying this and I had fun with it but it was hard for me. 

#cardbomb,#maria willis,#tonicstudios,#nuvo,#cards,#handmade,#cardmaker,#fairy,#art,#ink,#color,#diy,#papercraft,#diecutting,#tonicstudiosstampclub,


After I finished coloring I heat embossed a sentiment directly below the image. I also splattered the background lightly with white paint before cutting it out with my Deckle Edge trimmer.
#cardbomb,#maria willis,#tonicstudios,#nuvo,#cards,#handmade,#cardmaker,#fairy,#art,#ink,#color,#diy,#papercraft,#diecutting,#tonicstudiosstampclub,


I splattered my green cardbase with black ink and adhered my image panel down using foam tape.
#cardbomb,#maria willis,#tonicstudios,#nuvo,#cards,#handmade,#cardmaker,#fairy,#art,#ink,#color,#diy,#papercraft,#diecutting,#tonicstudiosstampclub,


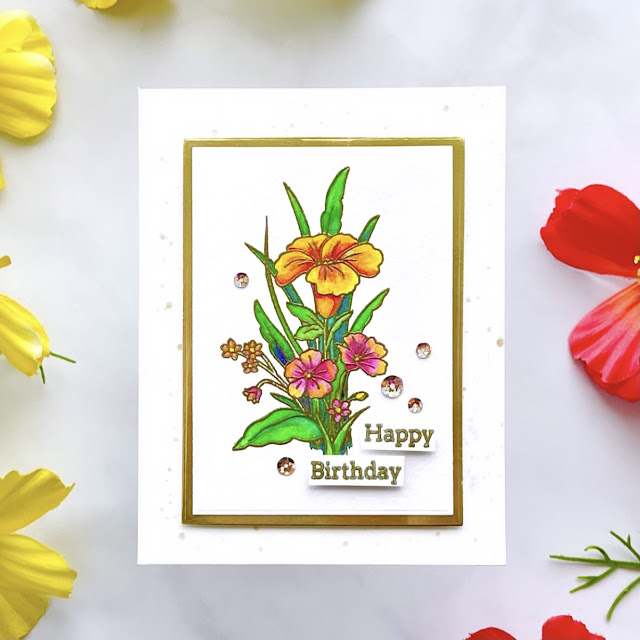
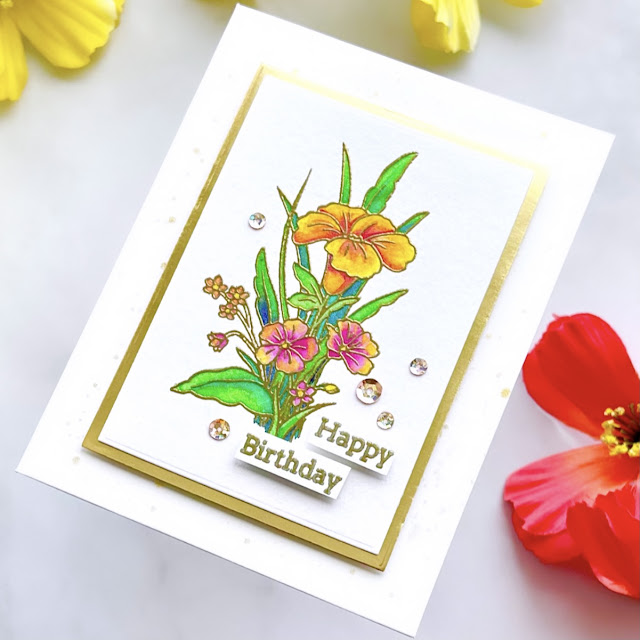
Here is another way that you can use this set to create beautiful (non-fairy) cards. I heat embossed the floral image in gold and then watercolored it using Nuvo Shimmer powders.
#cardbomb,#maria willis,#tonicstudios,#nuvo,#cards,#handmade,#cardmaker,#fairy,#art,#ink,#color,#diy,#papercraft,#diecutting,#tonicstudiosstampclub,


I used the dies from Stamp Club 6 to cut out my layers and added those onto an ivory cream card base that I splattered with Midas Touch.
#cardbomb,#maria willis,#tonicstudios,#nuvo,#cards,#handmade,#cardmaker,#fairy,#art,#ink,#color,#diy,#papercraft,#diecutting,#tonicstudiosstampclub,


I added some Nuvo sequins in Champagne to finish this card off.
#cardbomb,#maria willis,#tonicstudios,#nuvo,#cards,#handmade,#cardmaker,#fairy,#art,#ink,#color,#diy,#papercraft,#diecutting,#tonicstudiosstampclub,


For my last card I wanted to share how easy it is make a fabulous shaker card using the fairyland frame die from this set. I cut the die from the inside of an A2 sized piece of black cardstock. 
#cardbomb,#maria willis,#tonicstudios,#nuvo,#cards,#handmade,#cardmaker,#fairy,#art,#ink,#color,#diy,#papercraft,#diecutting,#tonicstudiosstampclub,


I inkblended a background panel in red, orange and yellow. Then I poured chunky gold glitter and yellow butterfly confetti on top of it. I added a double layer of quarter inch foam tape to the back of the die cut frame and attached to the background, trapping all of the glitter and confetti inside.
#cardbomb,#maria willis,#tonicstudios,#nuvo,#cards,#handmade,#cardmaker,#fairy,#art,#ink,#color,#diy,#papercraft,#diecutting,#tonicstudiosstampclub,


The final steps were to add a gold, heat embossed sentiment and a copic colored flower to the card front.
#cardbomb,#maria willis,#tonicstudios,#nuvo,#cards,#handmade,#cardmaker,#fairy,#art,#ink,#color,#diy,#papercraft,#diecutting,#tonicstudiosstampclub,


Ok, that's it for me today you guys! I hope you'll like this I Love You Fairy Much bundle as much as I have. If you do like it, remember that once it sells out it is gone for good so pick yours up while they are still in stock. It's only available at Tonic Studios so here are the links to those shops for you:

        -Tonic Studios USA

        -Tonic Studios UK


Have an amazing day you guys!

Maria


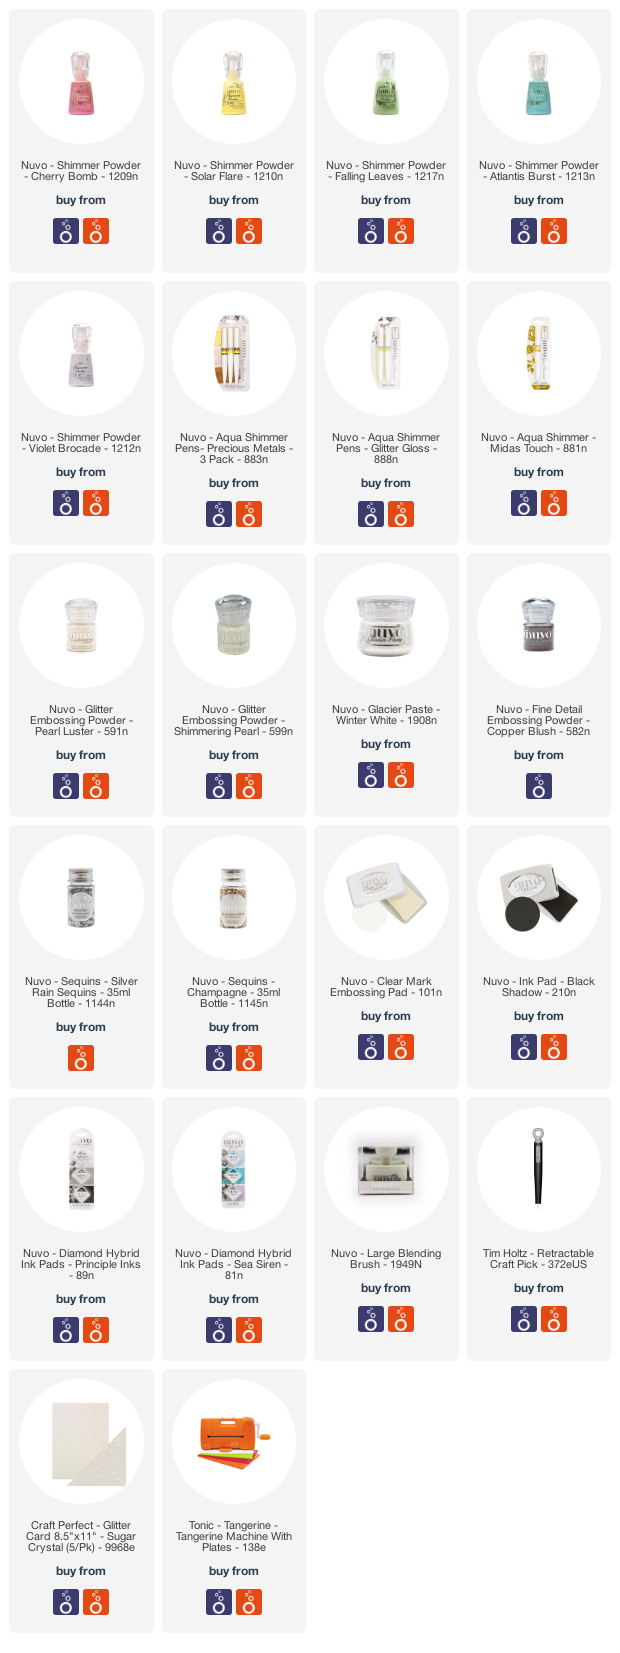
PRODUCT SUPPLY LIST:


Saturday, September 5, 2020

Hero Arts My Monthly Hero Sneak Peek

Hey Everybody! This month's My Monthly Hero kit from Hero Arts is almost here and that means the countdown is on! This month the kit is going live on Tuesday, September 8 so mark your calendars (Monday is Labor Day so it's going live a day later than normal)! The kit goes live at 10am Pacific and once it's sold out it's gone for good. If you want to make sure you never miss a kit you can subscribe here-subscribers are guaranteed a kit!

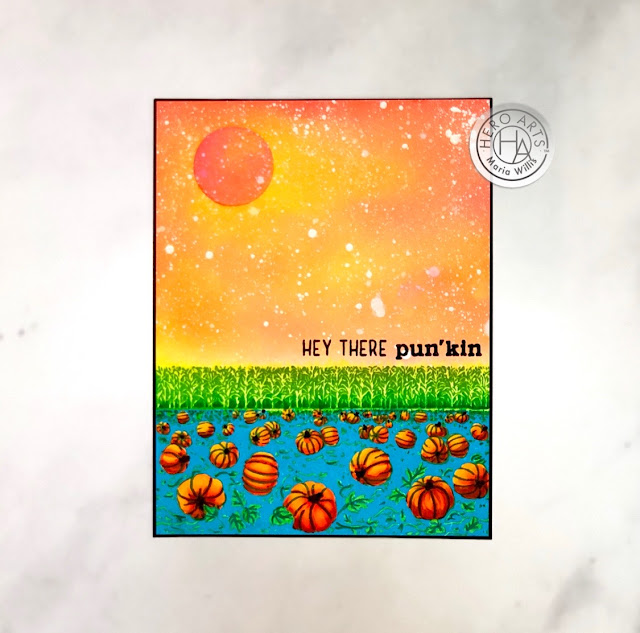
Today I've got a sneak peek of the kit for you. I've used the main image from the kit to create a fun pumpkin patch. I also had fun ink blending the happy sky with what I'm calling a harvest moon (or harvest sun?).
Cardbomb, Maria Willis, Hero Arts, cards, stamps, ink, paper, paper craft, crafty, create, cardmaker, cardmaking, handmade, diy, color, art

The sentiment is also from the main kit and was the perfect finishing touch for this pumpkin card.
Cardbomb, Maria Willis, Hero Arts, cards, stamps, ink, paper, paper craft, crafty, create, cardmaker, cardmaking, handmade, diy, color, art

Alright you guys-that's all you get for today! I promise to share more details on how this card was made on Tuesday when the hop goes live! Plus, I have a totally different take on this kit to share with you for the launch as well. I can't wait to share it all with you soon!

Oh! I almost forgot... Hero Arts is doing a giveaway and one lucky winner will be winning the September My Monthly Hero kit. All you have to do to enter is go HERE and leave a comment to win. Good Luck!

Bye guys! Have the best day!
Maria


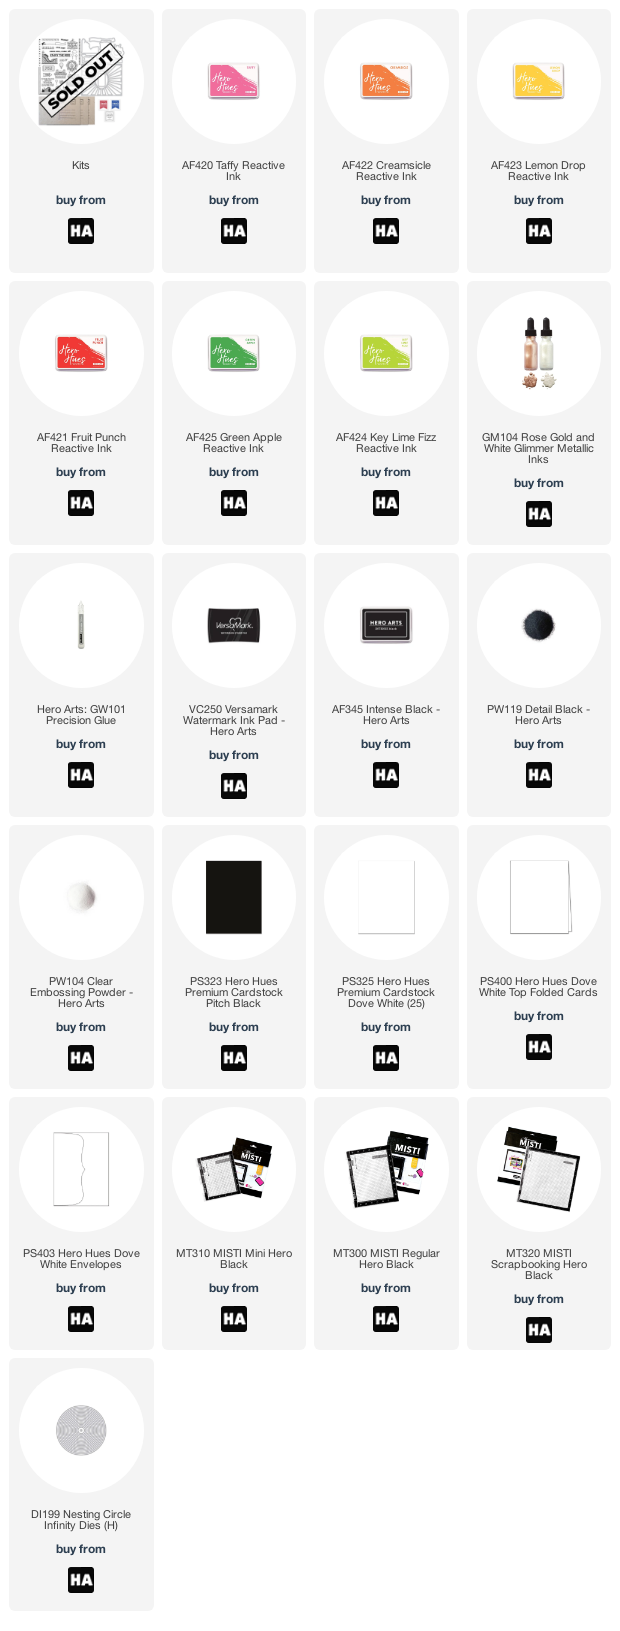
PRODUCT SUPPLY LIST:

Monday, July 20, 2020

Crafty Friends: Ellen Hutson and a Discount!

Hey everybody! I hope your week is off to a great start! I am excited because we are getting kittens today... well, they were supposed to be kittens but they are twelve weeks old now so I'm hoping there's a little kitten left in them. Either way, we've been waiting for these kitties since May and we are so excited to finally get them.

I'm also excited because today is the 20th of the month and that means I'm getting together with my crafty friends for an awesome blog hop! If you haven't joined us for this hop before... we are a group of crafty friends who believe in crafting for fun. Every month we pick one company to focus on and we bring you tons of creative inspiration using products from that company. This month we are sharing our love for Ellen Hutson! Ellen is so generous and has offered an exclusive discount for our readers.

DISCOUNT: Click this link to Ellen Hutson and use the code: CRAFTYFRIENDS for 20% off an all Essentials by Ellen products from now through July 21st, 2020. 

For this card I went for sort of a clean, mixed media look (is that a thing?). I love doing mixed media and haven't had much time for it lately so this card hit the spot for me in terms of getting colorful and grungy. I used the Dina Wakley Gloss Sprays on deli paper to create the background for my card. When it was dry I adhered it to a piece of white cardstock using gel medium. 

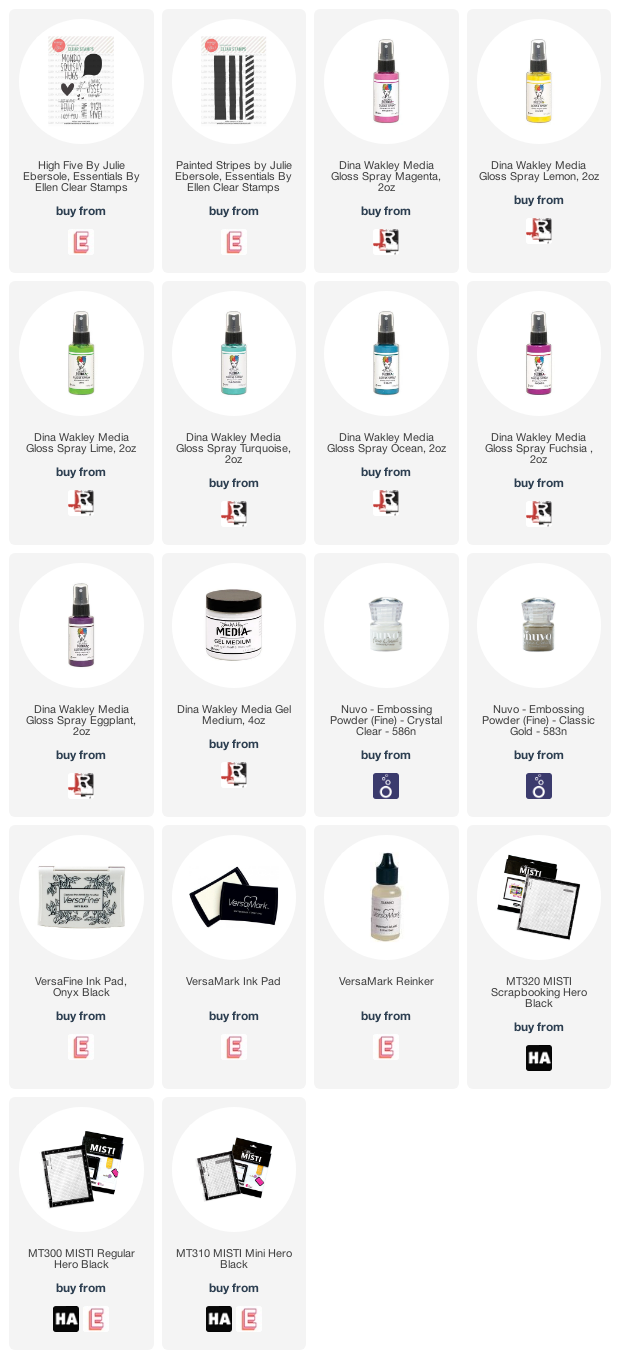
Next, I added the sentiment, "Mondo Squishy Hugs," which I just love from the High Five stamp set from Ellen Hutson. I stamped it in black Hybrid ink and heat embossed it in clear embossing powder.

Then I used the Painted Stripes stamp set to add some decorative elements and texture to my card. These were all heat embossed either in gold, clear with a sprinkling of gold, or, black. 

To finish my card off I added detail with black and white glaze gel pens just to add a little more texture. 

Both of the stamp sets that I used today qualify for the awesome 20% discount to Ellen Hutson! There are a ton of products (that I didn't use today) that qualify as well. So, If you're inclined to do a little shopping remember to to use this link to Ellen Hutson and add the code CRAFTYFRIENDS when you check out. Here are the details...


That's it for me today you guys but my crafty friends have all dreamed up some amazing projects to share with you today as well. To continue hopping along with us please head on over to Becky's Blog. If you prefer to work off of a list-I've included a list of my Crafty Friends below. As always, I'm including a list of the products that I used today so that if you're interested in checking them out it's easy for you to find what you are looking for. If you have any questions please let me know (just leave me a comment and I'll get back to you asap).

Have an amazing day you guys!
Bye for now,

Maria.


BLOG ROLL:
Jill Hilliard
Jen Timko
Amy Kolling
Tanya Boser
Ilina Crouse
Maria Willis: You are HERE.
Becky Roberts
Sandi MacIver
Sue Plote
Sara Sherlock
Lydia Fiedler


PRODUCT SUPPLY LIST:


Monday, July 13, 2020

Hero Arts July My Monthly Hero Kit and a Giveaway!

Hi everybody and happy Monday! Today is the day we've all been waiting for! My Monthly Hero Kit release day! The theme for this month's kit is Atlantis and it is so cool! Today I have three cards using the add-ons from this month's kit to share with you.

My first card features my favorite stamp from the whole release... the Deep Sea Background cling stamp. This is a red rubber stamp and it stamps this full background image beautifully. It's a bit larger than an A2 sized card.
Cardbomb, Maria Willis, Hero Arts, #mymonthyhero, #stamp, #ink, #paper, #papercraft, #craft, #create, #card, #cardmaking, #handmade, #watercolor, ocean,
I used my Hero Arts liquid watercolors to paint the whole scene. I did film the process but didn't have time to turn it into a video for you. So, if you'd like to see a process video for how I colored this please leave me a comment and let me know. If you guys are interested I'll do my best to get that video edited soon for you.
Cardbomb, Maria Willis, Hero Arts, #mymonthyhero, #stamp, #ink, #paper, #papercraft, #craft, #create, #card, #cardmaking, #handmade, #watercolor, ocean,
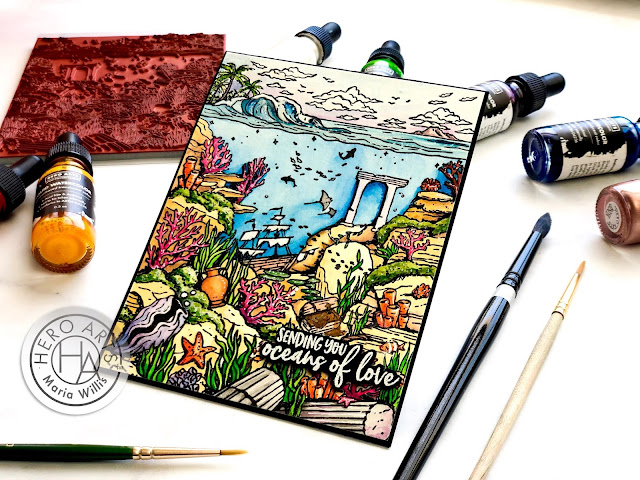
After I watercolored the whole scene I added some metallic ink to the waves, clouds and treasure chest. I also added some shimmer from my Nuvo Glitter Gloss pen to the whole ocean so that it would sparkle.
Cardbomb, Maria Willis, Hero Arts, #mymonthyhero, #stamp, #ink, #paper, #papercraft, #craft, #create, #card, #cardmaking, #handmade, #watercolor, ocean,
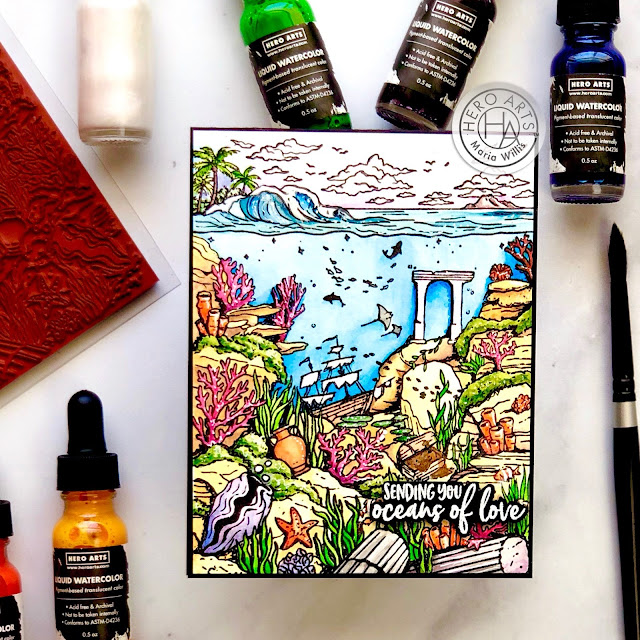
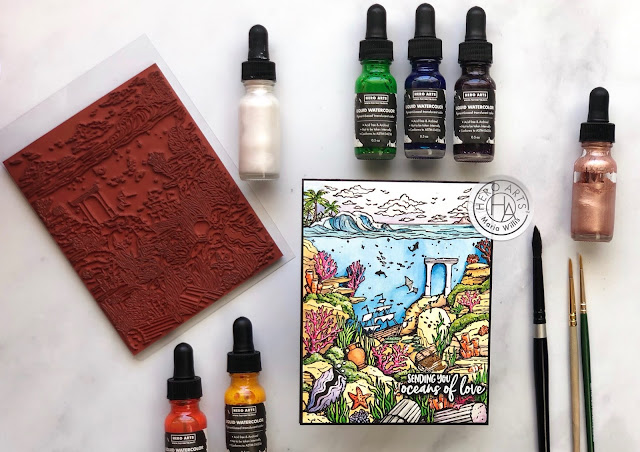
Here's a look at some of the products that I used...
Cardbomb, Maria Willis, Hero Arts, #mymonthyhero, #stamp, #ink, #paper, #papercraft, #craft, #create, #card, #cardmaking, #handmade, #watercolor, ocean,


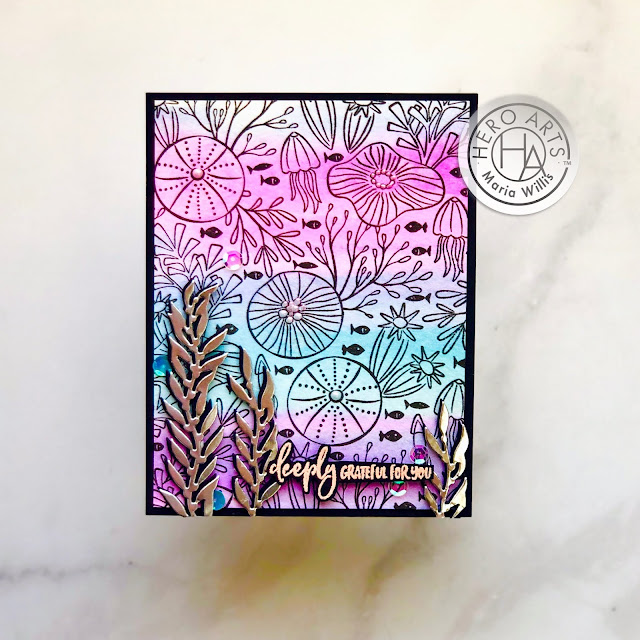
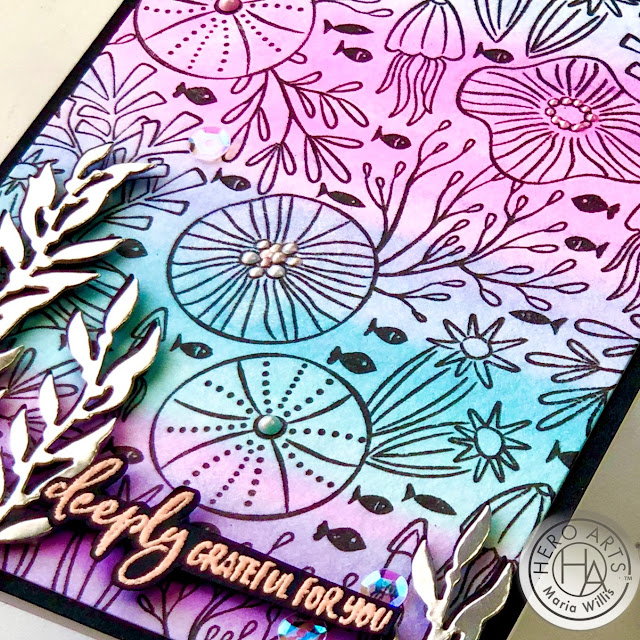
For my second card I used the Underwater Pattern Bold Prints background stamp. This is a 6"x6" stamp full of all kinds of underwater fun! 
Cardbomb, Maria Willis, Hero Arts, #mymonthyhero, #stamp, #ink, #paper, #papercraft, #craft, #create, #card, #cardmaking, #handmade, #watercolor, ocean,

I watercolored using Nuvo Aqua Flow pens and when that dried I stamped the image in black ink. I added some die cut seaweed in silver and black as well as some Dream Drops and subtle sequins.
Cardbomb, Maria Willis, Hero Arts, #mymonthyhero, #stamp, #ink, #paper, #papercraft, #craft, #create, #card, #cardmaking, #handmade, #watercolor, ocean,

The sentiment is from this month's main kit as is that gorgeous coral colored embossing powder.
Cardbomb, Maria Willis, Hero Arts, #mymonthyhero, #stamp, #ink, #paper, #papercraft, #craft, #create, #card, #cardmaking, #handmade, #watercolor, ocean,

This card came together with a soft, dreamy look that I think is really pretty.
Cardbomb, Maria Willis, Hero Arts, #mymonthyhero, #stamp, #ink, #paper, #papercraft, #craft, #create, #card, #cardmaking, #handmade, #watercolor, ocean,

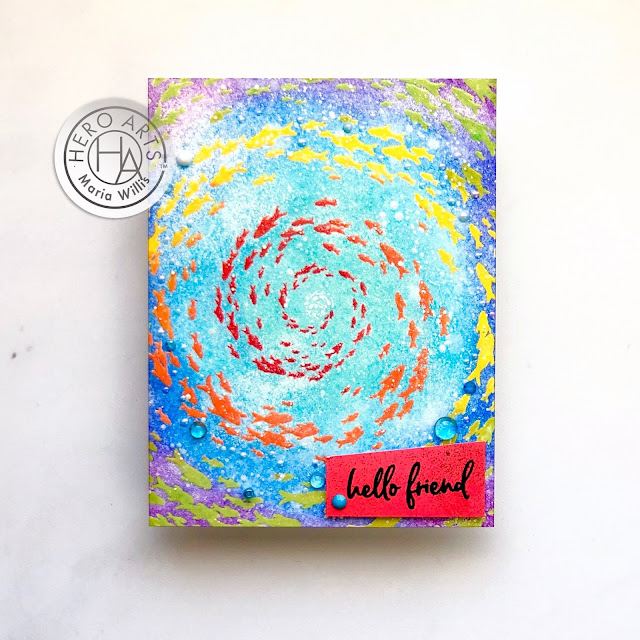
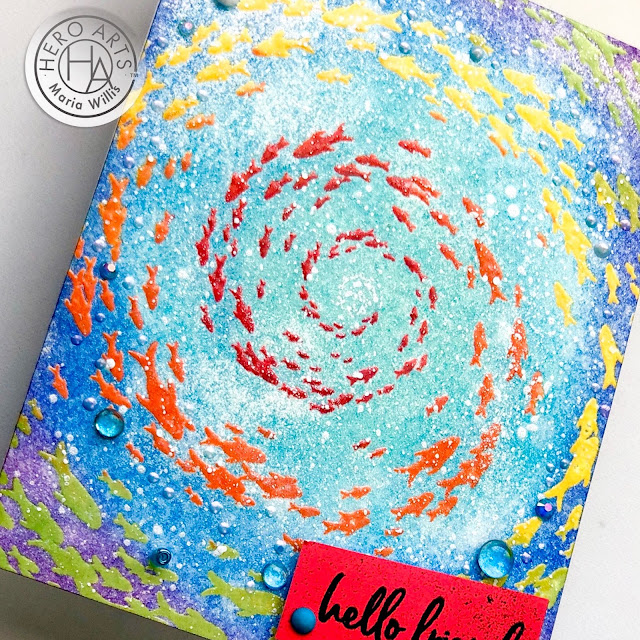
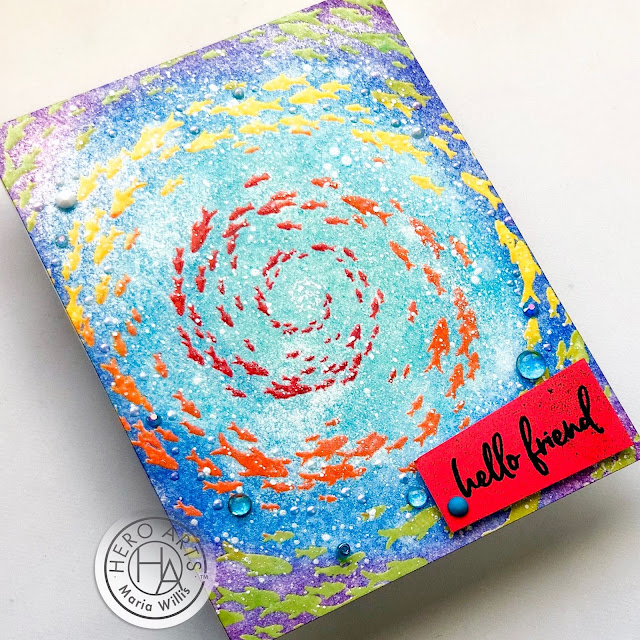
For my last card I used another 6"x6" background stamp called School of Fish Bold Prints. I used my Misti stamping tool to make this card otherwise getting this effect would have been impossible. I started by inking up the center of my stamp in red and stamping it. Then, I did the next segment of fish in orange. I followed those with both yellow and green. 
Cardbomb, Maria Willis, Hero Arts, #mymonthyhero, #stamp, #ink, #paper, #papercraft, #craft, #create, #card, #cardmaking, #handmade, #watercolor, ocean,

After I had all of the fish inked up properly I stamped the whole image again in clear embossing ink. Then I poured on clear embossing powder and heat set it. That gave me one clear layer on top of my fish but I wanted them to have some dimension as if they were coming off of the card. I re-heated the embossed fish with my heat tool and immediately covered them again with clear embossing powder. I did this three our four times until all of my fish were thickly embossed. I used my anti-static tool before I embossed the whole background. I did not use it after that when I was trying to achieve thick embossing. This allowed for some specks of powder to stick on white areas of the card (for other cards this might be seem like a mistake but it was part of the distress effect on this card).
Cardbomb, Maria Willis, Hero Arts, #mymonthyhero, #stamp, #ink, #paper, #papercraft, #craft, #create, #card, #cardmaking, #handmade, #watercolor, ocean,

Now I have a white background with embossed fish. Because these fish are embossed I can now ink blend over the top of them without worrying about changing their color. I used my reactive inks to ink blend the background. I made the center of the card, where the tiny fish are, lighter in color as if they were swimming up towards the light.  I splattered my card with white metallic glimmer paint to give the look of bubbles and texture. Then, to finish my card off I stamped a sentiment from the main kit on a piece of card stock that I had colored with an ink pad (I just rubbed my Fruit Punch ink pad on white cardstock until it was saturated with ink). I cut it at a wonky angle and used foam tape to adhere it to my card. The final touch was to add some embellishments that looked like water droplets or gems and some dream drops.
Cardbomb, Maria Willis, Hero Arts, #mymonthyhero, #stamp, #ink, #paper, #papercraft, #craft, #create, #card, #cardmaking, #handmade, #watercolor, ocean,

Ok you guys, that's all I've got for today. If you're interested in checking out any of the products that I've shared I've got them all listed below for you. If you have any questions about how I made these cards please feel free to ask!

Now, as always Hero Arts is having a generous giveaway (details below), all you need to do is leave me a comment below to enter to win. If you're interested in purchasing this month's kit we have great news for you! The kit should start shipping this Friday, July 17th and continue shipping through next week.

To continue on with this inspiration filled hop please head on over to the lovely Mariana and check out what she's got to share today. If you prefer a list of hoppers, I've got one linked up for you below.

Have an awesome day and thanks for stopping by!
Maria


GIVEAWAY:
Hero Arts will give away one $50 gift card, drawn from the comments left across the hop. Enter by Sunday, July 19th at 11:59pm pacific, and the winner will be announced on the Hero Arts blog the following week.


BLOG ROLL:

Hero Arts
Amy Kolling
Channin Pelletier
Daniel West
Debi Adams
Emily Midgett
Ilina Crouse
Janette Kausen
Jenn Shurkus
Jessica Frost-Ballas
Julee Tilman
Laurie Willison
Lydia Fiedler
Maria Willis: You are HERE.
Mariana Grigsby
Michelle Short
Mindy Eggen
Nichol Spohr
Seeka
Yana Smakula


PRODUCT SUPPLY LIST:


Sunday, July 12, 2020

Watercolored Daisy Fun!

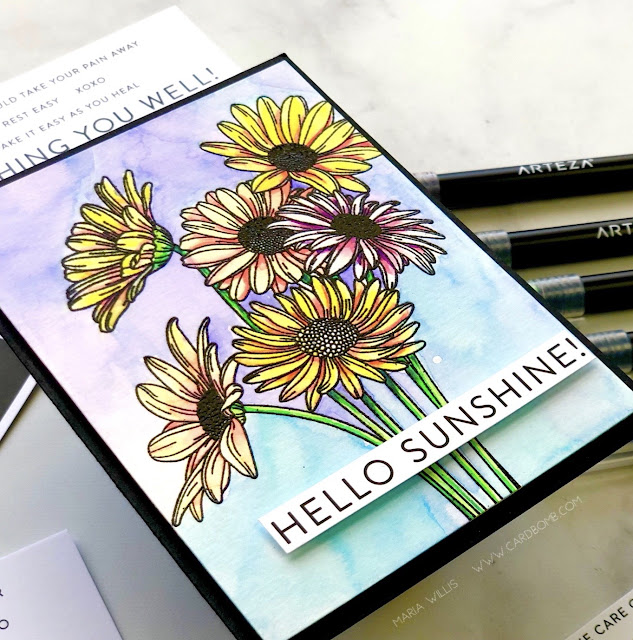
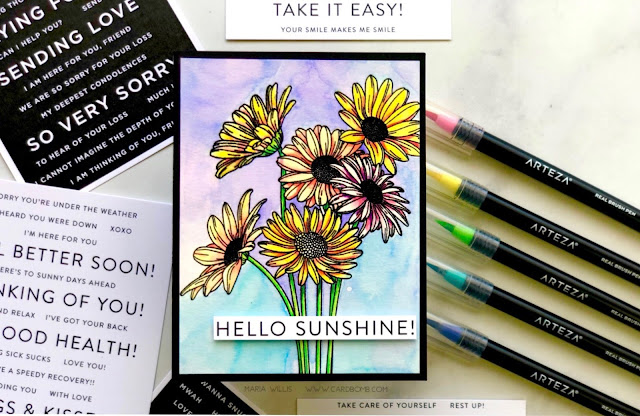
Hey everybody! Happy Sunday! I hope you all are having a great day. I'm just popping in to share in a little watercoloring I've done with this beautiful Daisy stamp from Simon Says Stamp.
Cardbomb, Maria Willis, Simon Says Stamp, #cards, #stamps, #ink, #paper, #papercraft, #craft, #create, #handmade, #handmadecards, #arteza, #flowers, #art, #color, #watercolor,

I used my Arteza watercolor brush pens and some Canson watercolor paper. The Canson is new to me and the ink definitely moves differently than with the Arches and Strathmore that I usually use. It's fun to have a new watercolor paper in my arsenal.
Cardbomb, Maria Willis, Simon Says Stamp, #cards, #stamps, #ink, #paper, #papercraft, #craft, #create, #handmade, #handmadecards, #arteza, #flowers, #art, #color, #watercolor,

I used just five brush pens for this card but by mixing the inks I was able to create a beautiful color palette! After I finished watercoloring, I finished my card off by mounting it onto a black card base and adding an easy sentiment from the Simon Says Stamp Sentiment Strips "Get Well" pack. These strips make it so easy to add a great sentiment to your card!
Cardbomb, Maria Willis, Simon Says Stamp, #cards, #stamps, #ink, #paper, #papercraft, #craft, #create, #handmade, #handmadecards, #arteza, #flowers, #art, #color, #watercolor,

Ok, that's it for today. I'm off to work on my taxes but I'll see you all back here tomorrow for the Hero Arts My Monthly Hero release!

Have an awesome day!
Maria
01 09 10