Hi everybody and welcome to Erin Lee Creative's first release of 2021! This month's release is full of beautiful things (picture of everything with links at end of post) but I decided to focus on this gorgeous Sparkling Palms Stencil. I made two cards using the same stencil to show you two completely different looks with it.
For my first card I started out with white cardstock. I taped it to the stencil so that it would stay in place and ink blended it using blending brushes and my Hero Arts Reactive Inks. I love these inks because they blend so smoothly together and have a dreamy look when applied lightly.
I selected a sentiment from the
Stay Golden stamp set. Side note: I have to keep stopping myself from saying, "Stay Golden, Pony Boy." Have any of you read the book,
The Outsiders? It's a great a book and that's where that saying comes from (there's a movie too). Anyhow, I heat embossed the
sentiment in black sparkle embossing powder onto a double layer of vellum. When I stuck that down I added a wad of metallic black thread to the card.
To finish my card off I added some black sequins and called it a day!
For my second card I used the same
Sparkling Palms stencil for a completely different look. This time I started with a beautiful, dark blue-green piece of cardstock. I taped it to the
stencil so it wouldn't move while I was using it. This time instead of using ink to fill in the stenciled areas I used liquid adhesive. I did this by squirting liquid adhesive onto my work surface. Then I used a sponge blending tool to pick it up and dab it onto my cardstock through the stencil. I made sure to apply it thinly so that it would not bleed under the stencil and ruin the image.

After I removed the stencil I waited until the glue was dry enough to feel tacky. It didn't take long because I had applied such a thin layer of glue. I grabbed my Nuvo Gilding Flakes in gold and rubbed them all over the card. The golden flakes stuck to the glue revealing my stenciled image. I used my Surface Sweep Brush to remove the extra flakes from my card and to clean up my desk. I know gilding flakes can be daunting for a lot of people but they can be so much fun if you remember to turn off your fan/AC first, don't sneeze, and have the proper tool for easy cleanup (Surface Sweep).
To add a sentiment I used the
Stay Golden Word Die. I cut it out three times in black and glued the layers together. I wanted it to pop off of my card so I placed the die on vellum, traced around it, and, cut it out. Voila! A perfect halo for my sentiment! I used glue dots to adhere the sentiment piece. To finish my card off I splattered with gold sparkle from my Midas Touch pen, cut down the left side of the cardstock by 1/4", and added some gold sequins. This got mounted onto a black, A2 sized cardbase.
Here's a look at this month's full release from
Erin Lee Creative. It's a really fun release with stamps, stand-alone dies, a stencil, and, three kinds of rainbow holographic paper!
Click HERE to shop the release now!
I will add links to all of the products that I've used today below in case you're interested in checking any of them out. There's also a fun giveaway and a blog hop. All the info you need is listed below.
Have an awesome day you guys!
Maria
GIVEAWAY:
Comment on all blogs in the hop to be entered to win a $50 gift voucher to shop at Erin Lee Creative! Two winners will be chosen at random from the comments!
BLOG HOP LIST:
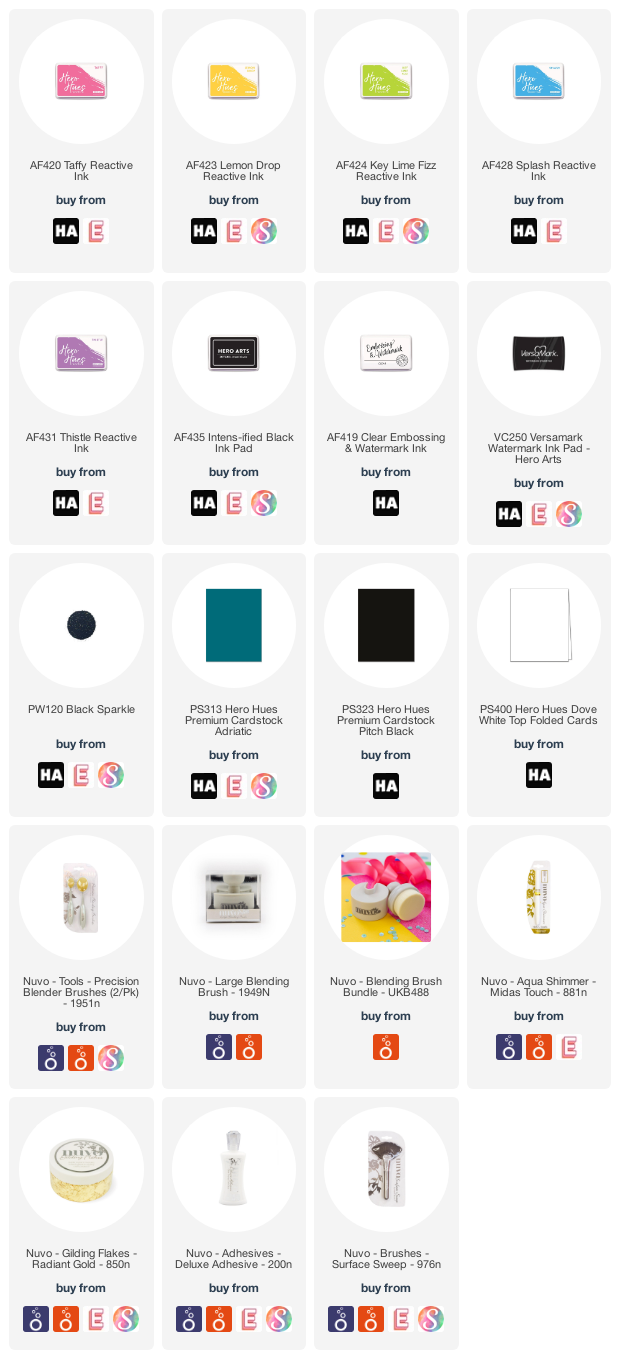
PRODUCT SUPPLY LIST:


I love both of your card ideas great job
ReplyDeleteWhat pretty cards. I like the leaves and branches, both cards....
ReplyDeleteExcellent use of supplies! This turned out amazingly!
ReplyDeleteTotally awesome cards using the same stencil
ReplyDeleteThese are beautiful! Stencils are my favorite and you've given me some wonderful inspiration - thank you!
ReplyDeleteI LOVE your stenciling and the great sentiments!
ReplyDeleteBeautiful stencil design! Pretty cards!
ReplyDeleteI like the different looks you achieved with these palms.
ReplyDeleteLove both of them!
ReplyDeleteSuch bright , cheery colors on the first card!
Thanks for the inspiration!
So different and so gorgeous!
ReplyDeleteMaria, these are beautiful! The first card is so light and airy and the second card is just lovely. I love the cheery sentiments
ReplyDeletelove your cards - the leaf card is so inspiring
ReplyDeleteBeautiful! I love that stencil and the great backgrounds. Would make a great masculine background.
ReplyDelete