Hey everybody! The wait is over! It's time for the Hero Arts October 2022 My Monthly Hero release and this month's kit is a gorgeous, wintery, Christmas bundle! It's got a large 6"x8" stamp set filled stamps that are perfect for scene building or for using individually. There are also sentiments in a most beautiful font. The coordinating die set cuts out all of the images including the sentiments! The kit also includes a cling background stamp of falling snow, two different white ink cubes, and some gorgeous papers (affiliate links may be used at no extra cost to you)!
Before I get to my cards, if you aren't familiar with the My Monthly Hero kit, it's a kit that is released by Hero Arts on the first Monday of every month. It always has a fun, themed, collection of stamps, dies and other goodies. The cost is just $34.99/month and the value is always much greater! This month's kit is valued at $79!
You have the option to subscribe (subscribing now means your first kit will be the November release), or, to buy your favorite kits as one-off purchases. Be aware that once these kits sell out they are gone for good. If you see a kit you like make sure to snatch it up quickly! There are also a ton of amazing add-on products! You can buy the add-ons as a bundle at a discounted rate or just pick up your favorite products.
For my first share today I wanted to show how easy it is to make gorgeous holiday tags with this kit. I started out with a piece of Mist cardstock. I selected two of the images from the kit to build a scene. I stamped one with Granite ink and the second with INTENS-ified Black ink. The lighter gray ink helped the first image to fade into the background and made it look further away. The black ink brought the second image to the foreground and also allowed me to overlap the two images without losing any of the detail. After stamping the images I used my Tag Infinity Dies to cut out a tag in the size that I wanted.

I used some post-it tape to create a mask for the bottom portion of my tag. Then, I used a blending brush and some Blue Hawaii Reactive Ink to ink around the edges to darken up the sky before heat embossing the falling snow background stamp in White Satin Pearl. I used white and yellow Posca pens to snow and light to the windows on the images. Next, I heat embossed my sentiment in white onto Cherry cardstock, die cut it with the coordinating die, and adhered it to my tag with foam tape. A couple of rhinestone gems and some twine added the finishing touches to my tag.

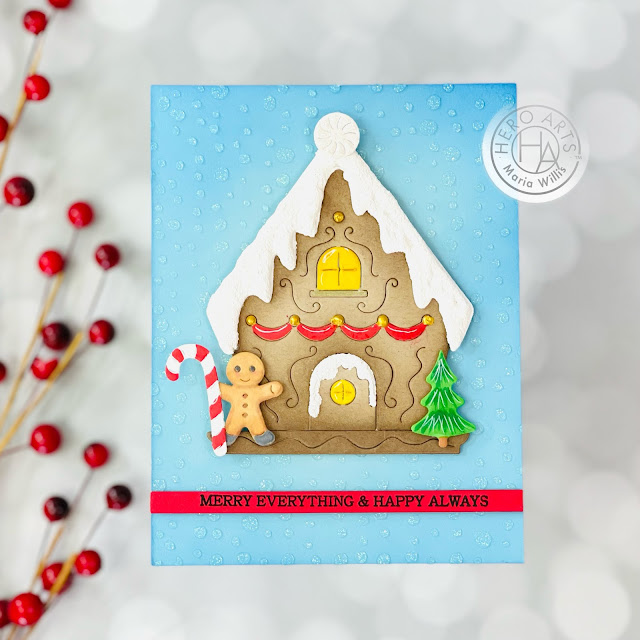
For my next card I decided to use the
Gingerbread House Fancy Die which is an add-on to this month's kit. I left the die set connected and ran it through my die cut machine twice, once with Luxe watercolor paper (I didn't end up watercoloring so white cardstock would've been fine), and again with Sand cardstock. I started by ink-blending the edges of the gingerbread house with Sand ink to add a little depth. Then I used my red and yellow Posca paint pens to color in the windows and sash on the house as well as the stripes on the candy cane. I added
Gold Hero Pearls to sash on the house to fancy it up a little bit. I colored the gingerbread cookie and tree with my copic markers and set them aside.
I wanted to have some really great, textured snow on this card so I used the
Snow & Froth Technique Kit (
lacquer pen and
white puff embossing powder) to add snow to the roof top and the door of the gingerbread house. To do this, just squirt the lacquer pen everywhere that you want snow, cover it with white puff embossing powder, and heat set it. You will end up with most wonderful snow!

For the background I started out with a piece of Mist cardstock and I inkblended the edges with Blue Hawaii Reactive ink. Next I grabbed the
Sprinkled Dots stencil, taped it to my background (add tape to back of cardstock to prevent tearing). and applied
Glitter Paste with my
palette knife. I hit the glitter paste with my heat tool to dry it quickly and then I adhered my assembled gingerbread house and accessories to the card using foam adhesive. I stamped the
Holiday Sentiment Strips in black ink on Cherry cardstock then cut all of the sentiments out at once using the
Sentiment Strips Fancy Die. This combination is so awesome bc you end up with so many perfect sentiment strips at once and anything you don't use immediately can be saved for another project. Anyhow, I added my sentiment strip using foam tape and that was it for my card.
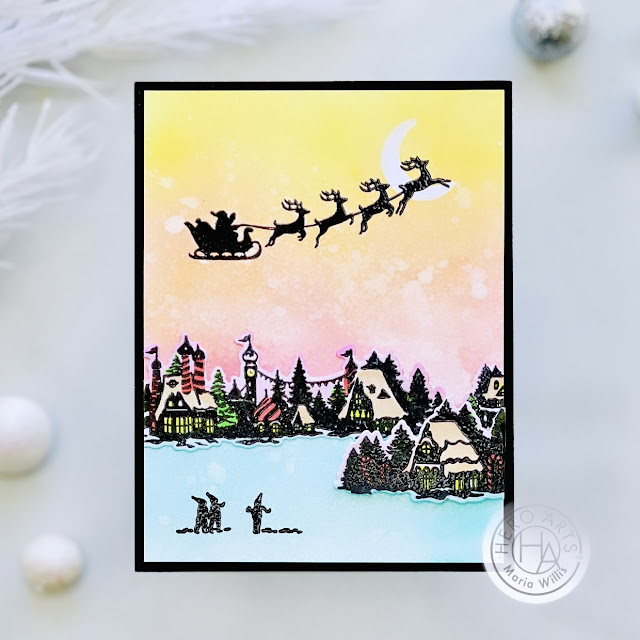
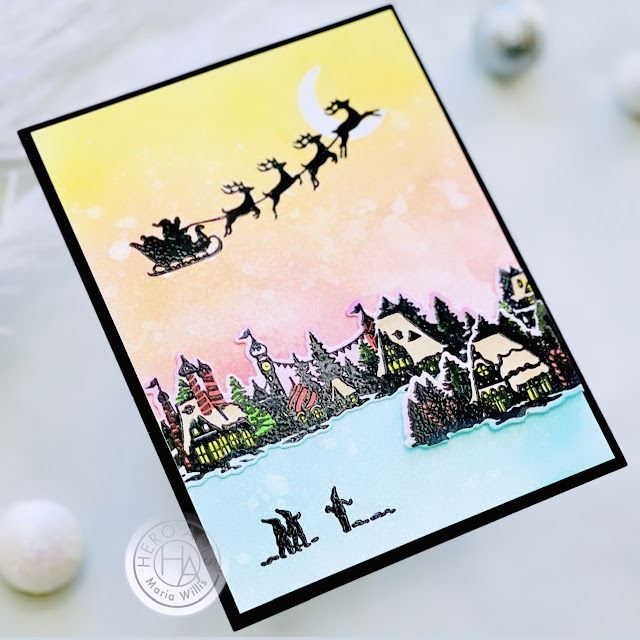
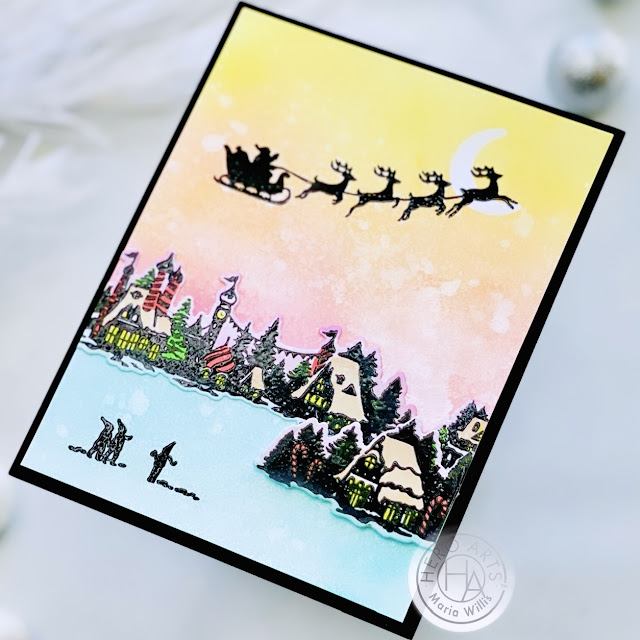
Here is another card that I made using the
October 2022 kit. If you want all of the details for this card then over to
this blog post HERE.
That is it for today you guys! I hope you love
this month's kit as much as I do. Please check out the details for the giveaway below and make sure to check out the rest of the blog hop for some incredible inspiration!
Have an awesome day!
Maria
GIVEAWAY:
We will give away a $50 gift card, drawn from the comments left across the hop. Enter by Sunday, October 9th at 11:59pm Pacific, and the winner will be announced on the Hero Arts blog the following week.
BLOG HOP LIST:
Hero Arts Creative Team:
Special Guests:
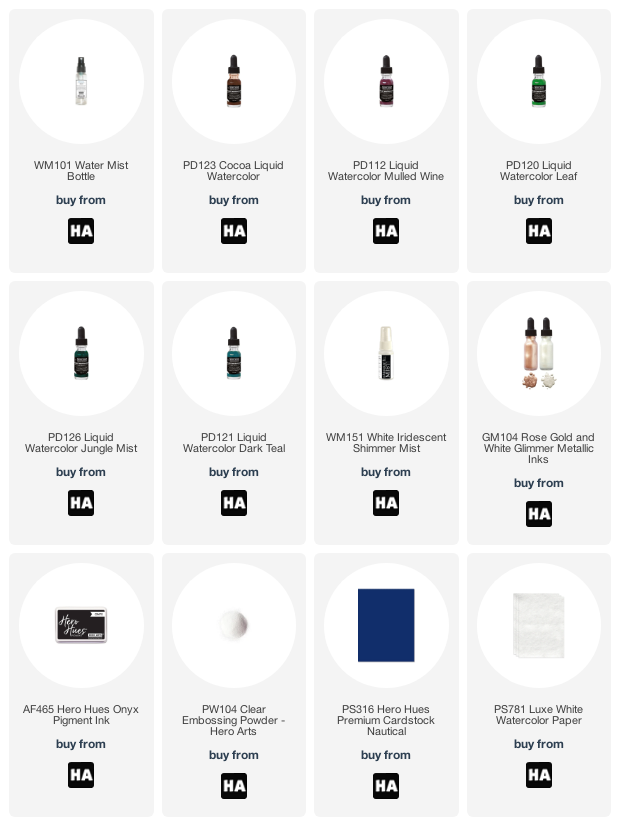
PRODUCT SUPPLY LIST: Affiliate links may be used at no extra cost to you.
