
Hello everybody! I am so excited to have you here for the launch of the new Stamp Club from Tonic Studios! This is the first in what will be a monthly release that will launch on the last Friday of every month (with the exceptions of holidays). This month's release is called Heartfelt Corsage and it is a beauty (it's a stamp and die bundle plus an add-on stamp set)! Oh! There's also a $100 Giftcard Giveaway! The info for the giveaway is at the bottom of my post so make sure you enter before you go. Now, here's a peek at some of the many cards I've made with this release...

Before I get excited and get ahead of myself I want to give you more info about the release. So, to know everything there is to know head on over to Tonic Studios to check it out. If you're in the UK Click Here, and if you're in the USA Click Here. In case you've noticed that my face and name are on the banner below... Yup, that's me. I got to help design these products which makes this release even more exciting for me!

I've made a little video to walk you through the products that are available in this release so here's that video to start you off. Heads up that I've actually got three videos for you today so make sure to keep reading until the end.
Now that you've had a good look at the Heartfelt Corsage stamps and dies we can get into my first cards. I've used one of the main floral stamps to create some popped up shaker cards. This stamp is perfectly sized to be the focal point of your card and it also works to decorate your envelopes with.

Here's a video sharing how I made these shaker cards...

I layered the die cuts on top of each other and adhered them to create a focal point with a hollow center.

I filled the center with shaker guts (glitter and sequins) and sealed it up with an acrylic window.

The floral piece in the front was watercolored before I glued it on to the front of the shaker.


My next card and envelope set started out with some fun inkblending. I used pink, orange and yellow to create these vibrant card backgrounds. On these projects I used the largest floral image from the Heartfelt Corsage bundle.

To see exactly how I did all of the stamping on this card and envelope set check out this video...
This card was heat embossed with white embossing powder. Then I added a sentiment in black.


Did you notice that fun little sentiment on the flap of the envelope? That's from the Happy Mail Envelope stamp set and I love it. There's another stamp that says, "Licked. With my spit." If I'm being honest that second sentiment is more my style.

Now, if you watched the last video you know that there is another card in that video. Let's take a look at that one...

This card was very easy to make and it still manages to be very soft and beautiful. I stamped the large floral image from the Heartfelt Corsage stamp set in Clear Mark ink on light blue cardstock. This gave a tone-on-tone stamped look. I die cut the image out and adhered it to a background that was lightly ink blended with purple ink.


So far you've seen the Happy Mail Envelope set used as something of a sidekick to the Heartfelt Corsage set... but guess what?! The Happy Mail set can hold it's own! It's a great sidekick stamp of course but check out how amazing the set is for decorating your envelopes! I stamped the wooden sign in brown ink, masked it off and ink blended it. Then I took a colored pencil and dragged those detail lines towards the center a little bit. I added silver gel pen to the nails.


Now I just have to decide who to address it to and send it off with something fun inside. Honestly though, even if I got a bill in this I would still be so happy to find this in my mail box.
Ok, you all, that's it for me today. I really hope you've enjoyed the release and hope you'll continue on with our blog hop. Next up on the hop is the amazing Michelle Short! Head over to her blog and see what beauties she's made for you to feast your eyes upon!
Before you go let me tell you about that Giveaway I mentioned...
GIVEAWAY!!
Tonic Studios will be giving one lucky winner a $100 gift card ( £100 if you're in the UK!)! That is such a fantastic giveaway and someone is going to be so happy! To enter the giveaway you need to comment on every blog in this blog hop (the list of blog hoppers is down below). Get your comments in by 11:59 pm PST on September 30, 2020. The winner will be announced on the Tonic Studios Instagram and Facebook accounts on October 2, 2020 (so make sure you're following the Tonic social media accounts). Good luck to you all!
Ok, the blog hop list is below (or just head over to Michelle's blog right now). I've also linked most of the products that I've used today in case you'd like to check anything out.
Have an awesome day (or evening if you're on the other side of the Earth from me)! Bye for now.
Maria.
BLOG HOP LIST:
Maria Willis: YOU ARE HERE.
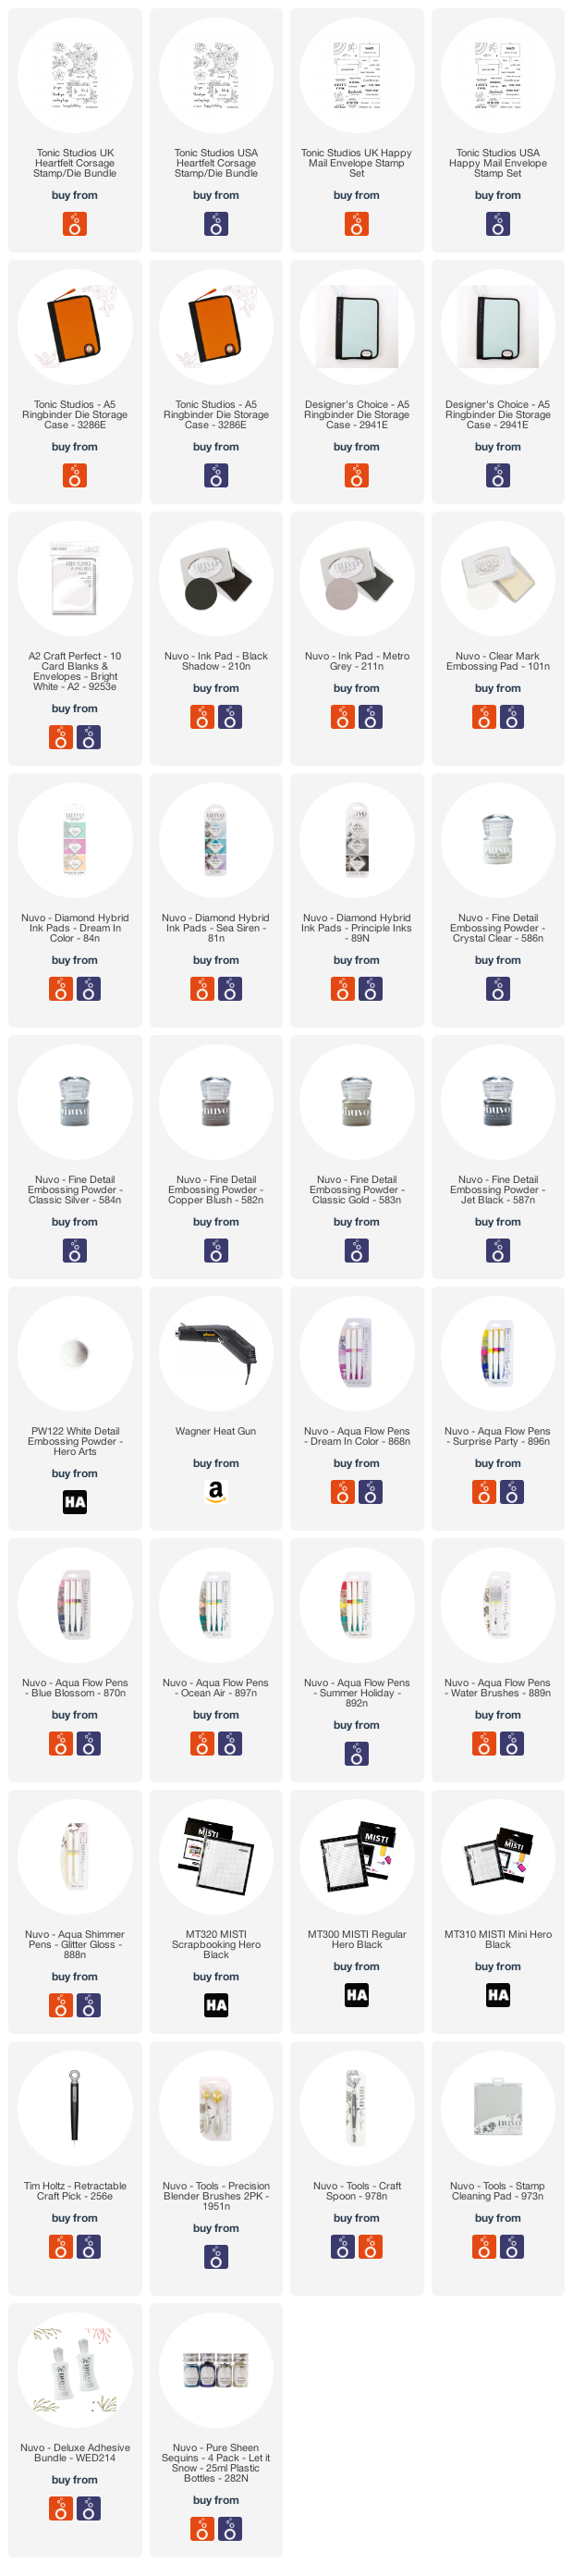
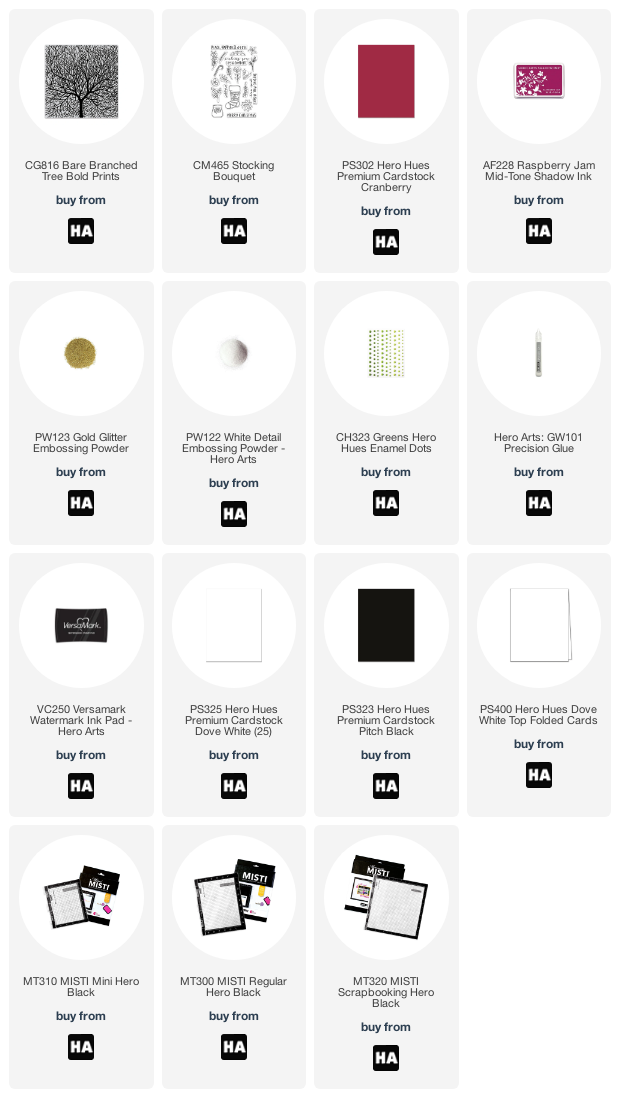
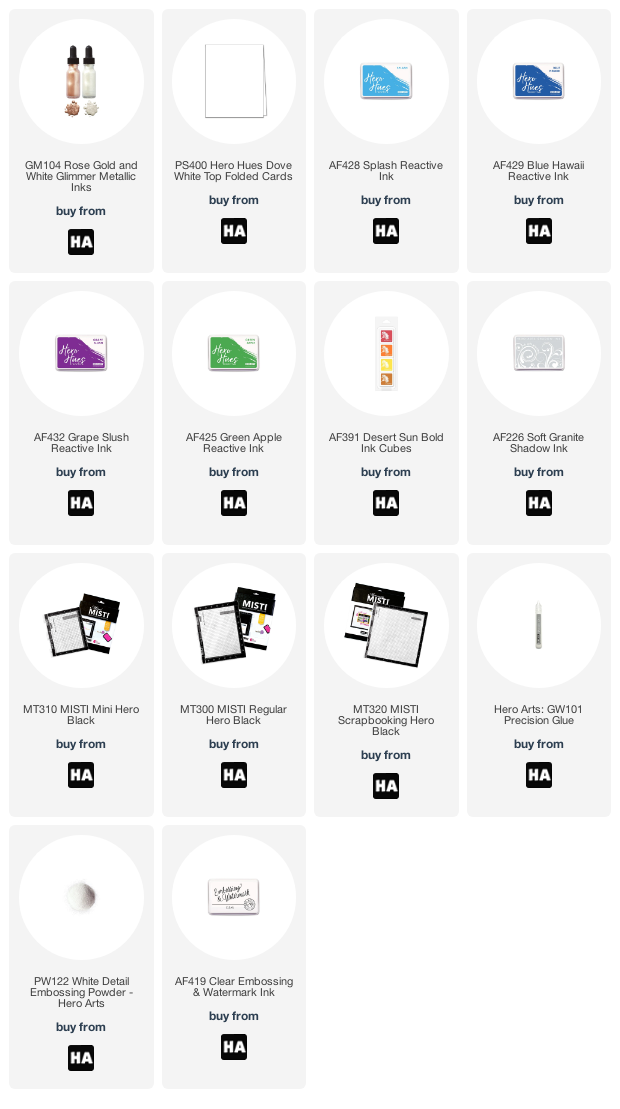
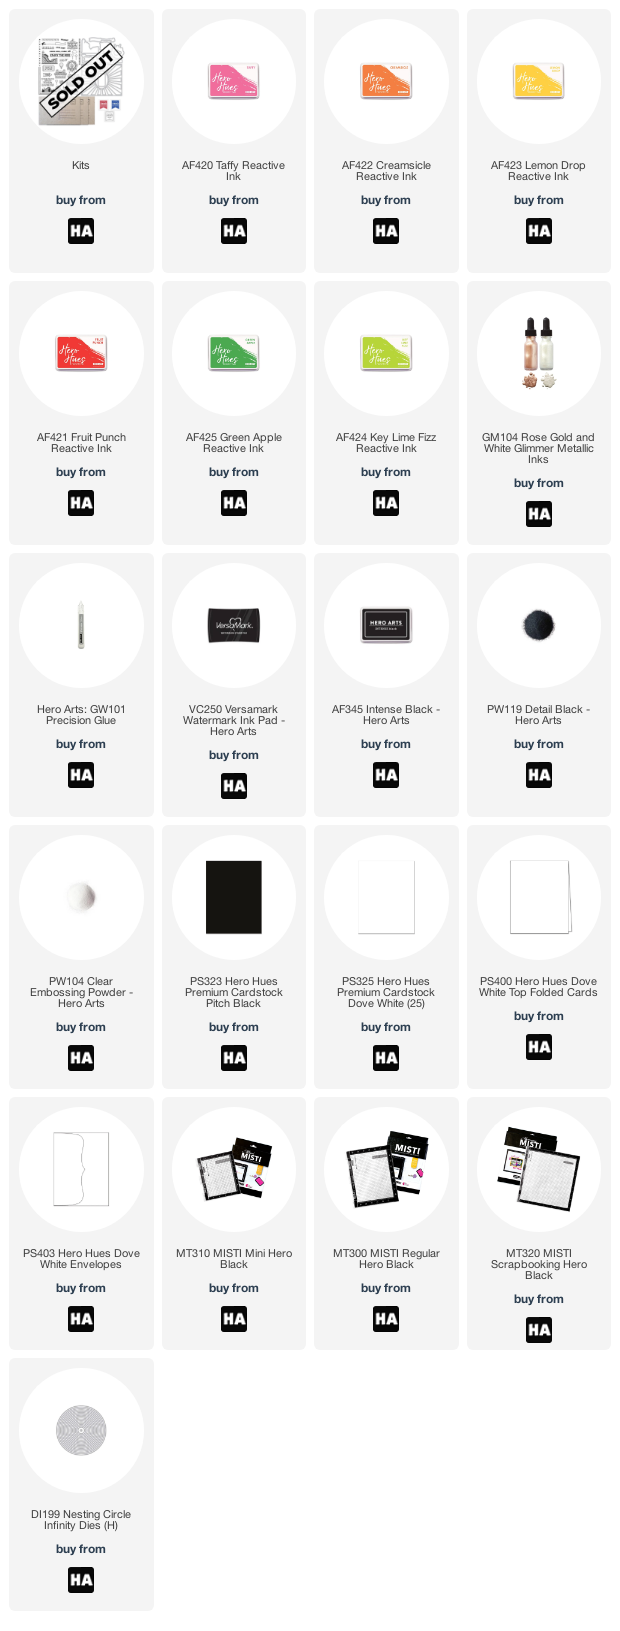
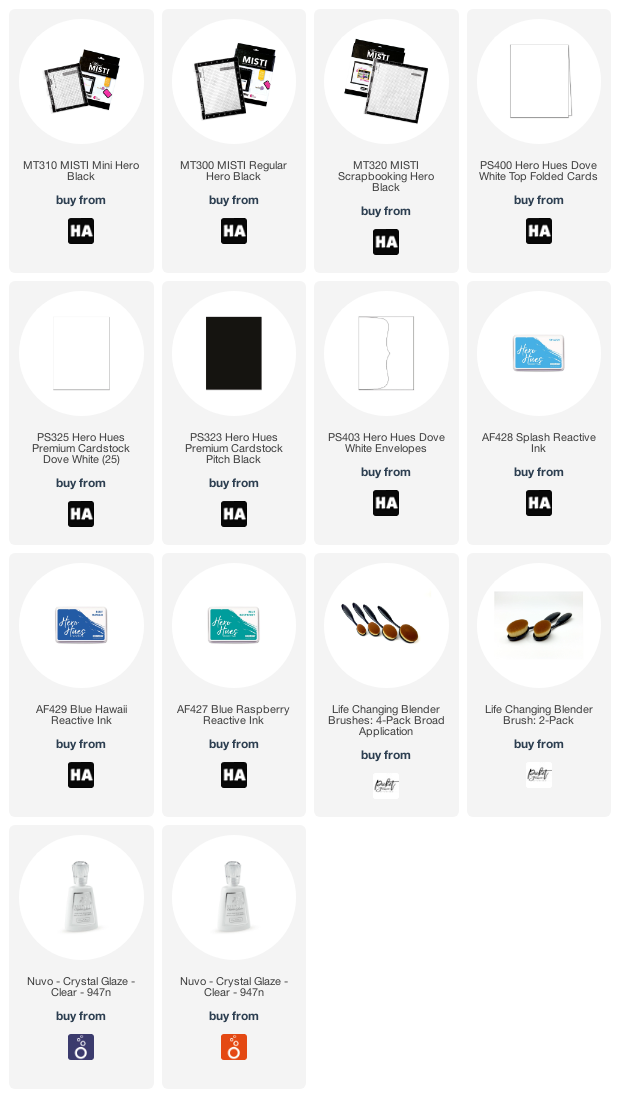
PRODUCT SUPPLY LIST:


