Friday, May 28, 2021

VIDEO: Tonic Studios Shoot for the Stars Release: Blog Hop & Giveaway!

Hi Everybody. Somehow my blog post (which I've spent hours on, was deleted over night). Please have patience while I rewrite my post. Long story short is that:

-Shoot For the Stars is live!

-Shoot For the Moon is back!

-Many Stamp Club products have been restocked! You can see what is available in the USA or what's available in the UK.

-I've got a VIDEO for you and scroll down to watch it or just CLICK HERE!

-We have an amazing blog hop filled with inspiration from talented crafters! The full blog hop list is at the bottom of my post.

-We have a fantastic GIVEAWAY! Details are at the bottom of my post.

-One of my cards today is a light-up card! I've used EZ-Lights from Pear Blossom Press and they are so easy to use! Amanda (owner of PBP) has generously offered a discount code of 15% off (before taxes and shipping, valid through June 4, 2021, also cannot be combined with any other offers).To receive this discount you must use this link:

    USE THIS LINK FOR DISCOUNT AT PEAR BLOSSOM PRESS

    USE THIS CODE: CARDBOMB15


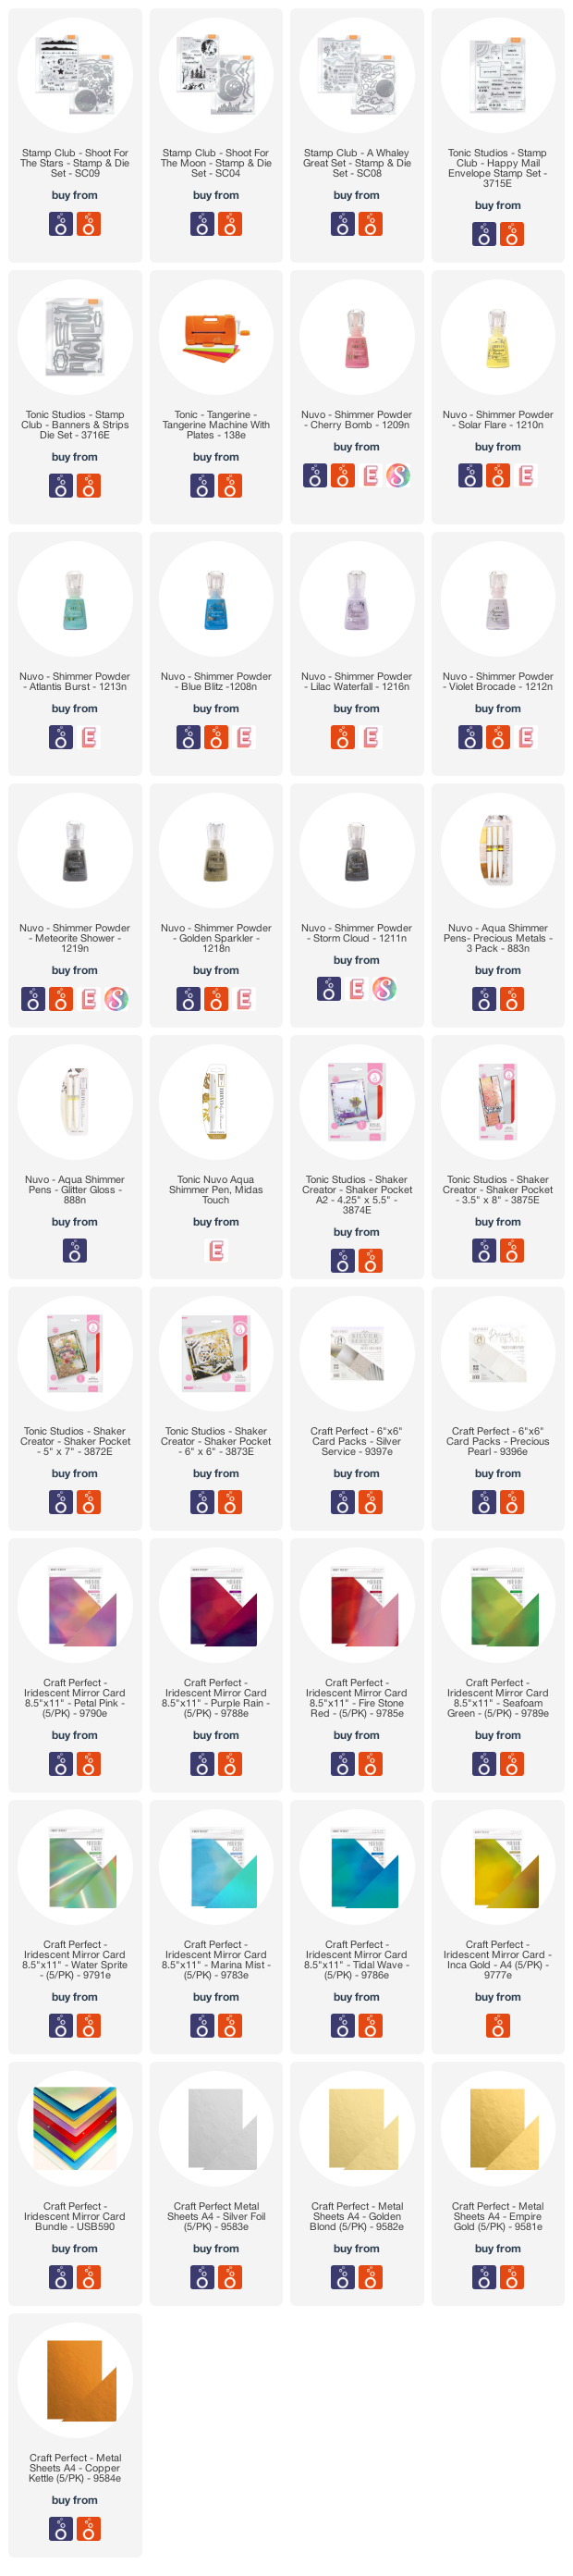
Ok, on to my cards! Before I put any cards together I sat and had a good play with my Nuvo Shimmer Powders. I knew that I was going to want a lot of galaxy backgrounds so I had fun and made a bunch of them. That made it super easy to make cards with the Shoot for the Star set. All I had to do was grab a pretty background and add some stars.

For my first card I used the largest star and cut it from sugar crystal glitter cardstock.

video tutorial,cards,ink,cardmaking,stamping,Tonic Studios USA,Cardbomb,maria willis,paper,Tonic Studios,Shoot for the Stars,stamps,Shoot for the Moon,Tonic Studios Stamp Club,

I heat embossed the word "super" and die cut "star." I glued my sentiment on top of the star and then added foam tape to the back of my star.

video tutorial,cards,ink,cardmaking,stamping,Tonic Studios USA,Cardbomb,maria willis,paper,Tonic Studios,Shoot for the Stars,stamps,Shoot for the Moon,Tonic Studios Stamp Club,

I used the foam tape to help fix loops of gold thread behind the star. To finish my card off I add gems in moody, iridescent colors.
video tutorial,cards,ink,cardmaking,stamping,Tonic Studios USA,Cardbomb,maria willis,paper,Tonic Studios,Shoot for the Stars,stamps,Shoot for the Moon,Tonic Studios Stamp Club,


I mentioned above that I've got a video for you today and here it is. I hope you will find it helpful!
 
 If you're having trouble viewing this video you can watch it HERE.

Here's a look at what the Shoot For the Stars stamp bundle looks like...

video tutorial,cards,ink,cardmaking,stamping,Tonic Studios USA,Cardbomb,maria willis,paper,Tonic Studios,Shoot for the Stars,stamps,Shoot for the Moon,Tonic Studios Stamp Club,
And, here's a look at the Shoot For the Moon bundle...
video tutorial,cards,ink,cardmaking,stamping,Tonic Studios USA,Cardbomb,maria willis,paper,Tonic Studios,Shoot for the Stars,stamps,Shoot for the Moon,Tonic Studios Stamp Club,

For my next card I started by die cutting the largest star from Holowaves iridescent cardstock. Then I cut the star circle die from a piece of yellow watercolored paper. I took that and used a circle die to cut out the circle of stars.
video tutorial,cards,ink,cardmaking,stamping,Tonic Studios USA,Cardbomb,maria willis,paper,Tonic Studios,Shoot for the Stars,stamps,Shoot for the Moon,Tonic Studios Stamp Club,

I heat embossed part of my sentiment and die cut the word "wish" using the word dies. I layered all of my pieces together using foam tape and attached this focal point to a background that I had watercolored with blue shimmer powder.
video tutorial,cards,ink,cardmaking,stamping,Tonic Studios USA,Cardbomb,maria willis,paper,Tonic Studios,Shoot for the Stars,stamps,Shoot for the Moon,Tonic Studios Stamp Club,

To finish my card off I used the stars that had fallen out of my centerpiece to create a starry background.
video tutorial,cards,ink,cardmaking,stamping,Tonic Studios USA,Cardbomb,maria willis,paper,Tonic Studios,Shoot for the Stars,stamps,Shoot for the Moon,Tonic Studios Stamp Club,

This next card was created in the video I made so please head on over to the video to check that out.
video tutorial,cards,ink,cardmaking,stamping,Tonic Studios USA,Cardbomb,maria willis,paper,Tonic Studios,Shoot for the Stars,stamps,Shoot for the Moon,Tonic Studios Stamp Club,

My panel was inkblended with inks from Pinkfresh Studio.
video tutorial,cards,ink,cardmaking,stamping,Tonic Studios USA,Cardbomb,maria willis,paper,Tonic Studios,Shoot for the Stars,stamps,Shoot for the Moon,Tonic Studios Stamp Club,

The mountains were inkblended with Nuvo Hybrid ink and background was splattered with Glitter Gloss.
video tutorial,cards,ink,cardmaking,stamping,Tonic Studios USA,Cardbomb,maria willis,paper,Tonic Studios,Shoot for the Stars,stamps,Shoot for the Moon,Tonic Studios Stamp Club,

My next card uses another one of the shimmer powder backgrounds that I made. I also splattered it with white acrylic paint and Midas Touch.
video tutorial,cards,ink,cardmaking,stamping,Tonic Studios USA,Cardbomb,maria willis,paper,Tonic Studios,Shoot for the Stars,stamps,Shoot for the Moon,Tonic Studios Stamp Club,

I heat embossed my sentiment in gold and die cut it with a circle die. 

I added stars cut from gold metal sheets onto both my sentiment piece and background to finish my card off.
video tutorial,cards,ink,cardmaking,stamping,Tonic Studios USA,Cardbomb,maria willis,paper,Tonic Studios,Shoot for the Stars,stamps,Shoot for the Moon,Tonic Studios Stamp Club,

This next card has a totally different look to it as I've used the clouts and lightening bolt as the focal points. I lightly inkblended my clouds pink and added a little bit of detail with gel pen. the lightening bolt and stars are all cut from watercolor cardstock that I had watercolored with Solar Flare Shimmer Powder.
video tutorial,cards,ink,cardmaking,stamping,Tonic Studios USA,Cardbomb,maria willis,paper,Tonic Studios,Shoot for the Stars,stamps,Shoot for the Moon,Tonic Studios Stamp Club,

I added some enamel raindrop stickers below the clouds to add to the cloudy/rainy day theme.
video tutorial,cards,ink,cardmaking,stamping,Tonic Studios USA,Cardbomb,maria willis,paper,Tonic Studios,Shoot for the Stars,stamps,Shoot for the Moon,Tonic Studios Stamp Club,

I heat embossed my sentiment in black. The sentiment is from the Happy Mail Envelope stamp set.
video tutorial,cards,ink,cardmaking,stamping,Tonic Studios USA,Cardbomb,maria willis,paper,Tonic Studios,Shoot for the Stars,stamps,Shoot for the Moon,Tonic Studios Stamp Club,


My next card is a light-up card! I used EZ-Lights from Pear Blossom Press and they are so easy to use that I had this card put together in a snap! If you've never used EZ-Lights before I highly recommend them. Each unit comes with a battery, on/off button and three tiny light bulbs to light up your projects. The light bulbs are at the ends of long wires so it's very easy to position the light bulbs right where you want them. Amanda (owner of PBP) has been so generous as to offer everyone a discount on her lights (there are also Halo lights!)! This is a 15% off discount (before shipping and taxes and valid through June 4, 2021, cannot be combined with other offers). To receive the discount you must use the following link and codes:
    USE CODE: CARDBOMB15

To make this 5"x7" card I cut the large moon from the Shoot For the Moon bundle out of Marina Mist Iridescent cardstock (so pretty!).  Next, I die cut the circle of stars from the Shoot for the Stars bundle into black cards stock. I randomly heat embossed the background stamps in gold all over my background.
video tutorial,cards,ink,cardmaking,stamping,Tonic Studios USA,Cardbomb,maria willis,paper,Tonic Studios,Shoot for the Stars,stamps,Shoot for the Moon,Tonic Studios Stamp Club,

I added vellum behind the star die cut and then added my EZ-Light unit so that it would light up.
video tutorial,cards,ink,cardmaking,stamping,Tonic Studios USA,Cardbomb,maria willis,paper,Tonic Studios,Shoot for the Stars,stamps,Shoot for the Moon,Tonic Studios Stamp Club,

I added my moon using foam tape for dimension (notice that it's a perfect fit with the star circle? Wink).
video tutorial,cards,ink,cardmaking,stamping,Tonic Studios USA,Cardbomb,maria willis,paper,Tonic Studios,Shoot for the Stars,stamps,Shoot for the Moon,Tonic Studios Stamp Club,

Here is a close-up with the lights off..
video tutorial,cards,ink,cardmaking,stamping,Tonic Studios USA,Cardbomb,maria willis,paper,Tonic Studios,Shoot for the Stars,stamps,Shoot for the Moon,Tonic Studios Stamp Club,

And, here is a close-up with the lights on! They are really bright in real life! I had my photography lights on when I took this pic but I should've taken one with all of my lights off.
video tutorial,cards,ink,cardmaking,stamping,Tonic Studios USA,Cardbomb,maria willis,paper,Tonic Studios,Shoot for the Stars,stamps,Shoot for the Moon,Tonic Studios Stamp Club,


I wanted to do a clean and simple, astronomical looking card for my next one and the crescent moon from the Shoot For the Moon bundle worked perfectly with the smaller full moons from the Shoot For the Stars bundle.
video tutorial,cards,ink,cardmaking,stamping,Tonic Studios USA,Cardbomb,maria willis,paper,Tonic Studios,Shoot for the Stars,stamps,Shoot for the Moon,Tonic Studios Stamp Club,

I love the round stamps with dots from the Stars bundle so I used those as part of my design. The full moons fit perfectly inside of them.

video tutorial,cards,ink,cardmaking,stamping,Tonic Studios USA,Cardbomb,maria willis,paper,Tonic Studios,Shoot for the Stars,stamps,Shoot for the Moon,Tonic Studios Stamp Club,

I used small stars that I had cut out of metal sheets to cover the dots for a different look.
video tutorial,cards,ink,cardmaking,stamping,Tonic Studios USA,Cardbomb,maria willis,paper,Tonic Studios,Shoot for the Stars,stamps,Shoot for the Moon,Tonic Studios Stamp Club,

This card uses another one of my shimmer powder backgrounds. I splattered it with white acrylic paint and Midas Touch.
video tutorial,cards,ink,cardmaking,stamping,Tonic Studios USA,Cardbomb,maria willis,paper,Tonic Studios,Shoot for the Stars,stamps,Shoot for the Moon,Tonic Studios Stamp Club,

To create the textured moon I added stone drops in white and gray to the die cut moon. I dabbed my finger in the wet drops to add texture.
video tutorial,cards,ink,cardmaking,stamping,Tonic Studios USA,Cardbomb,maria willis,paper,Tonic Studios,Shoot for the Stars,stamps,Shoot for the Moon,Tonic Studios Stamp Club,

The trees along the bottom are from the Shoot for the Moon dies.
video tutorial,cards,ink,cardmaking,stamping,Tonic Studios USA,Cardbomb,maria willis,paper,Tonic Studios,Shoot for the Stars,stamps,Shoot for the Moon,Tonic Studios Stamp Club,


This next card was made using the star string stamp to create the background. I showed how to do that on my video if you're interested.
video tutorial,cards,ink,cardmaking,stamping,Tonic Studios USA,Cardbomb,maria willis,paper,Tonic Studios,Shoot for the Stars,stamps,Shoot for the Moon,Tonic Studios Stamp Club,

I inkblended the background with inks from Pinkfresh Studio and heat embossed the stars in Satin Pearl embossing powder from Hero Arts.
video tutorial,cards,ink,cardmaking,stamping,Tonic Studios USA,Cardbomb,maria willis,paper,Tonic Studios,Shoot for the Stars,stamps,Shoot for the Moon,Tonic Studios Stamp Club,

The sentiment is from the Backgrounds and Borders Stamp Club release.
video tutorial,cards,ink,cardmaking,stamping,Tonic Studios USA,Cardbomb,maria willis,paper,Tonic Studios,Shoot for the Stars,stamps,Shoot for the Moon,Tonic Studios Stamp Club,

My final card is a slimline card. I used the Shoot for the Stars release to create the top half of the card and stamp the sentiment.
video tutorial,cards,ink,cardmaking,stamping,Tonic Studios USA,Cardbomb,maria willis,paper,Tonic Studios,Shoot for the Stars,stamps,Shoot for the Moon,Tonic Studios Stamp Club,

The bottom half of the card was made using the Whaley Great release.
video tutorial,cards,ink,cardmaking,stamping,Tonic Studios USA,Cardbomb,maria willis,paper,Tonic Studios,Shoot for the Stars,stamps,Shoot for the Moon,Tonic Studios Stamp Club,

I knew from the start that I'd be making a scene card like this and I'm so happy with how it turned out.
video tutorial,cards,ink,cardmaking,stamping,Tonic Studios USA,Cardbomb,maria willis,paper,Tonic Studios,Shoot for the Stars,stamps,Shoot for the Moon,Tonic Studios Stamp Club,


That's all for today you guys! I hope you'll join us for our giveaway and continue on with our inspiration filled blog hop (list below).

Have an amazing day!
Maria


GIVEAWAY:

-One lucky winner will win a £50/$50 Giftcard to Tonic Studios and the Shoot For the Stars Bundle!

-To enter comment on every blog in the hop by 11:59pm PST on June 2, 2021/ 7:59am GST on June 3, 2021

-Winner will be announced on June 4th, 2021 on IG and FB so make sure you're following all Tonic accounts!


BLOG HOP LIST:

Maria Willis: You are here.

Sandi MacIver

Daniel West

Jen Kray

Lydia Fiedler

Marie Heiderscheit

Seeka

Ilda Dias

Michelle Short

Jessica Frost-Ballas


PRODUCT SUPPLY LIST:

Wednesday, May 26, 2021

Bam! Mixed Media Card with Whimsy Stamps!

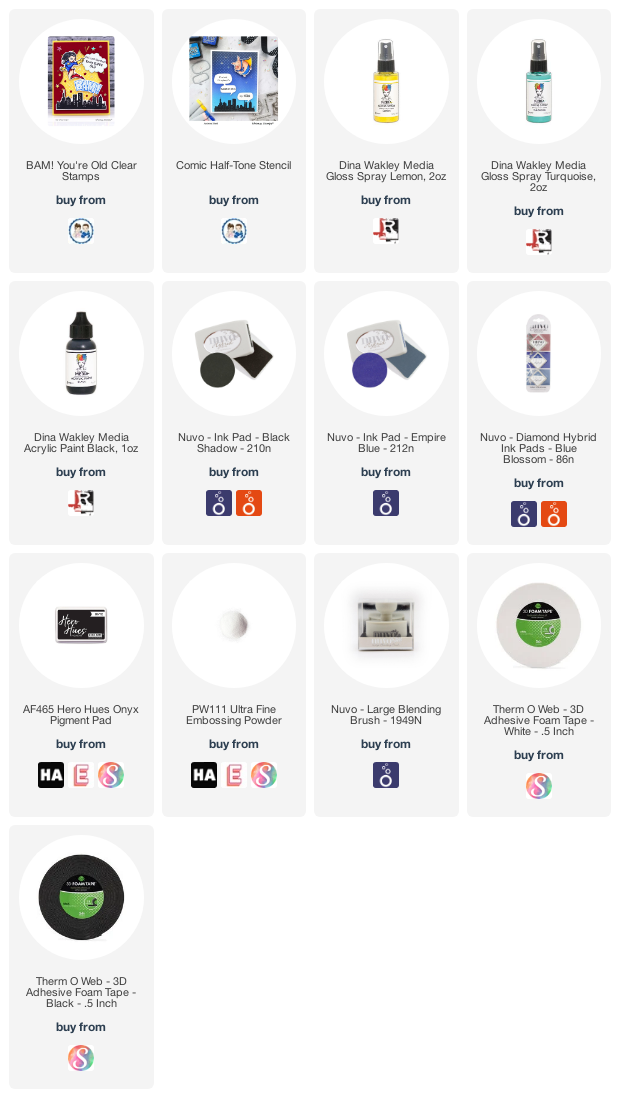
Hi everybody! It's Maria and I'm thrilled to be back as a guest designer for Whimsy Stamps today. This card was so much fun to make! I went a little bit mixed media style for this one and I always have a good time when I'm making a big old mess. I combined the BAM! You're Old stamp set with the Comic Half-Tone stencil to make this card. This stamp and stencil combo yields such a cool comic book vibe that I really love.

I started out by spraying my background (white Hammermill cardstock) with my Dina Wakley gloss sprays in Lemon and Turquoise. These sprays dry quickly and leave you with a shiny finish so I like to make sure I use permanent ink/products when working on top of them. I ink-blended around the edges of my panel using Nuvo Siren Blue hybrid ink and a blending brush. Then I used my Nuvo Black Shadow hybrid ink to ink-blend through the Comic Half-Tone stencil. I applied the ink more heavily around the edges of the card so that the inside would appear brighter and allow my images to pop.

Cardbomb, Maria Willis,Whimsy Stamps,Ranger Ink,Dina Wakley Gloss Sprays,cards, cardmaking, stamps, stamping, ink, paper, papercraft, create, diy, art, color,mixed media,copic coloring,birthday

I stamped the skyline stamp from the BAM! You're Old stamp set at the bottom of my card panel. My black ink was beading up a little bit on the glossy finish and I wasn't getting the dramatic contrast that I had hoped for. I decided to use the stamped image as a guide and painted right over the top of it using black acrylic paint. That left me with a pitch black skyline. I added the lights and other detail back in with a white posca pen. I also added little asterisks to the background with a white gel pen.
Cardbomb, Maria Willis,Whimsy Stamps,Ranger Ink,Dina Wakley Gloss Sprays,cards, cardmaking, stamps, stamping, ink, paper, papercraft, create, diy, art, color,mixed media,copic coloring,birthday

I stamped my images from the BAM! You're Old stamp set in copic friendly ink and colored them in with my copic markers (I'll add the colors at the bottom of my post). I grabbed a red copic marker that I had used to color my super hero and colored some white cardstock so that I would have a perfect color match for my sentiment strips. I used black pigment ink to stamp my sentiment and then heat embossed it in clear embossing powder. This is a great trick for getting flawless black heat embossing every time because it eliminates the need for black embossing powder.
Cardbomb, Maria Willis,Whimsy Stamps,Ranger Ink,Dina Wakley Gloss Sprays,cards, cardmaking, stamps, stamping, ink, paper, papercraft, create, diy, art, color,mixed media,copic coloring,birthday

To finish my card up I added my images and sentiments with foam tape and then adhered the whole thing to a black cardbase... and that was it! 

I hope you've enjoyed learning a little bit about my process today and that you might feel inspired to go have some crafty fun of your own. A huge thanks to Whimsy Stamps for having me back as a guest again! That's it for today folks. As promised, I will list the copic colors that I've used below and I will also add links to all of the products that I've used today in case you're interested in checking any of those out.

Have an amazing day everybody!


COPIC COLORS:
Reds: R21, R24, R27, R29, R39
Blues: B00, B04, B05, B18 (I would've loved to use B02 but can't find mine)
Yellows: Y06, Y08, Y38


PRODUCT SUPPLY LIST:

Monday, May 24, 2021

Fabulous Mini-Slimline Dies from Pinkfresh Studio: Essentials Die Release and Giveaway!

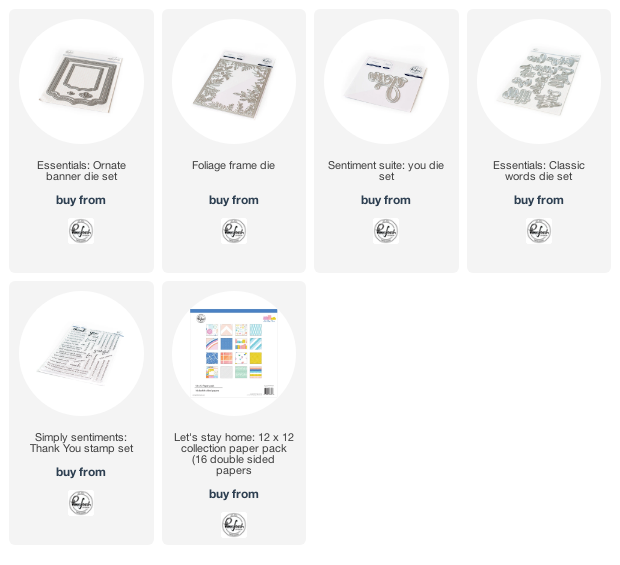
Hello everybody! Thanks so much for stopping by today! Today I'm excited to be joining Pinkfresh Studio for their Essentials Die release. This release is packed full of amazing dies and I'll be sharing two cards that I made with the new Mini Slimline Essentials Bundle Dies. I love these dies because they come with two complete layering sets of dies for mini slimline cards. They also include two sets of detailed circle dies that are sized perfectly for mini slims. 

For my first card I used the new Mini Slimline dies to cut layers from white paper as well as from the Let's Stay Home paper collection. 
Cardbomb, Maria Willis,Pinkfresh Studios, die cutting, cards, cardmaking, ink, stamp, stamping, paper, paper craft, create, diy, art, color, mini slimline cards

I glued my layers together adding a yellow layer cut with the Essentials Ornate Banner Die Set. I finished the card off by adding a sentiment from the Classic Words Die Set.
Cardbomb, Maria Willis,Pinkfresh Studios, die cutting, cards, cardmaking, ink, stamp, stamping, paper, paper craft, create, diy, art, color, mini slimline cards

The last step was to create myself a coordinating envelope using the new Mini Slimline Envelope Dies. I cut the main piece once and the wing piece twice. Hot tip: if you are cutting your envelope from patterned paper make sure you cut one wing from the "wrong" side of the paper so that when you put your envelope together your pattern will be on the correct side of the paper. 
Cardbomb, Maria Willis,Pinkfresh Studios, die cutting, cards, cardmaking, ink, stamp, stamping, paper, paper craft, create, diy, art, color, mini slimline cards


For my second card I used the new Mini Slim Line card dies again and added in the new Essentials Stitched Scalloped Circle, the Foliage Frame Die, the Sentiment Suite You Die and the Simply Sentiments Thank you stamp set. I started by die cutting my layers and gluing them together.
Cardbomb, Maria Willis,Pinkfresh Studios, die cutting, cards, cardmaking, ink, stamp, stamping, paper, paper craft, create, diy, art, color, mini slimline cards

I cut out the Stitched Scallop Circles and taped them together in the back so I could use both of them. I ink blended them with some Sky Blue ink before adhering them with foam tape. Then I added in some vellum foliage from the Foliage Frame Die. 
Cardbomb, Maria Willis,Pinkfresh Studios, die cutting, cards, cardmaking, ink, stamp, stamping, paper, paper craft, create, diy, art, color, mini slimline cards

I heat embossed my sentiment, added some pearls and jewels, then made a matching envelope and called it good.
Cardbomb, Maria Willis,Pinkfresh Studios, die cutting, cards, cardmaking, ink, stamp, stamping, paper, paper craft, create, diy, art, color, mini slimline cards

Ok, that's it for today you guys but before you go I want to let you know to check out the amazing giveaways and promos below. I've also linked up the products that I've used today in case you want to check anything out. 

Have and awesome day!
Maria


GIVEAWAY:
-We will be giving away the full release on the Pinkfresh blog & YouTube channel
-We will be giving away a total of TEN $25  gift cards along the hop. As per usual with blog hops - the winners will be picked from the comments.

Winners will be posted on May 31 , 2021 on the Pinkfresh Studio GIVEAWAY PAGE. Winners must check that page & claim their prize within 2 weeks.

SHOPPING PROMO:

-Pinkfresh Studio is offering free US shipping on all orders $50+ from May 24th to May 30th.

-There is also a free die that will be automatically added to all orders over $35 - no code needed.


BLOG HOP LIST:

You are invited to the Inlinkz link party!

Click here to enter
<!-- end InLinkz code →


PRODUCT SUPPLY LIST:


Thursday, May 20, 2021

Hero Arts Summer Catalog 2021 Release and Blog Hop

Hi everybody! I am so excited because today is launch day for the new Hero Arts Summer Catalog and it is on fire! You can check out the whole catalog HERE if you'd like to but first join us for an amazing blog hop full of crafty inspiration using the new products. I've got four cards to share with you today so let's get to it!

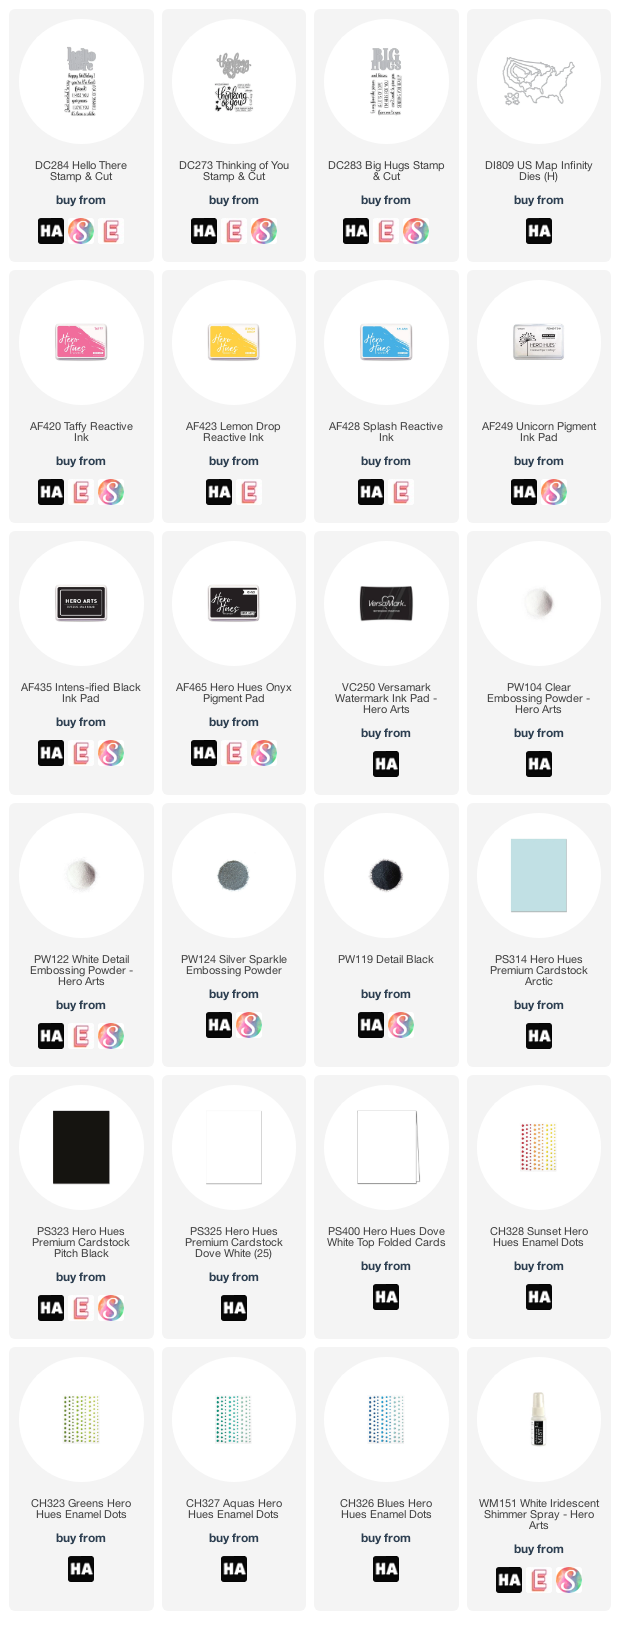
For my first card I paired the new Brick Wall Bold Prints, the new Message Strips Stamp and Cut, and the Hello There Stamp & Cut. I started by ink blending my background panel in Taffy, Lemon Drop and Splash Reactive Inks.

Cardbomb, Maria Willis,Hero Arts, Hero Arts Summer Catalog 2021, cards, card making, stamps, stamping, ink, paper, paper craft, color, diy, stencils, mixed media,die cutting, heat embossing, technique

Next, I put my background in my Misti along with the Brick Wall Bold Prints stamp and stamped it using Unicorn White Pigment ink. This resulted in my background having a light and subtle look. Now, if you've used pigment ink before you know it can take a little time to dry... I don't always have the patience for all of that waiting so I tossed some clear embossing powder onto the wet ink and heat embossed it. This added extra texture and shine to my "bricks." When I stamped, the ink on my background reacted with the wet ink and some of it lifted off my card and the color stayed on the stamp. I used that residual ink to stamp a second background panel which you will see on my last card today.
Cardbomb, Maria Willis,Hero Arts, Hero Arts Summer Catalog 2021, cards, card making, stamps, stamping, ink, paper, paper craft, color, diy, stencils, mixed media,die cutting, heat embossing, technique

I heat embossed the "I miss you" from the new Message Strips Stamp & Cut in Onyx Pigment ink and clear embossing powder. Then, I mounted my background onto a black card base and added "Hello There" and some enamel dots to finish my card off.
Cardbomb, Maria Willis,Hero Arts, Hero Arts Summer Catalog 2021, cards, card making, stamps, stamping, ink, paper, paper craft, color, diy, stencils, mixed media,die cutting, heat embossing, technique

My next card is a slimline card and although it looks pretty fancy it really wasn't all that hard to make. I recently made a similar card using different products so if you'd like to watch the process you can find that video HERE. I used my slimline stencils to cut out a panel and then ink blended it using Lemon Drop, Taffy and Splash reactive inks (my three favorite reactive inks). Then I used the new Floral Tile Stencil to add Moonstone Glimmer Paste to the background. Now, this isn't a slimline stencil so I just readjusted it and added more paste where I wanted it. 
Cardbomb, Maria Willis,Hero Arts, Hero Arts Summer Catalog 2021, cards, card making, stamps, stamping, ink, paper, paper craft, color, diy, stencils, mixed media,die cutting, heat embossing, technique

I heat embossed the new Succulent Bouquet stamp in silver onto vellum. This is so easy and creates such a gorgeous look! I die cut the succulents and then adhered them to my background using foam which I had cut into small pieces to hide it from sight.
Cardbomb, Maria Willis,Hero Arts, Hero Arts Summer Catalog 2021, cards, card making, stamps, stamping, ink, paper, paper craft, color, diy, stencils, mixed media,die cutting, heat embossing, technique

To finish my card off I added a sentiment using both the Thinking of You Stamp & Cut as well as the Message Strips Stamp & Cut. The final step was to add some jewels and pearls for a little bling.
Cardbomb, Maria Willis,Hero Arts, Hero Arts Summer Catalog 2021, cards, card making, stamps, stamping, ink, paper, paper craft, color, diy, stencils, mixed media,die cutting, heat embossing, technique

This next card was made using the new Looking Glass Canyon Lands dies. This is just one set in an amazing collection of Looking Glass dies and I hope that you'll check them out! There are also two different sized stencils to help you with alignment so that you can always get perfect placement of your dies! I cut all three dies out of separate pieces of cardstock and then colored them with copic markers. I also prepared a background sky using splash ink and White Iridescent Shimmer Spray. 
Cardbomb, Maria Willis,Hero Arts, Hero Arts Summer Catalog 2021, cards, card making, stamps, stamping, ink, paper, paper craft, color, diy, stencils, mixed media,die cutting, heat embossing, technique

Next, I layered my die cuts together making sure that they were properly aligned (when I made this card I didn't have the alignment stencils yet and had to wing it). I adhered the layers using foam tape so that there would be depth to my scene. 
Cardbomb, Maria Willis,Hero Arts, Hero Arts Summer Catalog 2021, cards, card making, stamps, stamping, ink, paper, paper craft, color, diy, stencils, mixed media,die cutting, heat embossing, technique
Once my little die cut scene was properly put together, I used a square die to cut a black card panel. I created a gold frame using two square dies and glued that on to frame the hole. Then I heat embossed my sentiment below the frame. I adhered my little scene to the back of the black cardstock so that it was perfectly framed. I added extra foam tape to the back of the panel and attached it to a cardbase to finish off the card.
Cardbomb, Maria Willis,Hero Arts, Hero Arts Summer Catalog 2021, cards, card making, stamps, stamping, ink, paper, paper craft, color, diy, stencils, mixed media,die cutting, heat embossing, technique

For my final card I used the background that was leftover from my first card using the Brick Wall Bold Prints stamp. I added it to a piece of Mist cardstock and then added my sentiment using the Big Hugs and Message Strips Stamp & Cut dies. 
Cardbomb, Maria Willis,Hero Arts, Hero Arts Summer Catalog 2021, cards, card making, stamps, stamping, ink, paper, paper craft, color, diy, stencils, mixed media,die cutting, heat embossing, technique

I thought the card needed a little something more so I added some tiny arrows from the US Map Infinity Die set.
Cardbomb, Maria Willis,Hero Arts, Hero Arts Summer Catalog 2021, cards, card making, stamps, stamping, ink, paper, paper craft, color, diy, stencils, mixed media,die cutting, heat embossing, technique

Ok, you guys, that's all I've got for today! Thanks so much for stopping by and I hope you will continue on with the rest of this inspiration filled blog hop celebrating the launch of the Hero Arts Summer Catalog. Make sure to check out the Giveaway info below and leave a comment right here on my blog to be entered to win!

Have an awesome day!
Maria


GIVEAWAY:
Hero Arts will give away THREE $50 gift cards, drawn from the comments left across the hop. Enter by Sunday, May 30th at 11:59pm pacific, and the winner will be announced on the Hero Arts blog the following week.


BLOG HOP LIST:


PRODUCT SUPPLY LIST:

Wednesday, May 19, 2021

Copic Coloring With Whimsy Stamps!

Hi everybody it's Maria here and I'm excited to be sharing my first post as a guest designer for Whimsy Stamps. From stamps, to stencils, to interactive dies, Whimsy has got such a great variety of product for card making and I had a ton of fun picking out what I wanted to use today. I decided to pair the A Boy's Dream stamp set, the Moon Background and the Star Galaxy Stencil to put this card together. 

I started out by stamping my little alien onto Hammermill cardstock using copic friendly black ink. Then I masked it off with masking paper so that I could easily stamp and inkblend on top of it. Next, I placed the Moon Background stamp so that it would look like the alien was slinking along the surface of the moon and stamped that using my Misti. I stamped the moon again onto masking paper, cut it out and adhered it on top of my moon. That left me with both of my images completely masked off. 

I ink-blended the background using Distress Oxides in Wilted Violet, Blueprint Sketch, Broken China and Tumbled Glass. Then I used the Star Galaxy Stencil to apply some Nuvo Glacier Paste in Winter White. I love Glacier Paste because it stencils on so easily, allows the background color to show through, and catches the light in such a magical way. In other words, this starry background shimmers like something else!

Cardbomb, Maria Willis, Whimsy Stamps, cards, cardmaking, stamps, stamping, ink, paper, papercraft, create, craft, art, diy, color, ink blend, nuvo,ranger ink,tonic studios, galaxy, moon, birthday,

Once my background was finished I peeled off the masking paper to reveal my stamped images. I colored both the slithery, little alien and the moon using copic markers. I'll list the colors at the end of the post for you. I also added some highlights using a white gel pen.
Cardbomb, Maria Willis, Whimsy Stamps, cards, cardmaking, stamps, stamping, ink, paper, papercraft, create, craft, art, diy, color, ink blend, nuvo,ranger ink,tonic studios, galaxy, moon, birthday,


When my card face was finished, I selected a sentiment from the A Boy's Dream stamp set and heat embossed it in white onto black cardstock to make it pop. Then I trimmed just a smidge off of the left and right sides so that I could mount my card face onto a black cardbase using foam tape. The last step was to attach my sentiment with foam tape and add a few sequins.
Cardbomb, Maria Willis, Whimsy Stamps, cards, cardmaking, stamps, stamping, ink, paper, papercraft, create, craft, art, diy, color, ink blend, nuvo,ranger ink,tonic studios, galaxy, moon, birthday,

That's it for today you guys. I hope you've enjoyed reading about how I made this card and hope it might inspire you to have a little fun of your own. As promised I am adding all of the copic marker colors that I've used below. I'm also adding links to all of the products that I've used today in case you want to have a little look-see. 

Have an amazing day you all!


COPIC COLORS:
ALIEN:
-R21, R22, R24, R27, R29, R39
-Y04. Y06, Y08, Y38, YR09

MOON:
-C0, C01, C02, C03, C04, C05, C06, C07


PRODUCT SUPPLY LIST:
01 09 10