Hey everybody! It's time for your My Monthly Hero Countdown and this month's kit is so much fun! I've used just two stamps from the kit to make this simple but sweet card.
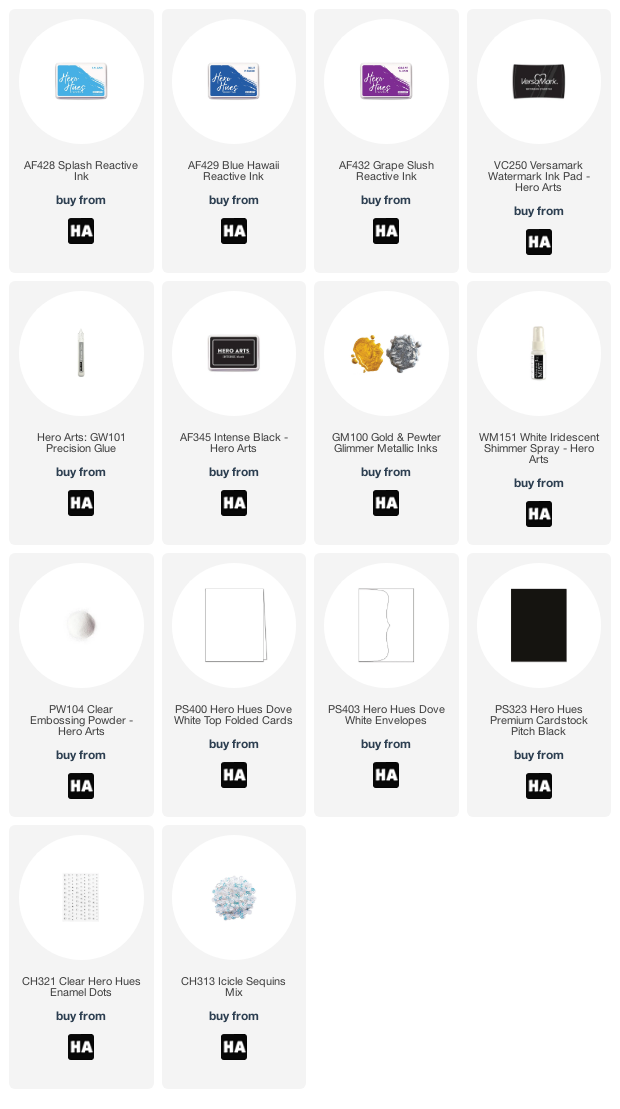
I started out by stamping the house and sentiment at the same time in versa mark ink. Then I heat embossed it all in clear embossing powder.
Next, I masked off the sentiment at the bottom as well as the little house. This allowed me to ink blend the background with my reactive inks (Splash, Blue Hawaii and Grape Slush). I sprayed the background with shimmer spray and then splattered it with silver metallic paint to complete the wintery look. The last details were to remove the masking paper and color in the house and glue on some star sequins and clear enamel dots.
Ok, you guys, that's it for today. I hope you've enjoyed this little sneak peek of the November My Monthly Hero kit. If you want to win a kit before you can buy it then head over to the Hero Arts Blog and leave a comment so that you can enter to win!
I'll see you all back here on Monday for the full kit reveal!
Hello everybody and welcome to the second Stamp Club launch from Tonic Studios! This launch is called Party Animals (UK) and is perfect for making so many different cards. The Party Animals stamp and die are sold as a bundle exclusively from Tonic Studios USA (Tonic UK) for an incredible price of $34.99! There are a limited number of sets so if you want one please make sure to grab yours before they sell out. To check out the release and all of the details head over to Tonic Studios USA or Tonic Studios UK. Here's a look at one of the cards I'll be sharing today (how to video later in post).
In addition to the Party Animal Bundle there is also a new die set called Banners and Strips (UK) that goes for $14.99. Check out this video I made sharing all of the products included in this launch...
If you're having trouble watching this video you can view it HERE.
Now I want to share a couple of really fun shaker cards that I made with you. These are frameless shaker cards and are really easy to make. I got the idea from my friend Ilda Dias and had to try it for myself. I was thrilled at how easy it was to do so I made you a video for this too.
If you're having trouble watching this video you can view it HERE.
I started out by stamping and coloring a bunch of the images from the Party Animals set. I used my copic markers to color them.
After I was done coloring the images I used the coordinating dies to cut them out. This made the process so easy and gave me perfectly cut images without the effort of having to hand cut them all.
I ink blended some blue onto a piece of cardstock cut at 4.25" x 5.25" so that there would be some color in the background. I used the large round blending brushes which work like such a dream for super smooth blending.
Next, I cut down a clear, plastic envelope so that it was one quarter inch larger on every side than my card face. I also put adhesive strips on the back of my card face.
I put the plastic sheet face down on my table and scooped shaker guts out on top of it. When I had enough shaker guts I put my card face (ink blended side down) on top of the guts. Then, I peeled off the release paper and folded the edges of the plastic sheet onto the back of my card. This trapped all of the shaker guts inside the card and allowed them to move freely.
Once the shaker portion of my card was put together I adhered my party animals and sentiment to the front of the card using foam adhesive. After that I added a few sequins to the front and glued the whole thing to a card base. These are seriously the easiest shaker cards I have ever made!
One of the things that I really love about this new Party Animals release is how versatile it is. It's easy to make simple but fun cards. It's also perfect for building scenes and making really detailed cards. Here is a video I made to show you just how easy it is to make a wide variety of styles of cards with this set.
If you are having trouble watching this video you can view it HERE.
Now that you've watched the video here are some close up pictures of the cards I made...
This little turtle is so fun and I love the punny sentiments that go along with him.
I used my Nuvo alcohol markers and watercolor pencils to color in the turtle and sweet little heart.
My next card uses the same layout as my first card does. I stepped it up by adding stenciling to the background (the stencils were made with dies from the set). I also added dimension by die cutting the hippo and bouquet and popping them up with foam adhesive.
Did you notice the cute little flagged ends on my sentiment? I cut that out with one of the dies from the Banners and Strips die set and it was perfect!
The ink blending in the background was done with two different kinds of blending brushes. The dreamy looking sky was done using the new large blending brushes (on sale this weekend!). The grass needed a heavier application of ink so I used the blending brushes with handles for that.
My last card is quite a bit more intricate than the last two. This card incorporates everything from the last two cards (coloring, stenciling, dimension and scene building) to make a card that tells more of a story (party time!).
This card has layers of stenciled clouds and grass which gives it lots of depth. I've also tucked the large elephant behind a layer of grass to make it look like he's set further back in the scene.
Adding balloons, a bird, gifts and cake plus the little elephant in the front creates a fun party scene.
GIVEAWAY!!
Tonic Studios will be giving one lucky winner a $100 gift card ( £100 if you're in the UK!)! That is such a fantastic giveaway and someone is going to be so happy! To enter the giveaway you need to comment on every blog in this blog hop (the list of blog hoppers is down below). Get your comments in by 11:59 pm PST on November 4th, 2020. The winner will be announced on the Tonic Studios Instagram and Facebook accounts on November 6th, 2020 (so make sure you're following the Tonic social media accounts). Good luck to you all!
Ok, the blog hop list is below (or just head over to Michelle's blog right now). I've also linked most of the products that I've used today in case you'd like to check anything out.
Have an awesome day (or evening if you're on the other side of the Earth from me)! Bye for now.
Hello everybody and happy Friday! Today I'm joining in the fun of Pinkfresh Studio's new slimline stamp, die and stencil release! There are so many amazing new products and we've got a blog hop to share crafty inspiration and we've got multiple giveaways and some other great perks too (so make sure you check out the end of my blog post).
One of the really cool things about this release is that some of the products were created in trios! You can buy a stamp, die and stencil that are all designed to work together as a product suite. My first card was made using products from one of these trios. I stamped the Incredibly Grateful stamp set in black ink onto watercolor paper. I watercolored it and then used the large coordinating die to cut the whole thing out (there is a die that cuts the inside out too but I didn't use it on this card). To add some depth to the inside of the frame I used some gray copic markers to added shadows.
After stamping a sentiment from the Incredibly Grateful set I put that piece aside for a minute. Next, I used the Slim Diagonal Stitched dies to cut a piece of white cardstock. I ink blended in a soft blue and then splattered it with a marker.
I used the Kelly Alpha lower case dies to cut "hey" out of some gold foil cardstock. This was such an easy and beautiful way to add to the sentiment and fill the space inside of the floral frame. I adhered the letters using glue dots. This gave them a little dimension and also made sure no foam tape would be visible through the cutouts in the letters. I layered the floral frame on top of the stitched die cut rectangle. All of that got glued to a slimline card base. The size I used for all of my cards today is 9" x 7.5" and scored at 3.25". This size works perfectly with many of the Pinkfresh Slimline Dies.
For my second card I used a different product suite. The stencil and die I used match the Floral Notes stamp set. I don't have the stamp set though and I was thrilled to see how well these stencils work on their own. The Floral Notes Stencils come in a three pack of layering stencils. I started with the largest images and ink blended using pink and purple. Next, I blended the leaves using two tones of green. It was so easy! I just used the lighter color of green first and then went over just part of the leaves with the darker green after that.
When I got to the third layer it was time to do the centers of the large flowers. Originally I had planned to use yellow embossing powder but when I opened up my drawer and saw this pink, sparkly glacier paste I had to use it. The pictures don't do it justice but this card sparkles like something else! I die cut the flowers and set them aside.
I used the Slim Ornate Banner Die set to cut two pieces from white cardstock. The larger one I ink blended to match the pink from my flowers. The smaller one I ink blended in a blue green. When it was dry I stamped the sentiment which is from the You Are My Favorite stamp set, and then splattered the background first with water and then with my Glitter Gloss sparkle pen.
I adhered all of my layers together using lots of adhesive tape. The final touch was to add some gems and rhinestones in different colors and sizes.
For my last card I went really simple and I've gotta say that I love when making a simple card still yields a beautiful card! I used the new Argyle layering stencils (set of 2) to create this card. I started out with a piece of white cardstock cut out using the Slim Diagonal Stitched Rectangle Dies. I ink blended the background in yellow and red which yielded and orangey/coral color on the darker side. Then I used the stencil with the large diamond cut outs to ink blend using Unicorn white pigment ink from Hero Arts. I started on the darker side and since my ink was still a little bit wet my sponge blender lifted some of the colored ink and transferred just the right amount to the yellow side. I love how the light diamonds look against a darker background.
The second stencil in this set has lines to complete the argyle look. I lined the "x" of the lines up with the centers of my diamonds and am happy with how that placement looks. I decided to heat emboss in gold so I pressed my Versamark ink pad repeatedly over the stencil to ink my background. Then I removed the stencil, poured on my embossing powder and heated it to melt it.
That's all I've got for you today but there is so much more to see if you continue on the blog hop. There's a list below for you to follow along (your next stop will be Mindy Eggen). You can leave me a comment below to enter to win a $25 gift card.
Have an awesome day!
Maria
GIVEAWAYS:
-Pinkfresh Studios will be giving away this entire amazing release over on their Facebook, Instagram and YouTube platforms! Make sure you visit to get entered to win!
-One lucky winner will be chosen right here on my blog to win a $25 gift card to Pinkfresh Studios! To enter to win you just have to leave a comment below! Good luck!
-Winners will be announced on October 23 over on the Pinkfresh Studios Giveaway page. Winners will have two weeks to claim their prize.
EVERYBODY WINS!:
-From October 16th - October 22nd Pinkfresh Studios is offering FREE SHIPPING (USA) or reduced shipping (international customers) to all customers who place an order of $50 or more.
-While supplies last you can earn this beautiful die as a gift with a $25 purchase.
-Now through October 22nd, 2020 you can get 20% off of a Memory Misti (largest size Misti that is useful for many slimline products as well as for scrapbooking). Click HERE to purchase the Memory Misti using code: PINK to get your discount.
Hello everybody! I hope you all had a great weekend! I'm glad you're here because we are kicking Monday off with a bang! Today is the launch of the new Hero ArtsMy Monthly Hero Kit and it is a fun one! In case you aren't familiar with the My Monthly Hero Kit... It's a kit that comes on the first Monday of every month (unless there's a switcheroo) and has an incredibly high value but is offered at a discounted rate. This month's kit is is valued at $76 but you can pick it up for just $34.99. There is a catch though... Once the kit is sold out it's gone for good. You can put dibs on a kit of your own by subscribing to receive the kit each month. Each month there are add-on products that match the theme of the kit too and subscribers get the perk of being able to add those extra products for no additional shipping costs. You can check out the entire release HERE.
I had so much fun with this kit that I've got quite a lot to share with you today and I've even got a video for you! For my first cards I used the dies to make a card with a fun surprise!
To see how I made these cards you can watch the video here...
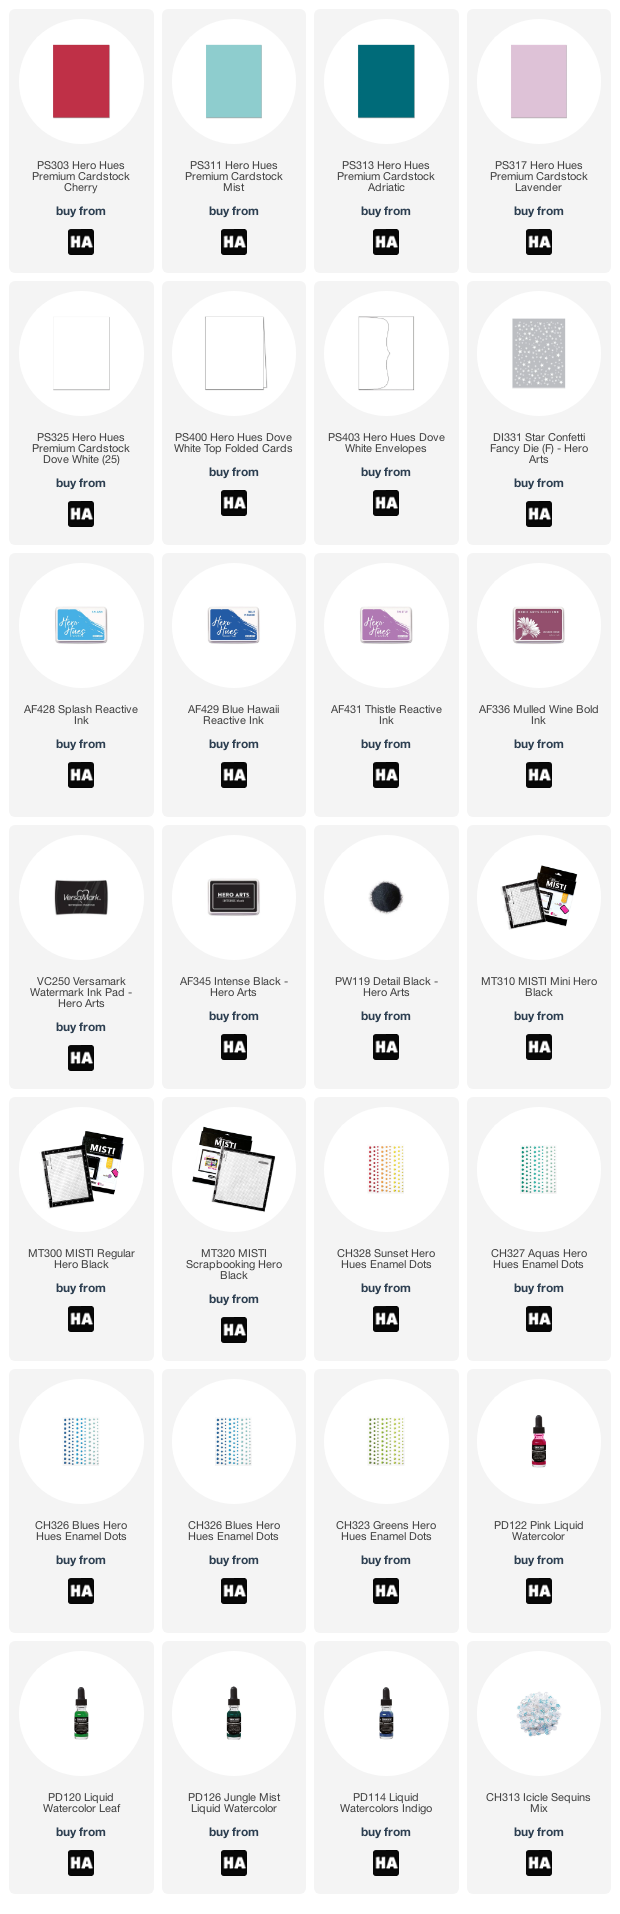
I started out by stamping the background with one of the add-ons for this month's kit called Holiday Graphic Pattern Bold Prints. I used my Misti and Splash Reactive ink. I glued that to a piece of Adriatic cardstock. That whole deal got glued to a top folding card base and set it aside for later.
I used the ornament die to cut out two ornaments from Cherry and Mist cardstock. I ink blended the edges with Mulled Wine and Blue Hawaii inks respectively. I stamped Santa and his reindeer on the blue ornament and a sentiment on the red one. Then I splattered them with shimmer pen. The last bit was to add the heat embossed "Ho Ho Ho" sentiment onto the front of the blue ornament.
I cut silver toppers for each ornament and glued them on. Then I used a jeweled Hero Arts brad to connect both of the ornaments via the hole at the top. I clipped the end of the brad off on the back so that it wouldn't stick out the side (I used wire cutters).
I put foam tape on the back of the red ornament and adhered it to my card base. This fixed the red ornament allowing the blue ornament to swing freely. If you shake the card back and forth the front ornament moves like a pendulum.
For my next project I made two tags using the same ornament dies that I used on my card. For this I also used the frame die to create a shaker tag and a tag with a layered look. These tags are easy to make and can be used for so many different things. You can add them to the front of a card, use them as a tag for a gift, use them as a tree ornament. You could even use a photo as the background piece and make photo ornaments picture frames.
For this tag I ink blended a piece of Mist cardstock with Blue Hawaii ink. Then I sprayed it with shimmer spray and let it sit for a minute before picking the wet spray up with a paper towel. Then I used a white gel pen to add some snow to the background. I stamped the sentiment in black ink before layering the die cut Christmas trees along the bottom (watercolored w liquid watercolors). I added enamel dots to the tops of the trees and finally added the silver glitter frame on top. The last touch was adding a red ribbon to the top.
This second tag is a shaker tag. I cut out about 8 of the frame pieces out of white cardstock and glued them together. I adhered those to a piece of Lavender cardstock die cut from the large from and ink blended with Thistle ink. I did heat emboss the sentiment before glueing everything together. I used the Star Confetti Fancy Die to cut some stars from white sparkle paper. Then I glued stars to the background of my tag. I filled the inside with confetti and sequins and sealed the shaker up with a piece of acrylic cut with the ornament die. I topped that off with an ornament frame cut from white glitter paper and added a white ribbon to the top.
For my next card I used liquid water colors to paint a background scene. Then I used the fancy window die and the trees from the kit to build a scene. When the window panes are shut you get just a peek at the scene.
When you open the window on the left you can see the die cut trees (also watercolored) and a silver star.
You can also see that I splattered the background with white metallic ink to add some texture and interest. I used a white gel pen to add detail to the trees.
I adhered this watercolored piece to a white card base stamped with a sentiment and that was it.
My last project is actually one that I shared yesterday for the countdown. If you'd like to see more pictures and learn the details of this card you can head over to that blog post by clicking HERE.
Here is a close up look at the kit and everything that comes with it. You get all of these stamps and dies, an embossing and watermark ink pad plus three embossing powders! It's such a great deal!
Now for some super exciting news! The Hero Arts My Monthly Kits come at a huge value every month and have never before gone on sale... until now! For the month of October only many of the kits are being sold at $5 off! If you're interested in checking out what's on sale just click here. There are some really good kits so I hope you find one you love.
Ok, that is it for me today but before we go I want to make sure you know about the giveaway...
GIVEAWAY: Hero Arts will give away one $50 gift card, drawn from the comments left across the hop. Enter by Sunday, October 11th at 11:59pm pacific, and the winner will be announced on the Hero Arts blog the following week. All you need to do to enter is leave me a comment below.
To continue on the hop you can head over to Michelle's blog to see what beautiful things she's made with this kit. If you prefer to see the whole list of blog hoppers I've got that listed for you below.