Friday, November 20, 2020

VIDEO: Tonic Studios Stamp Club- Happy Hibiscus Release!

Hello everybody and welcome to this month's Stamp Club launch from Tonic Studios! This month's release is called Happy Hibiscus. The release is a large, 6" x 8" stamp and die bundle that includes gorgeous, tropical themed stamps, lovely sentiments and a die set that is packed full of useful dies (including stitched square and rectangle dies!). The stamp and die will only be sold as a bundle and there is limited stock so get yours while they're still available because once they sell out they are gone for good! To see all the details of the release you can head over to Tonic Studios (Tonic UK)! We also have an amazing GIVEAWAY for you today too (details at the bottom of my post).

The main stamp in this Happy Hibiscus release is a large, background stamp which can obviously be used as a background stamp. The big surprise of this release is that this background stamp is actually a 3 in 1 concept! When you use the coordinating dies with this stamp you can cut it into two pieces: a floral frame and a floral bouquet. This means that you can use this one stamp as a background stamp, a frame, or a centerpiece. In my first card I will show you what it looks like when used as a background. I also have cards showcasing the floral frame and bouquet later in this post (there's a VIDEO too!).

For my first card I stamped the background stamp in Black Shadow ink onto watercolor cardstock using my Misti. Then, I watercolored it using my Nuvo Aquaflow pens. To add extra shading I also used some watercolors pencils (used as pencils, no water) and a sharpie.
video tutorial, art, cards, color,  ink, #tonicstudiosusa, stamping, video, watercolor, paper, diy, Tonic Studios, #tonicstudios, #tonicstudiosstampclub, Happy Hibiscus, handmade, stamps, card making, paper craft,

I heat embossed my sentiments onto black cardstock and adhered them to my card with foam adhesive.
video tutorial, art, cards, color,  ink, #tonicstudiosusa, stamping, video, watercolor, paper, diy, Tonic Studios, #tonicstudios, #tonicstudiosstampclub, Happy Hibiscus, handmade, stamps, card making, paper craft,

To finish my card off I added some highlights with white gel pen and some Silver Rain sequins.
video tutorial, art, cards, color,  ink, #tonicstudiosusa, stamping, video, watercolor, paper, diy, Tonic Studios, #tonicstudios, #tonicstudiosstampclub, Happy Hibiscus, handmade, stamps, card making, paper craft,
Now that you've seen the main stamp, here's a look at what the whole Happy Hibiscus stamp set looks like. In addition to the background stamp there are also floral borders, a floral heart and some great sentiments in lovely fonts.
video tutorial, art, cards, color,  ink, #tonicstudiosusa, stamping, video, watercolor, paper, diy, Tonic Studios, #tonicstudios, #tonicstudiosstampclub, Happy Hibiscus, handmade, stamps, card making, paper craft,
The die set has a coordinating die for every image in the stamp set. It also has two word dies that have background halos for layering and 7 different stitched square and rectangle dies. These stitched are particularly cool because they stitch both the positive and negative pieces of the paper that you die cut. 
video tutorial, art, cards, color,  ink, #tonicstudiosusa, stamping, video, watercolor, paper, diy, Tonic Studios, #tonicstudios, #tonicstudiosstampclub, Happy Hibiscus, handmade, stamps, card making, paper craft,

Here's a video I made to show everything included in this Happy Hibiscus bundle as well many cards and projects that I've made.
If you're having trouble viewing this video click HERE.

I've already shown you what the background stamp looks like when you use it as one piece so now let's take a look at what happens when you use the coordinating dies to cut it apart. For my next card I heat embossed the background stamp in silver embossing powder on watercolor paper. I selected a rainbow of Nuvo Aquaflow pens and watercolor washed the whole panel (see below for video) in color.
video tutorial, art, cards, color,  ink, #tonicstudiosusa, stamping, video, watercolor, paper, diy, Tonic Studios, #tonicstudios, #tonicstudiosstampclub, Happy Hibiscus, handmade, stamps, card making, paper craft,

There are two dies in the set that cut this large image into two pieces. One die fits tightly to the outer floral frame. The other die fits tightly to the inside to cut out the floral bouquet. These must be cut out separately as the dies would overlap. First I cut out the floral frame and cut that piece down to 4.25" x 5.5". Then, I cut out the center piece and set it aside. I did a pale watercolor wash on another piece of watercolor paper and stamped, "It's your day!" on it. 
video tutorial, art, cards, color,  ink, #tonicstudiosusa, stamping, video, watercolor, paper, diy, Tonic Studios, #tonicstudios, #tonicstudiosstampclub, Happy Hibiscus, handmade, stamps, card making, paper craft,

Next, I adhered the floral frame to the watercolored piece with foam adhesive. I used the Happy Birthday dies to cut my main sentiment out of holographic paper with a black background. I popped that up on foam tape too. The final detail was to add some sparkly splatters with my glitter gloss pen and then to add some sequins.
video tutorial, art, cards, color,  ink, #tonicstudiosusa, stamping, video, watercolor, paper, diy, Tonic Studios, #tonicstudios, #tonicstudiosstampclub, Happy Hibiscus, handmade, stamps, card making, paper craft,

For my last card I used the floral bouquet from the center of the image. I layered it on top of a stenciled piece of cardstock and cut off the pieces that were hanging off of the edges.
video tutorial, art, cards, color,  ink, #tonicstudiosusa, stamping, video, watercolor, paper, diy, Tonic Studios, #tonicstudios, #tonicstudiosstampclub, Happy Hibiscus, handmade, stamps, card making, paper craft,

I layered that piece on top of some silver striped cardstock just to make it a little fancy. You can see the silver cardstock again behind the "For You" sentiment. If you watch the video below I have some die cutting tips as well as a great tip for easily lining these word dies up with the background AND how to do it without using glue!
video tutorial, art, cards, color,  ink, #tonicstudiosusa, stamping, video, watercolor, paper, diy, Tonic Studios, #tonicstudios, #tonicstudiosstampclub, Happy Hibiscus, handmade, stamps, card making, paper craft,

After adhering my sentiment dies to my card with foam tape I adhered the whole front panel to a gray card face which was already attached to an A2 sized card base. 
video tutorial, art, cards, color,  ink, #tonicstudiosusa, stamping, video, watercolor, paper, diy, Tonic Studios, #tonicstudios, #tonicstudiosstampclub, Happy Hibiscus, handmade, stamps, card making, paper craft,

Here's that video I promised you. It shares how I made both my second and third cards today. It also has a great tip for perfect die cutting every time as well as a tip on how to easily align your word dies and to do it without glue!

  
If you're having trouble viewing this video click HERE.

Ok, that's all for me today you guys but before I go I've got tell you about a fantastic giveaway from Tonic Studios!

GIVEAWAY!!
Tonic Studios will be giving one lucky winner this Happy Hibiscus release AND a $50 gift card to spend at Tonic Studios ( £50 if you're in the UK!)! That is such a fantastic giveaway and someone is going to be so happy! To enter the giveaway you need to comment on every blog in this blog hop (the list of blog hoppers is down below). Get your comments in by 11:59 pm PST on November 25th, 2020. The winner will be announced on the Tonic Studios Instagram and Facebook accounts on November 27th, 2020 (so make sure you're following the Tonic Studios social media accounts). Good luck to you all!


Ok, the blog hop list is below (or just head over to Seeka's blog right now). I've also linked most of the products that I've used today in case you'd like to check anything out. 

Have an awesome day (or evening if you're on the other side of the Earth from me)! Bye for now.

Maria.


BLOG HOP LIST:

Amber Rain Davis

Channin Pelletier

Daniel West

Emily Midgett

Jen Kray

Jessica Frost-Ballas

Kelly Taylor

Lydia Fiedler

Maria Willis: You are here.

Seeka: Next.


PRODUCT SUPPLY LIST:


Pinkfresh Essentials Release and Giveaways!

Hi everybody! I hope your day is going well. Today I've got a couple of fun projects to share with you using the new Essentials Dies released today from Pinkfresh Studios. The release is amazing and I'm so excited I get to join in the fun!

For my first card I used the new Slim Stitches die (check out the stitched pattern-it's so beautiful!) for the background of my card. Just FYI, there is also a Stitches die for A2 sized cards so if slimline cards aren't your thing, Pinkfresh has you covered! I also used the new Slim Stitched Scalloped Rectangles Dies to create a fun stitched border out of holographic paper for my card.

Pinkfresh Studios, cards, cardmaking, stamps, stamping, dies, die cutting, watercolor, handmade, art, color, diy, paper, papercraft

Next, I watercolored the image from the Take Pride stamp set and used that as the focal point for my card.
Pinkfresh Studios, cards, cardmaking, stamps, stamping, dies, die cutting, watercolor, handmade, art, color, diy, paper, papercraft

I finished my card off with a sentiment from the Just Because stamp set and a few gems for some glitz.
Pinkfresh Studios, cards, cardmaking, stamps, stamping, dies, die cutting, watercolor, handmade, art, color, diy, paper, papercraft

For my second card I used the new Nested Chevron Die. I started my card off by using the die to cut some white cardstock. Then, I ink blended the chunky pieces (there are slim pieces too which I didn't use) in 80's colors. I added foam adhesive to the backs and put the pieces back into the die so that they would be perfectly spaced.

Pinkfresh Studios, cards, cardmaking, stamps, stamping, dies, die cutting, watercolor, handmade, art, color, diy, paper, papercraft

Then, I laid a piece of black cardstock on top of the foam adhesive (chevron pieces still placed face down in die) to stick all of the pieces to my black background. After that I splattered my whole card with sparkle and white metallic paint to give it a sparkly, splattered, grungy look. I stamped a sentiment from the Simply Sentiments-Hello stamp set onto gray cardstock, cut it into a strip and added it with foam adhesive. The final touch was to add some bubbles, gems, rhintestones and stars.
Pinkfresh Studios, cards, cardmaking, stamps, stamping, dies, die cutting, watercolor, handmade, art, color, diy, paper, papercraft

Ok, you guys, that's all I've got for you today! Before you go let me tell you about the killer giveaway that Pinkfresh Studios is putting on for you all today...


GIVEAWAYS & PROMOS:

-Pinkfresh will be giving away the full release on their Blog, IG feed & YouTube channel. So, you have three chances to win the entire release!

-You can win a $25 gift card right here on my blog post.. All you need to do to enter is to leave me a comment below and the winner will be picked from the comments on November 30, 2020. 

-Winners will be posted on the Pinkfresh Studios Giveaway Page. Winners must claim their prize within two weeks.

-There's a shipping promo that you won't want to miss too!


Thanks so much for stopping by today! I'll see you back here soon.

Maria 


BLOG HOP LIST:

You are invited to the Inlinkz link party!

Click here to enter

Wednesday, November 18, 2020

You Make Me Feel Fuzzy and Warm: Hero Arts

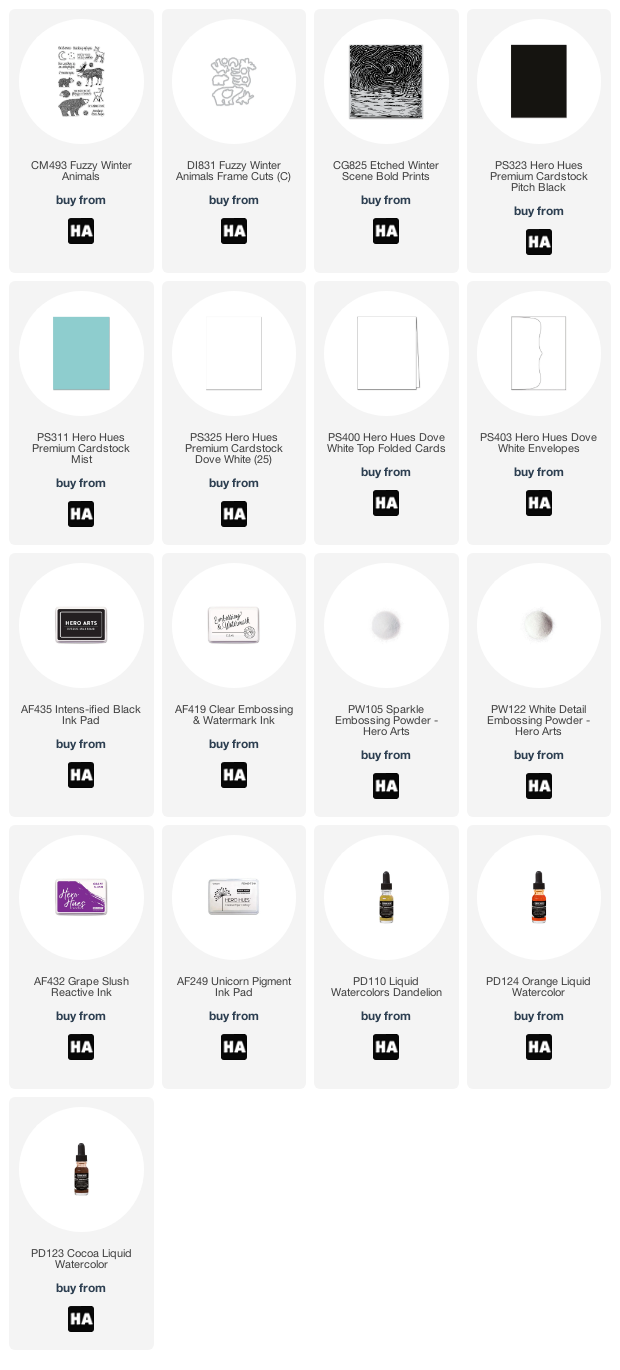
Hi everybody! I'm just popping in today to let you know that I'm up on the Hero Arts blog today sharing this card. It features two of my favorite wintery stamps, Fuzzy Winter Animals and the Etched Winter Scene Bold Prints.  All of the details of how I made this are over on the Hero Arts so you can check that out if you're interested. 

Hero Arts,cards,cardmaking,handmade,color,art,christmas,winter,diy, watercolor

I watercolored the stamped images using my liquid watercolors...
Hero Arts,cards,cardmaking,handmade,color,art,christmas,winter,diy, watercolor

...and, stamped the Etched Winter Scene Background in Sparkle embossing powder onto Mist cardstock.
Hero Arts,cards,cardmaking,handmade,color,art,christmas,winter,diy, watercolor

I added details with a white gel pen and that was it! Thanks so much for stopping by and I hope you have an amazing day!

Maria


PRODUCT/SUPPLY LIST:

Tuesday, November 17, 2020

Reverse Confetti: Most Huggable Little Mouse!

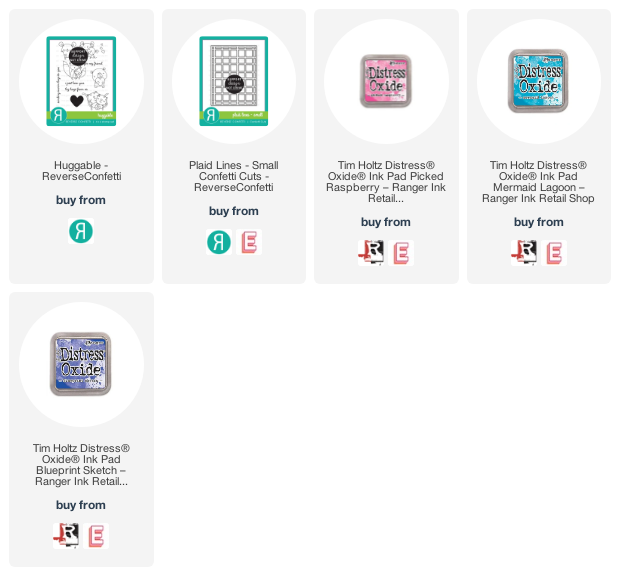
Hi everybody! I've got a sweet card to share with you today using the Huggable stamp set from Reverse Confetti. All of the images in this stamp set are so adorable but this little mouse is such a sweetie I just had to color him up first. I used my Arteza brush pens and a paint brush to watercolor the mouse.
Reverse Confetti,cards,cardmaking,stamps,stamping,watercolor,handmade,diy,art,color,#love,

After that I ink blended a little bit of Picked Raspberry Distress Oxide ink onto the background and stamped my sentiment.

Reverse Confetti,cards,cardmaking,stamps,stamping,watercolor,handmade,diy,art,color,#love,
I used the the Plaid Lines Small Confetti Cuts die cut as a stencil for my background. I ink blended over the top of that with Distress Oxides in Blue Print Sketch, Mermaid Lagoon and Picked Raspberry. I removed the "stencil" to reveal the white background pattern. To finish off my card I tied some black and white twine around my image piece and put my card together using foam tape.
Reverse Confetti,cards,cardmaking,stamps,stamping,watercolor,handmade,diy,art,color,#love,

This card was simple to make but came out so sweet. It was a good reminder for me that cards don't need to be complicated. 

Ok, bye for now! Thanks for stopping by and have a great day!
Maria


PRODUCT/SUPPLY LIST:

Monday, November 16, 2020

Reverse Confetti: Stock Your Stash- Holiday and Winter Cards!

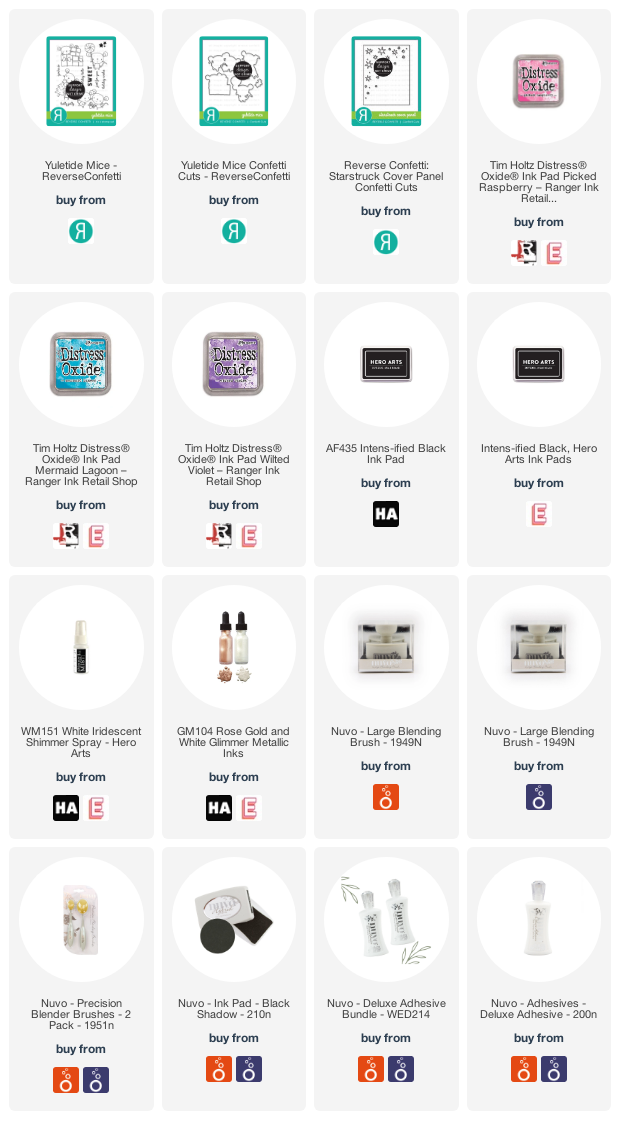
Hi everybody! I hope you are having a great day today and thanks so much for stopping by. Today I am here to let you know it is time to Stock Your Stash with Reverse Confetti! Stock Your Stash is Reverse Confetti's monthly card making challenge and this month's theme is "Holiday & Winter" themed cards. For my card I've decided to use the adorable Yuletide Mice stamp set and coordinating dies.  I started out by stamping my mouse in copic friendly black ink and coloring the image in with copic markers. The most fun part of coloring in this image was adding the glow from the star to the little mouse's face. 
Reverse Confetti,cards,greeting cards,cardmaking,cardmaker,christmas,holiday,stamp,stamping,art,ink,create,handmade,diy,color,copic markers,#distressoxideinks,


Next, I ink blended a panel using distress oxide inks. Then I splattered the panel with water and dried it to oxidize and lift some of the ink. Next, I sprayed the background with iridescent shimmer spray and then splattered it with white metallic paint. This left me with a shimmery, textured, cosmic looking background. I used the Star Struck Cover Panel Confetti Cuts to cut some stars out of white cardstock. I adhered these with a mix of foam adhesive, glue dots and liquid adhesive to make the stars sit at different depths.
Reverse Confetti,cards,greeting cards,cardmaking,cardmaker,christmas,holiday,stamp,stamping,art,ink,create,handmade,diy,color,copic markers,#distressoxideinks,


After gluing my ink blended panel to a white card base I heat embossed my sentiment in white embossing powder onto black cardstock. Then, I cut the sentiment down into a small strip. I adhered both the sentiment and mouse image onto the front of the card using foam adhesive and that finished off my card.
Reverse Confetti,cards,greeting cards,cardmaking,cardmaker,christmas,holiday,stamp,stamping,art,ink,create,handmade,diy,color,copic markers,#distressoxideinks,


To play along with the Reverse Confetti Stock Your Stash challenge this month just make a holiday or winter themed card using Reverse Confetti products. Then, head over to their challenge blog and enter your card to win! Good luck!


Thanks so much for stopping by today you guys! I hope you have an amazing day and I will see you back here soon!

Maria


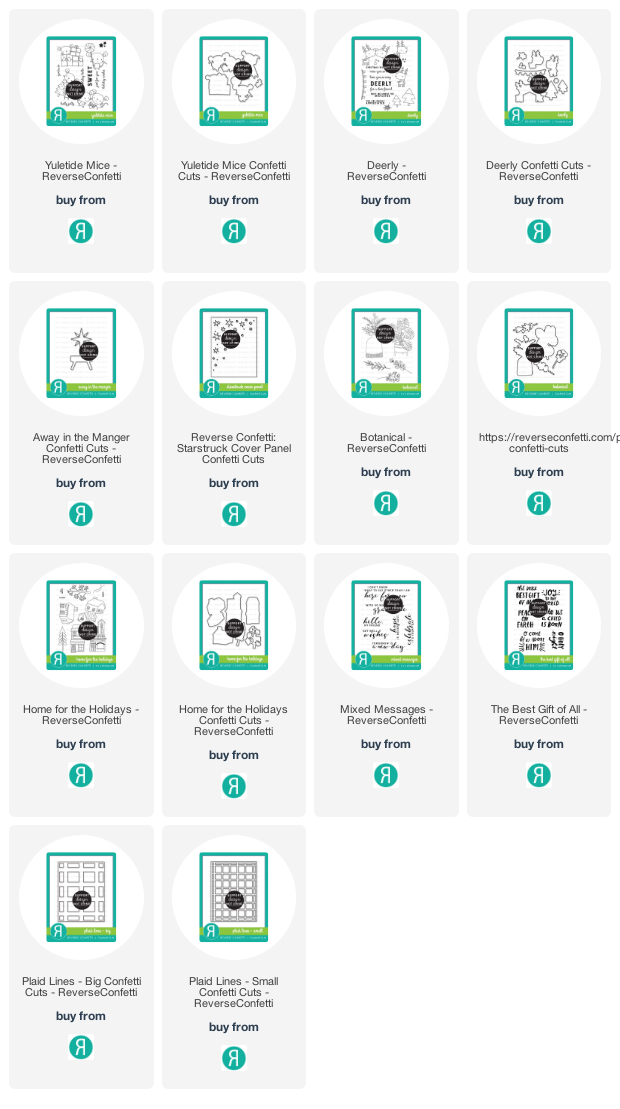
PRODUCT SUPPLY LIST: 

Sunday, November 8, 2020

Reverse Confetti: New Release Blog Hop

Hi everybody and welcome back! Today is the day you have been waiting for! The Reverse Confetti release is live and now you can hit the RC shop and pick up the stamps you've been getting sneak peeks of over the last three days. 

For today's card I've combined quite a few of the new release products to make one card. I used stamps from Deerly, Yuletide Mice and The Best Gifts of All. I also used dies from the Away in the Manger Confetti Cuts. I started out by stamping my deer and mice images onto white cardstock so that I could color them. If you don't recognize that mouse it's because he was originally part of stamp with lots of presents. I cut him out of that image so that I could tuck him into the manger. I also cut the manger and star out using the Away in the Manger Confetti Cuts. I colored in the stamped images and the manger. Then I colored the star in using yellow and brown to make it look like hay. I cut off the tips of the star and glued them behind the manger to make it look like the manger was full of hay. 

Reverse Confetti,cards,cardmaking,cardmaker,stamps,stamping,ink,handmade,greeting cards,art,create,diy,paper craft,

I heat embossed my sentiment from The Best Gifts of All stamp set onto my background in black. Then I used Distress Oxide inks to ink blend the background. I splattered the background with water then dried it with a paper towel to oxidize the ink and create texture on the background. I also splattered it with white metallic paint.
Reverse Confetti,cards,cardmaking,cardmaker,stamps,stamping,ink,handmade,greeting cards,art,create,diy,paper craft,

Next, I adhered my images to my card face using foam adhesives. I added sequins and black strips on the sides of the panel. Last of all I added the whole thing to a white card base and that was it!
Reverse Confetti,cards,cardmaking,cardmaker,stamps,stamping,ink,handmade,greeting cards,art,create,diy,paper craft,

I'm so excited that this release is now available in the Reverse Confetti shop! If you want to see more samples of cards I've made for this release please check out my blog posts for Day1, Day 2 and Day 3 of the Countdown to today's launch. 

Reverse Confetti,cards,cardmaking,cardmaker,stamps,stamping,ink,handmade,greeting cards,art,create,diy,paper craft,

That's it for me today you guys! I hope you love this Reverse Confetti release as much as I do. If you're interested in checking out any of the products that I've used today, or, other products from this release I've got them all listed below for you. I hope you will continue hopping along with us to celebrate this fun new release (blog hop list below).

Have an amazing day you all!

Maria.


BLOG HOP LIST:

Reverse Confetti Blog

Amy Kolling

Ali Farmer

Tricia Barber

Lisa Henke

Joan Bardee

Kathy Schweinfurth

Olga Moss

Jeanne Jachna

Deanne Kuntz

Maria Willis: You are here.

Cheiron Brandon

Amy Tsuruta

Cindy Norberg


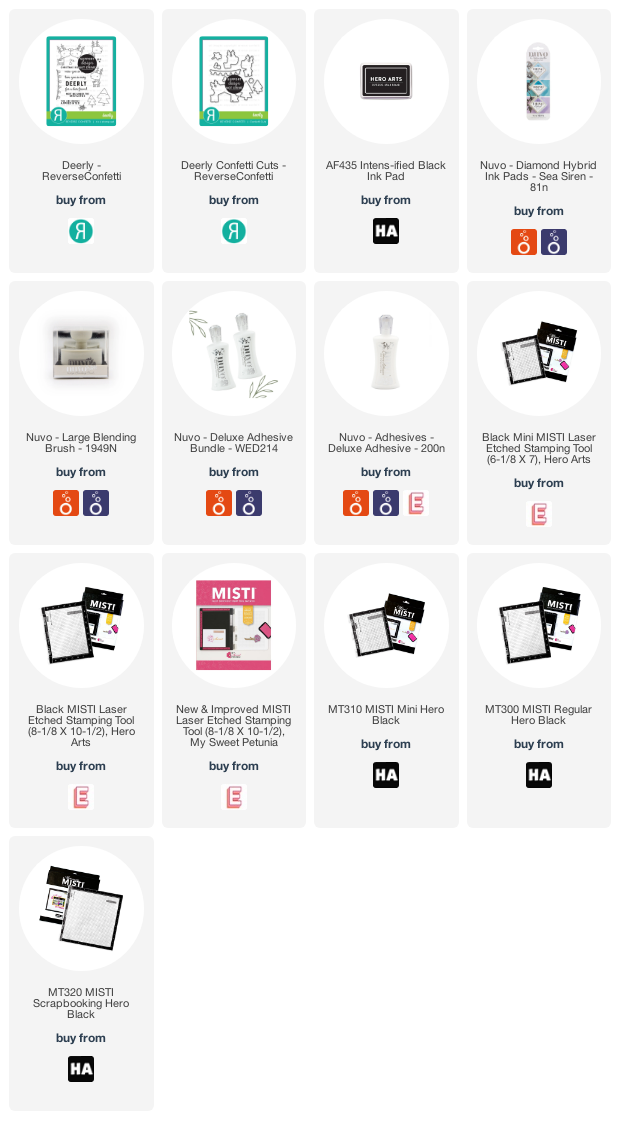
PRODUCT SUPPLY LIST:

Saturday, November 7, 2020

Reverse Confetti Countdown Day 3

Hi everybody! I hope you all had a great week and ready for the weekend! Today is the last day of the Countdown to Confetti and that means that tomorrow is release day at Reverse Confetti! Woohoo! Over the last couple of days you've gotten a look at some really fantastic stamps and dies. Today I'm going to share another adorable set with you. This set is called Deerly and it is full of sweet holiday deer. I wanted to make a simple but heartwarming card and these two smooching deer were just perfect! I started out by stamping the mistletoe and the deer on white cardstock with black ink. 

Reverse Confetti,cards,card making,stamps,stamping,ink,paper,papercrafting,handmade,handmade card,cardmaking,holidays,gift giving,christmas,happy holidays,
I colored my deer and mistletoe using my copic markers. Then, I used a large blending brush and hybrid ink to blend a light background. 
Reverse Confetti,cards,card making,stamps,stamping,ink,paper,papercrafting,handmade,handmade card,cardmaking,holidays,gift giving,christmas,happy holidays,
I heat embossed the sentiment in white onto black cardstock then adhered it over the mistletoe string using foam adhesive to give it dimension. I added some highlights with a white gel pen then adhered my panel to a black card base to finish the card off.
Reverse Confetti,cards,card making,stamps,stamping,ink,paper,papercrafting,handmade,handmade card,cardmaking,holidays,gift giving,christmas,happy holidays,

That's all I've got to share for today folks! Before I go here's some good news...
  • We will be back tomorrow with another blog hop and the release will be live and available for purchase! Woohoo!
  • Today's post is part of a blog hop and you can hop along by clicking on the links below.
  • BLOG HOP GIVEAWAY! One lucky commenter will win a $15 gift certificate for commenting here on our blog hop. Be sure to comment on all of the posts to enter to win! Comments close at noon CST on November 7th, 2020.
  • FACEBOOK GIVEAWAY! Another lucky winner will be chosen from the Reverse Confetti Facebook page. Make sure to head over and leave a comment there as well.

Ok, bye guys! I'll be back tomorrow with the Reverse Confetti full release!

Have an awesome day!
Maria


BLOG HOP LIST:

Reverse Confetti

Amy Kolling

Tricia Barber

Lisa Henke

Joan Bardee

Kathy Schweinfurth

Jeanne Jachna

Deanne Kuntz

Maria Willis

Cheiron Brandon

Amy Tsuruta

Cindy Norberg


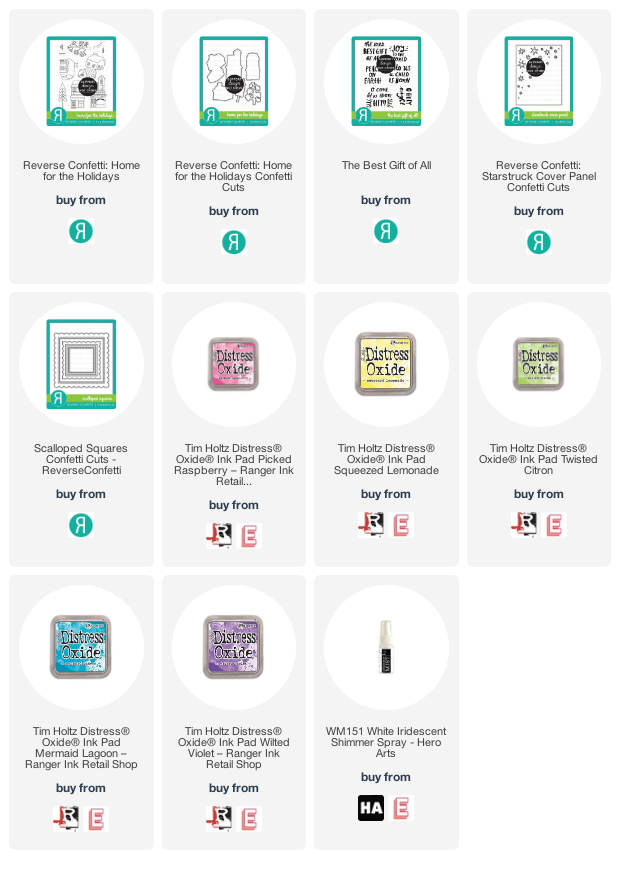
PRODUCT SUPPLY LIST:

Friday, November 6, 2020

Reverse Confetti Countdown Day 2

Hi everybody! It's day two of the Reverse Confetti countdown and we are one day closer to this month's fabulous release day (November 8th). For today's shaker card I am showing off two different stamp sets and a cover plate die. I used the Home for the Holidays stamp set and the coordinating Home for the Holidays Confetti Cuts as well as the Best Gift of All sentiment stamp set and the Starstruck Cover Panel Confetti Cuts.

I started out by watercoloring a square of watercolor paper with Distress Oxide inks in a rainbow of colors (listed below). I love how these watercolor so smoothly and create a gorgeous background. After watercoloring I splattered a little bit of my leftover paint onto the background while it was still wet which allowed my splatters to bleed a little. Next I heat embossed the "Joy to the World" sentiment from the Best Gift of All stamp set in gold embossing powder. This set has a really bold, fun font that I love.
Reverse Confetti, Cards, card making, stamps, stamping, ink, paper, papercrafting, handmade, handmade card, cardmaking, holidays, gift giving,christmas, happy holidays,
Next I cut a black frame using the Scalloped Squares Confetti Cuts. I adhered a sheet of plastic to the back of it using a tape runner. I prepped the plastic with my antistatic pouch to remove any static cling. Then I added a thin layer of foam adhesive to the back of the frame. I put a few scoops of my shaker guts onto my watercolored card face and stuck the black frame onto that trapping the shaker guts inside.
Reverse Confetti, Cards, card making, stamps, stamping, ink, paper, papercrafting, handmade, handmade card, cardmaking, holidays, gift giving,christmas, happy holidays,

I stamped the tree from the Home for the Holidays stamp set three times in black ink. I watercolored the trees using my distress oxide inks and cut them out using the Home for the Holidays Confetti Cuts. I also cut out one star using the Starstruck Cover Panel Confetti Cuts. I adhered the star and trees to my card face and after adding it to a card base that was it!
Reverse Confetti, Cards, card making, stamps, stamping, ink, paper, papercrafting, handmade, handmade card, cardmaking, holidays, gift giving,christmas, happy holidays,

 That's all I've got to share for today folks! Before I go here's some good news...
  • We will be back tomorrow with more inspiration and sneak peeks for new products!
  • Today's post is part of a blog hop and you can hop along by clicking on the links below.
  • BLOG HOP GIVEAWAY! One lucky commenter will win a $15 gift certificate for commenting here on our blog hop. Be sure to comment on all of the posts to enter to win! Comments close at noon CST on November 7th, 2020.
  • FACEBOOK GIVEAWAY! Another lucky winner will be chosen from the Reverse Confetti Facebook page. Make sure to head over and leave a comment there as well.

Ok, bye guys! I'll be back tomorrow with another Reverse Confetti sneak peek. 

Have an awesome day!
Maria


BLOG HOP LIST:

Reverse Confetti Blog

Amy Kolling

Tricia Barber

Lisa Henke

Joan Bardee

Kathy Schweinfurth

Jeanne Jachna

Deanne Kuntz

Maria Willis

Cheiron Brandon

Amy Tsuruta

Cindy Norberg


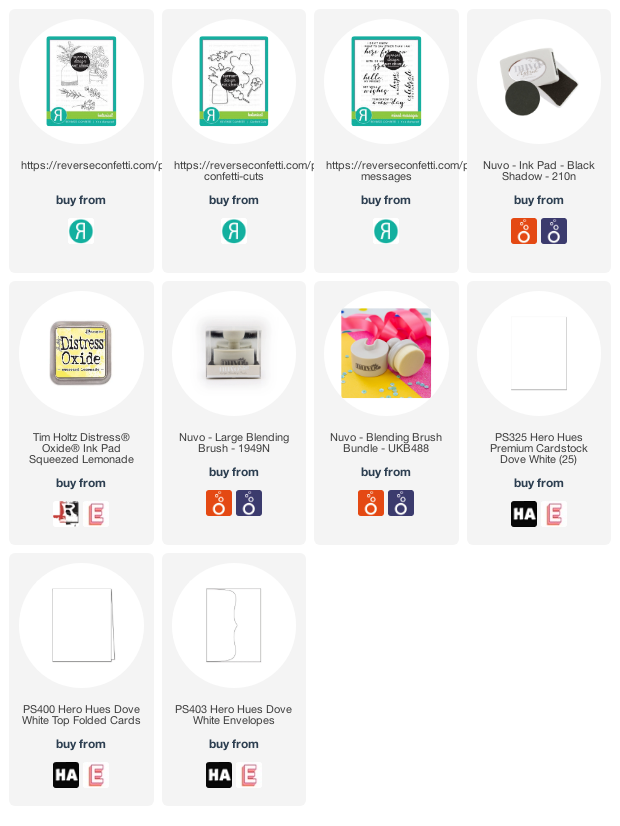
PRODUCT SUPPLY LIST:

Thursday, November 5, 2020

Reverse Confetti: Hope is Never Lost

Hi everybody! Welcome to day one of the countdown to the Reverse Confetti Release which is coming your way on November 8th. For today's sneak peek I will be sharing two of the stamps from this month's release. The first is a gorgeous 4'x6' stamp set called "Botanical" and the second is a sentiment set called "Mixed Messages."

I decided to use this potted plant because of the big, gorgeous leaves. I colored the image in with my copic markers and added white highlights. Then I used the coordinating Botanical Confetti Cuts to cut the image out.
Reverse Confetti, Cards, card making, stamps, stamping, ink, paper, papercrafting, handmade, handmade card, cardmaking, holidays, gift giving,christmas, happy holidays,
I used a large blending brush to ink blend the background with Squeezed Lemonade distress oxide ink. Then I splattered it with a slightly darker copic marker. I stamped the sentiment in black ink using my Misti.
Reverse Confetti, Cards, card making, stamps, stamping, ink, paper, papercrafting, handmade, handmade card, cardmaking, holidays, gift giving,christmas, happy holidays,
I adhered my potted plant onto the card face using foam adhesive so that it would have dimension. The final touch was adding some gems and bubbles to give the card some texture and shine.
Reverse Confetti, Cards, card making, stamps, stamping, ink, paper, papercrafting, handmade, handmade card, cardmaking, holidays, gift giving,christmas, happy holidays,

That's all I've got to share for today folks! Before I go here's some good news...
  • We will be back tomorrow with more inspiration and sneak peeks for new products!
  • Today's post is part of a blog hop and you can hop along by clicking on the links below.
  • BLOG HOP GIVEAWAY! One lucky commenter will win a $15 gift certificate for commenting here on our blog hop. Be sure to comment on all of the posts to enter to win! Comments close at noon CST on November 7th, 2020.
  • FACEBOOK GIVEAWAY! Another lucky winner will be chosen from the Reverse Confetti Facebook page. Make sure to head over and leave a comment there as well.

Ok, bye guys! I'll be back tomorrow with another Reverse Confetti sneak peek. 

Have an awesome day!
01 09 10