Tuesday, April 30, 2019

Raised Rectangle Cards for Tonic Studios

Hi everybody! I hope you're having a great day today. Today I'm up on the Tonic Studios Blog sharing a post and a video tutorial and I wanted to make sure that I shared it here with all of you as well...

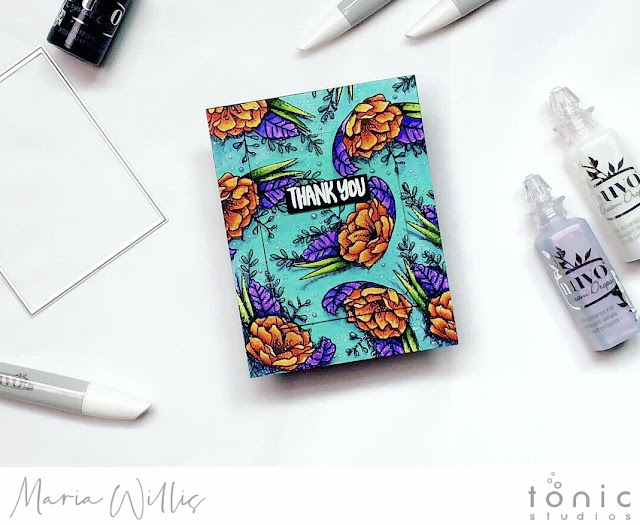
Have you ever started a project and been really happy with how it's going and then you do something to it that ruins it? Well, that's how today's projects came about. I had just gotten the Nuvo alcohol markers and wanted to try them out. So I stamped a card front full of floral images (left card in image below) from the Dainty Daisies set and went to town coloring. These alcohol markers are awesome!

#cardbomb, #mariawillis, #cards, #stamp, #ink, #paper, #handmade, #handmadecards, #diy, #tonicstudios, #tonicstudiosusa, #color, #nuvo, #nuvoshimmerpowder, #video, #videotutorial,

After coloring with the markers I got out some colored pencils to add drop shadows. Then I used a Sharpie and a white gel pen to add shadows and highlights. Black Nuvo drops on the stamens and Dream Drops on the background finished the card off along with a "Thank You" sentiment from the Little Something For Harry set. Dun, dun, dun (total drama) and then I cut my card so that I could frame part of it in black and it looked terrible! I was so bummed that I had cut it, but, once you cut a background there is no going back so I had to figure out a solution.

#cardbomb, #mariawillis, #cards, #stamp, #ink, #paper, #handmade, #handmadecards, #diy, #tonicstudios, #tonicstudiosusa, #color, #nuvo, #nuvoshimmerpowder, #video, #videotutorial,

I tried putting the rectangular piece back inside the frame but it looked like a tragic accident. I decided to pop it up on four pieces of black cardstock... and, voila! Today's technique was born.  

#cardbomb, #mariawillis, #cards, #stamp, #ink, #paper, #handmade, #handmadecards, #diy, #tonicstudios, #tonicstudiosusa, #color, #nuvo, #nuvoshimmerpowder, #video, #videotutorial,


You can just see a thin layer of black that frames out the raised piece but it's subtle enough that it still allows the background to be the star of the show.

#cardbomb, #mariawillis, #cards, #stamp, #ink, #paper, #handmade, #handmadecards, #diy, #tonicstudios, #tonicstudiosusa, #color, #nuvo, #nuvoshimmerpowder, #video, #videotutorial,


I decided to make a video to share how easy this technique is. You can do it with a fully colored background like I did in my first card. You can also use your images to frame the raised portion of the card as I did in the video. Of course, you are not limited to using rectangles. This technique would be amazing with any other shape as well. Here's the video...


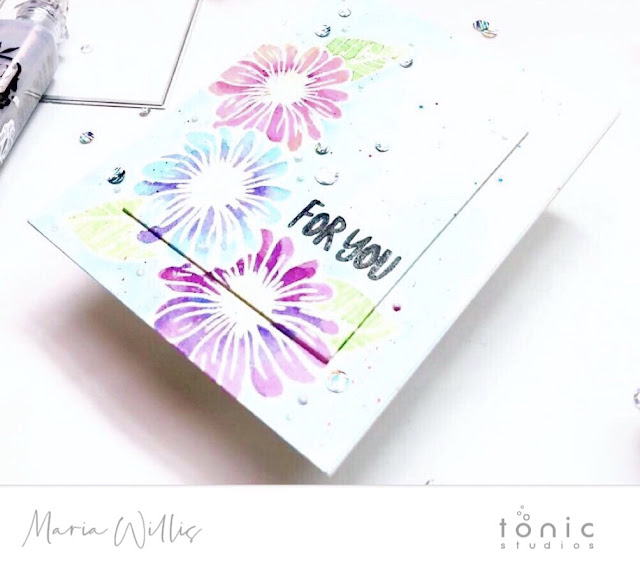
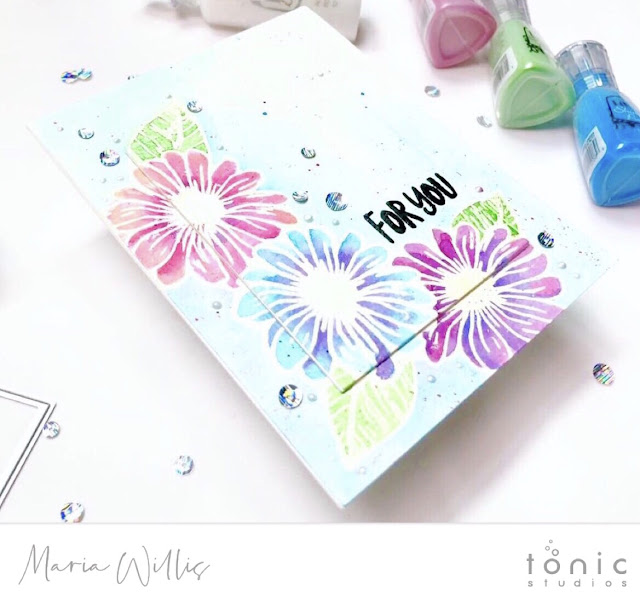
For the second card I used watercolor paper, the emboss resist technique and four of my Nuvo shimmer powders including the new Falling Leaf which is my new favorite green.

#cardbomb, #mariawillis, #cards, #stamp, #ink, #paper, #handmade, #handmadecards, #diy, #tonicstudios, #tonicstudiosusa, #color, #nuvo, #nuvoshimmerpowder, #video, #videotutorial,


I used my stamp positioner and a post-it mask to stamp the flowers and leaves multiple times in versamark ink. Then I used the Nuvo Fine Detail Crystal Clear Embossing Powder and heat embossed my images. I added a little water to my shimmer powder turning them into a paintable medium and I painted the whole card.

#cardbomb, #mariawillis, #cards, #stamp, #ink, #paper, #handmade, #handmadecards, #diy, #tonicstudios, #tonicstudiosusa, #color, #nuvo, #nuvoshimmerpowder, #video, #videotutorial,


Next, I used my rectangle die to cut my card face. I also cut four rectangles out of white cardstock. I glued the white rectangles together and then adhered the image piece on top. After adhering the frame to the card base I glued the thick rectangle piece into the center of the frame.

#cardbomb, #mariawillis, #cards, #stamp, #ink, #paper, #handmade, #handmadecards, #diy, #tonicstudios, #tonicstudiosusa, #color, #nuvo, #nuvoshimmerpowder, #video, #videotutorial,


Some paint (shimmer powder) splatters, Dream Drops and Silver Rain sequins finished the card off nicely. If you'd like to see this technique in action I hope you'll enjoy the video I shared. That's all for today folks. Thank you so much for joining me and I look forward to being back here next week.
Have an amazing day!
Maria


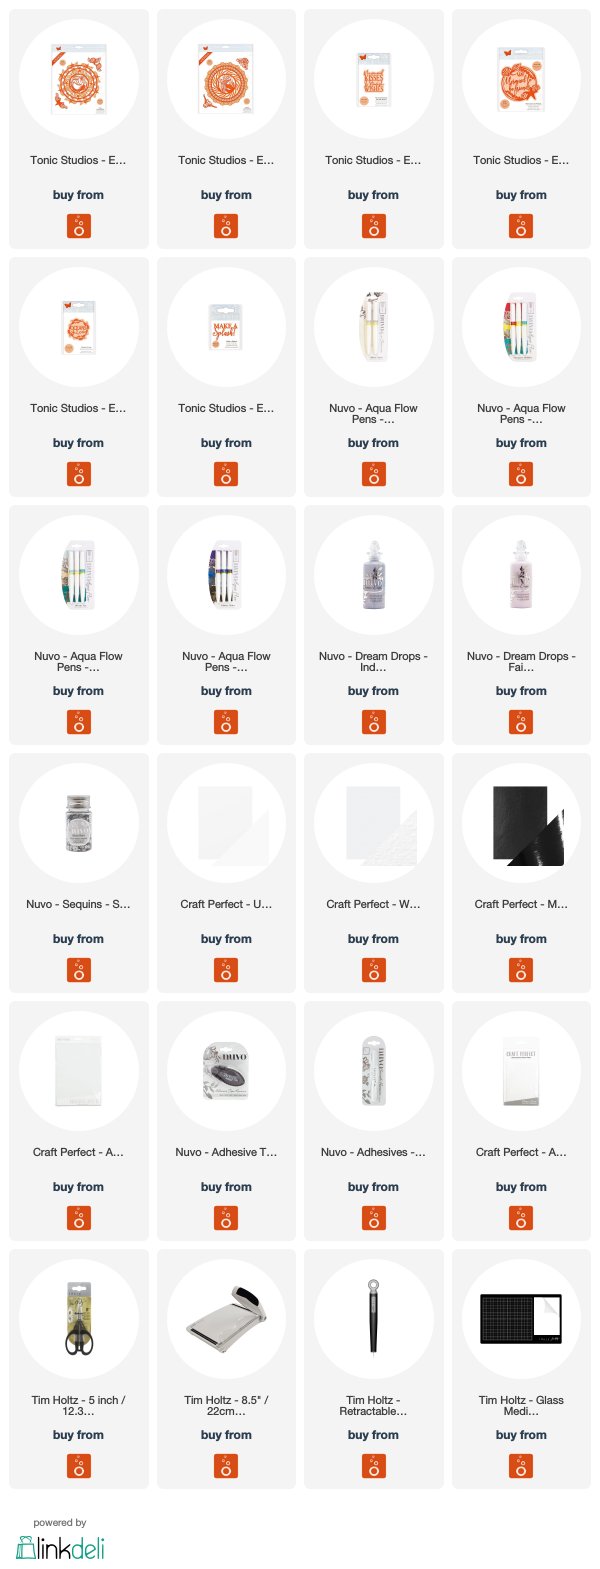
PRODUCT LIST: TONIC STUDIOS UK


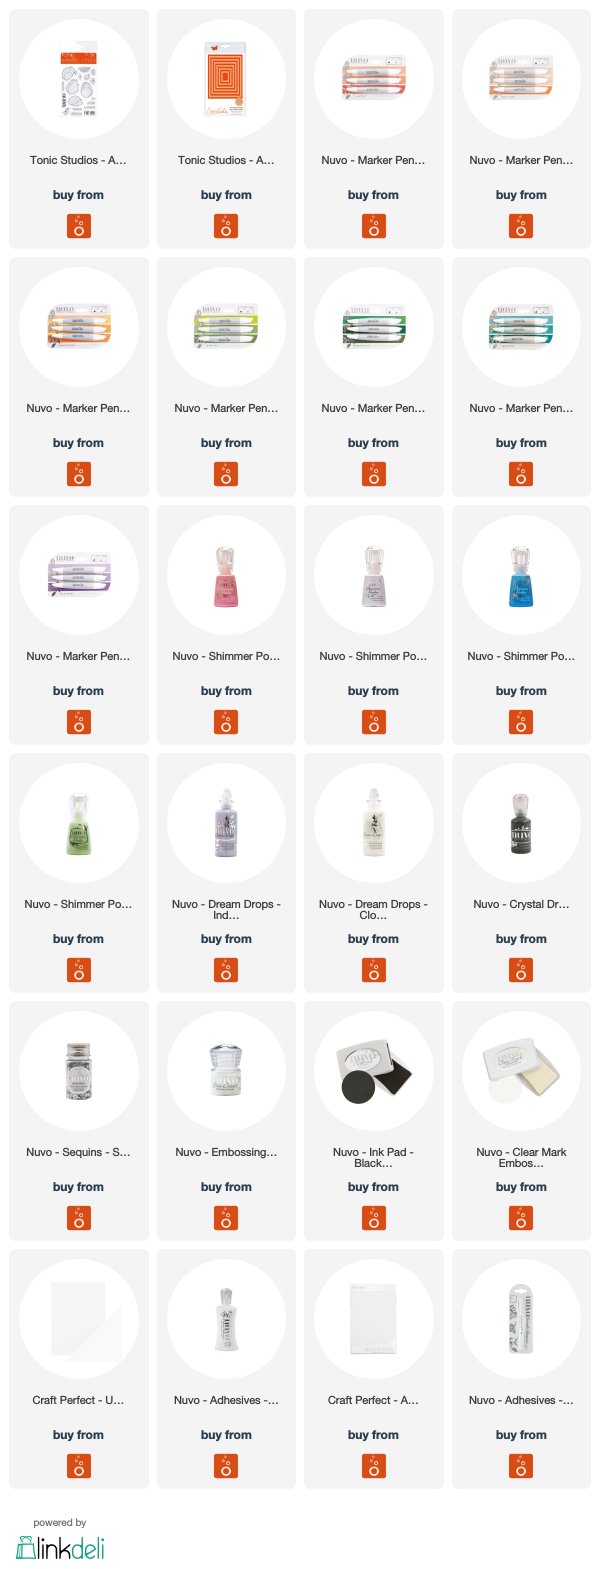
PRODUCT LIST: TONIC STUDIOS USA

Sunday, April 28, 2019

Hero Arts Color Layering Iris Thank You

Hey everybody! I hope you're having an amazing day. I'm so glad to be back here after what feels like forever. For the last little while I've been stuck in a tax/paperwork  black hole and have had so little time to get crafty. I colored this iris (Color Layering Iris from Hero Arts) way back in February and never had time to make a card with it. Over the next few weeks you'll probably see a lot of cards made from bits and pieces of cards that I started working on months ago. 
#mariawillis, #cardbomb, #heroarts, #newrelease, #newcatalog, #2019heroartscatalog, #colorlayeringiris, #thankyou, #cards, #cardmaking, #handmadecards, #craft, #papercraft, #stamp, #ink, #paper, #handmade, #diy, #create, #color, #copics, #copicmarkers,, #distressoxides, #flowers, #mixedmedia,

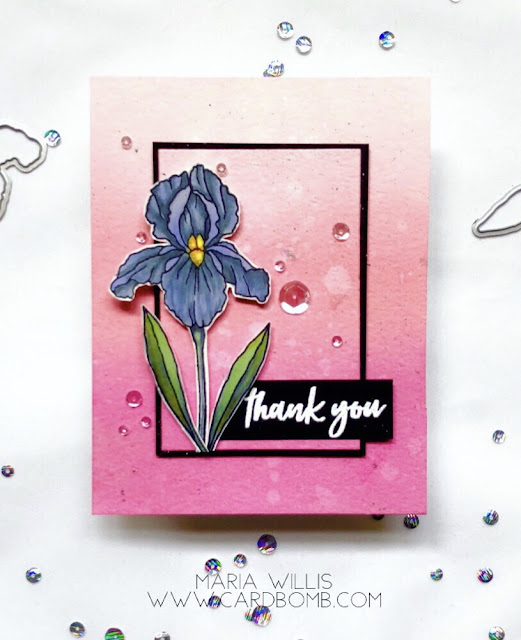
I love this iris stamp set. It is a color layering set but I decided to use just the outline stamp and color it in with my copic markers. I have to apologize because since I colored this image in so long ago I cannot remember what colors I used. I can tell you that I used Cool Grays and a light violet for the petals of the flower. I had originally planned to color it in gray scale then decided to add just a hint of color. 
#mariawillis, #cardbomb, #heroarts, #newrelease, #newcatalog, #2019heroartscatalog, #colorlayeringiris, #thankyou, #cards, #cardmaking, #handmadecards, #craft, #papercraft, #stamp, #ink, #paper, #handmade, #diy, #create, #color, #copics, #copicmarkers,, #distressoxides, #flowers, #mixedmedia,

I heat embossed my sentiment in white embossing powder onto black cardstock and cut it out. I had to cut the left side at an angle to tuck it neatly behind the leaf. 
#mariawillis, #cardbomb, #heroarts, #newrelease, #newcatalog, #2019heroartscatalog, #colorlayeringiris, #thankyou, #cards, #cardmaking, #handmadecards, #craft, #papercraft, #stamp, #ink, #paper, #handmade, #diy, #create, #color, #copics, #copicmarkers,, #distressoxides, #flowers, #mixedmedia,

My background is sponged with Distress Oxide inks in Picked Raspberry, Worn Lipstick and Tattered Rose. Then I splattered it with water to add a little texture... then I splattered it again with shimmer spray. Then I cut the background using the Hero Arts Infinity Rectangle Dies and layered the front piece over black cardstock (also cut with the layering dies). I popped up the background and flower on foam adhesive to give the card dimension and to make the flower pop even more.
#mariawillis, #cardbomb, #heroarts, #newrelease, #newcatalog, #2019heroartscatalog, #colorlayeringiris, #thankyou, #cards, #cardmaking, #handmadecards, #craft, #papercraft, #stamp, #ink, #paper, #handmade, #diy, #create, #color, #copics, #copicmarkers,, #distressoxides, #flowers, #mixedmedia,

The final touch was to add clear sequins. You can't see it in the photos but the whole background of the card sparkles due to the shimmer spray I splattered onto it.

It's been a while since I've entered a challenge so I'm going to enter this card in the A Blog Named Hero: Clean & Simple Challenge.

much for stopping by and I'll see you back here soon. As usual, if you are interested in checking out any of the products that I've used today you can find links at the bottom of my post.

Have an amazing day!
Maria


PRODUCT LIST: 
When you use these links I will earn a small commission at no extra cost to you. Thank You!

Monday, April 15, 2019

Mermaid Kisses and Starfish Wishes

Hey everybody! I am so excited to have you here today because today is my first post for Tonic Studios as a member of their Social Media Design Team. Tonic Studios has a new blog, and with it, a new design team. Every week day the Tonic DT will be sharing fun projects and lots of inspiration on the blog. The team is made up of some very talented artists and I am absolutely thrilled that Tonic has chosen me to help represent them. When you have a few minutes please go check out Tonic's new blog. It's a fun place to go for inspiration and I hope you'll enjoy it as much as I do. Here's a link to go check them out: CLICK HERE.

Now, on to today's project...
#cardbomb, #mariawillis, #tonicstudios, #tonicstudiosusa, #mermaid, diecutting, #ocean, #watercolor, #color, #art, #diy, shells, #cards, #handmade, #paper, #papercraft, #ink, #stamp, #craft,


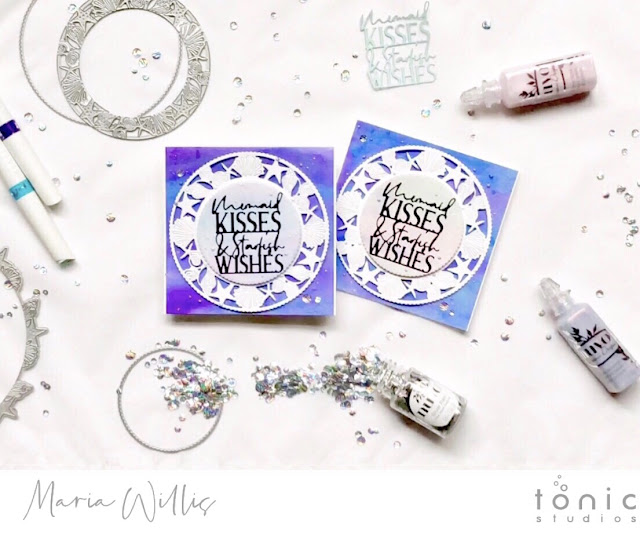
Today I am sharing a project using the Mermaid With Love range of dies. When I saw these dies I knew I had to have them because I love shells, sea stars, mermaids and well designed layering dies. I had so much fun playing around with them and coming up with fun ideas for them that it was hard to decide what kind of project I wanted to share with you. I decided on a shimmery, watercolor project that I hope you will enjoy but mixed media was a close second. There is a video tutorial for this project towards the bottom of this post. I hope you'll take a few minutes to watch it as I share how versatile this die range is. Until I opened these dies and started playing with them I really had no idea how many things you could do with them. In the video I also share some tips for using the dies as well as some tips for assembling this card.

#cardbomb, #mariawillis, #tonicstudios, #tonicstudiosusa, #mermaid, diecutting, #ocean, #watercolor, #color, #art, #diy, shells, #cards, #handmade, #paper, #papercraft, #ink, #stamp, #craft,


SUPPLIES:
I started with a white card base cut to 5" x 10" and scored at 5" and a piece of watercolor paper cut to 4 & 7/8"squared. I also had a piece of white cardstock for cutting my large die piece, a small piece of watercolor paper for cutting my layering circle (behind sentiment) and a piece of black glossy cardstock backed with double sided adhesive for cutting out the sentiment die. Aside from cardstock you will need Nuvo Markers (Aqua Splash, True Turquoise, Azure Blue, Indigo Dawn), Dream Drops (Indigo Eclipse and Fairy Wings), dimensional foam adhesive, tape runner adhesive, a smooth precision glue pen, and Silver Rain sequins. You will also need my favorite die set from this collection, the Marina Layering Dies and the Mermaid Kisses & Starfish Wishes sentiment die.

HOW TO:
I started by watercoloring my two watercolor pieces using a paint brush and ink from Nuvo Markers. I saturated my watercolor cardstock with water and painted both pieces at the same time making sure that my background piece was much more saturated with color than the smaller piece. I set these aside to dry and did my die cutting next. I used the round seashell and starfish die with a larger cutting ring to cut the detailed die cut from white cardstock. Then I used the smaller cutting ring to die cut a layering circle from the smaller piece of watercolor paper. Last, I cut the sentiment die from the piece of black glossy cardstock and removed the negative pieces from the die being careful to leave the die cut inside of the die. After splattering my watercolor pieces generously with Glitter Gloss I put my card layers together. Both of the larger die cut pieces are popped up on foam adhesive. The sentiment is adhered after removing the backing from the double sided adhesive. Then, I embellished the card with sequins and Dream Drops. Side note: Dream Drops are epic!! Not only are they absolutely gorgeous but they must also be magic because I'm able to get perfect drops with them every. single. time. They are amazing and added just the right touch to this card as they look like pearls.
#cardbomb, #mariawillis, #tonicstudios, #tonicstudiosusa, #mermaid, diecutting, #ocean, #watercolor, #color, #art, #diy, shells, #cards, #handmade, #paper, #papercraft, #ink, #stamp, #craft,

Here's that video I keep talking about. I hope you'll find it has some helpful information, both about this entire die collection, as well as for putting this card together.


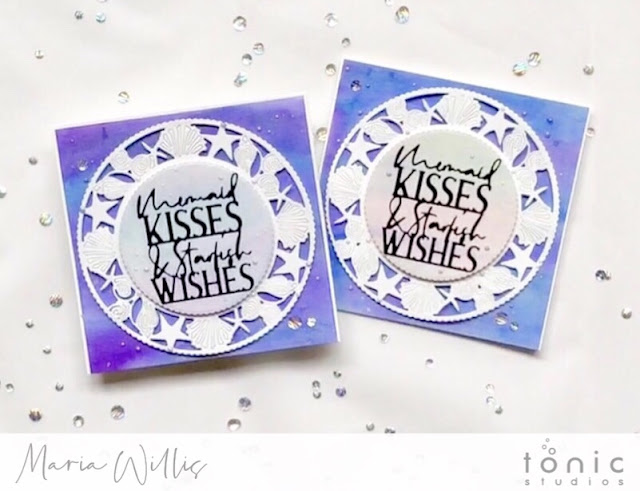
Here's one more look at the cards I'm sharing today...

#cardbomb, #mariawillis, #tonicstudios, #tonicstudiosusa, #mermaid, diecutting, #ocean, #watercolor, #color, #art, #diy, shells, #cards, #handmade, #paper, #papercraft, #ink, #stamp, #craft,


That's all for today folks! If you're interested in checking out any of the products I've shared today I've added links to all of them below. These are affiliate links and if you make a purchase through them I will make a small commission (thank you!). Thanks so much for stopping today. I hope you all have an amazing day and I will see you back here soon.

Maria


SUPPLY LIST UK SHOP


SUPPLY LIST USA

Monday, April 1, 2019

Altenew Build-A-Flower: Sweet Violet Release Blog Hop + Giveaway


Hello, and welcome to Altenew's April 2019 Build-A-Flower: Sweet Violet Release Blog Hop! You may be starting the hop here with me or you may have come from the super talented TaeEun Yoo.  Either way, I'm so glad you're joining us!  Today Altenew is launching a new Build-A-Flower set called Sweet Violet and it is amazing! The new release is sold as either the Sweet Violet stamp set alone, or, the Sweet Violet & Ink Bundle (5% discount-woot!). Just in case you didn't know, Altenew offers a subscription plan for the Monthly Build-A-Flower Release! Subscribers receive a discount and will never miss out on the fun. If you'd like more info on the Build-A-Flower Monthly Subscription please click HERE. Here's a look at this month's bundle...The stamp set is beautiful and I love the ink colors! 


For today's card I decided to use the outline image of the larger flower to stamp multiple times on Arches cold press water color paper. I stamped in Versamark ink and heat embossed the image in white. 
#mariawillis, #cardbomb, #altenew, #watercolorbrushmarkers, #watercolor, #flowers, #cards, #stamp, #ink, #paper, #art, #papercraft, #cardmaker, #color,  #sweetviolet, #buildaflower

Next I used my Tropical Fiesta Watercolor Brush Markers to color in the flowers. Believe it or not I only used two colors on this card: Purple Wine and Turquoise. After coloring the flowers, I used the same two colors to watercolor a more subtle looking background. To do this I coated the background in water and added color to the water letting it disperse into soft, beautiful shades. 
#mariawillis, #cardbomb, #altenew, #watercolorbrushmarkers, #watercolor, #flowers, #cards, #stamp, #ink, #paper, #art, #papercraft, #cardmaker, #color,  #sweetviolet, #buildaflower
After watercoloring the background I used Altenew's Mega Friend Die and the Happy Birthday sentiment from the Mega Greetings 3 Stamp Set to finish off my card front. After adhering the large "friend" die I popped the "happy birthday" up on foam strips to finish off the sentiment. The last thing I did was to add some texture on the background with some Tonic Nuvo Dream Drops.
#mariawillis, #cardbomb, #altenew, #watercolorbrushmarkers, #watercolor, #flowers, #cards, #stamp, #ink, #paper, #art, #papercraft, #cardmaker, #color,  #sweetviolet, #buildaflower

Alright, that is all for today folks! Well, aside from the prizes that is... See below for the details of Altenew's ridiculously generous giveaways! If you'd like to be included in a chance for a $15 give-a-way right here on my blog all you need to do is leave me a comment below. Thanks for taking the time to hop along with us today! You can continue the hop by heading over to 


If you're interested in adding any of the products I've used today to your own crafty stash I am 
adding links products below.

Have an amazing day!
Maria


Prizes:
To celebrate this release, Altenew is giving away a $30 gift certificate to 6 lucky winners! Please leave a comment on the Altenew Card Blog and/or Altenew Scrapbook Blog for a chance to win. Three winners will be announced on the Card Blog, and the other three winners will be announced on the Scrapbook Blog on 4/9/2019.

We’ll also draw a winner to receive a $15 gift certificate from the comments left on each designer’s blog on the blog hop list below. All winners will be announced on the Altenew blogs on 4/9/2019.


Product List:


Blog Hop Order:


01 09 10