Thursday, January 31, 2019

Mondo Sakura meets Day One of the Coloring Challenge!

Hey guys! Today is such an awesome day! Do you know why? Yup, it's Day One of the Daily Marker Thirty Day Coloring Challenge. It will actually only be 28 days this time but let's not fuss about details. If you are familiar with this challenge you are probably as excited as I am. If this is your first time hearing about it click HERE to head over to Kathy Racoosin's blog to learn more. Basically, the idea is to color a little bit every day for the whole month of February. You don't have to spend a lot of time coloring, even five minutes is great. Just try to get a little coloring in each day. 

For day one I'm sharing a watercolored card I made with the gorgeous Mondo Sakura set from Ellen Hutson. I have been wanting this set forever (It's so popular that every time I've tried to buy it it's been sold out!) and finally have gotten my hands on it! I decided to bust out my Daniel Smith watercolors to have a little fun with it. 

#mariawillis, #cardbomb, #card, #cards, #cardmaking, #thedailymarkerthirtyday, #handmadecards, #handmade, #watercolor, #stamp, #ink, #paper, #danielsmith, #danielsmithwatercolors, #flowers, #art, #color, #diy, #ellenhutson,

I used just two colors (a pink and a yellow) to mix different colors for the flowers on my palette. I used two different greens for the leaves and stems and just one rich blue for the background and splatters.
#mariawillis, #cardbomb, #card, #cards, #cardmaking, #thedailymarkerthirtyday,  #handmadecards, #handmade, #watercolor, #stamp, #ink, #paper, #danielsmith, #danielsmithwatercolors, #flowers, #art, #color, #diy, #ellenhutson,

 I stamped in Versafine Ink and I love how crisp and black this ink is. After watercoloring I decided to just leave it alone. I thought about adding sequins or drops to it but sometimes a simple, one layer card is all you need. 
#mariawillis, #cardbomb, #card, #cards, #cardmaking, #thedailymarkerthirtyday,  #handmadecards, #handmade, #watercolor, #stamp, #ink, #paper, #danielsmith, #danielsmithwatercolors, #flowers, #art, #color, #diy, #ellenhutson,

I hope you'll join in the fun and try coloring a little bit every day for the month of February. If you do decide to play along make sure to share your work on Kathy's website and on Instagram as well. Ok, folks, I'm outta here because it's dinner time and unfortunately I'm the cook so I'd better get to it!

Have an amazing day! Bye for now.
Maria


Layering Fancy Dies with Hero Arts!

Hey you all! One of the really fun things about Creativation was getting to play with amazing new products from our favorite stamp companies. I spent quite a bit of time at the Hero Arts Make 'n Take table and if you haven't seen their new catalog yet it is time to go check it out! One of my favorite things in this new catalog is this floral background die. It is so gorgeous! The die actually cuts out a large rectangle that fit on the front of a card but I wanted to do something different with it for today's card. 

First, the die cut was colored by ink smooshing using Hero Arts liquid watercolors in Strawberry, Pink and Mulled Wine. Then it was spritzed with the Hero Arts Pink Metallic Mist to give it some awesome shimmer. Then I adhered it to a piece of white cardstock and die cut a large heart out of it. 
#mariawillis, #cardbomb, #cards, #cardmaking, #handmade, #handmadecards, #heroarts, #heart, #valentinesday, #stamp, #ink, #paper, #art, #fancy, #diecut,

I wanted to create a softer background so I gently blended some Distress Oxide ink in Milled Lavender onto the background. A little of it got on the die cut but it easily wiped off. Get a load of how gorgeous this die is!! In the picture below you can see how beautifully the watercolors and metallic mist have combined for a soft, elegant look. 
#mariawillis, #cardbomb, #cards, #cardmaking, #handmade, #handmadecards, #heroarts, #heart, #valentinesday, #stamp, #ink, #paper, #art, #fancy, #diecut,

I heat embossed a sentiment from a Hero Arts sentiment set and popped it up on foam adhesive. I used foam adhesive to pop my heart up on a background that I sponged and splattered. black rhinestones and black metallic thread were the final touches to finish off this card.
#mariawillis, #cardbomb, #cards, #cardmaking, #handmade, #handmadecards, #heroarts, #heart, #valentinesday, #stamp, #ink, #paper, #art, #fancy, #diecut,

Have you seen the new Hero Arts catalog yet? What are some of your favorite things?

This month the A Blog Named Hero challenge is doing a Crafter's Choice challenge so you know I'm playing along! Click the graphic below to head over to their blog and check out the awesome cards made by their design team!


Ok, I'm off to go pick up my son from school but I will be back soon!
Bye for now!

Maria


Monday, January 28, 2019

WPlus9 Hibiscus Bouquet: Copic Coloring with Drop Shadows

Hey folks! It's so good to be back here and I'm really excited to be sharing this card today. I posted this to my Instagram account a while back and had a really positive response (thank you!). I'm happy to finally be sharing it here on my blog because so many people had questions about the which stamp I used, what colors of Copic Markers I used and how did I do the coloring. I'll start by saying that I am actually pretty new to Copic coloring and I don't have as much time to practice as I wish I did. This card took me multiple sit downs over many days because it's rare for me to have the time to sit and finish something like this all at once (yes, it took me hours to finish but it was fun). I used the WPlus9 Hibiscus Bouquet Stamp set and stamped it multiple times on my cardstock in a Copic friendly ink. 

#mariawillis, #cardbomb, #cards, #cardmaking, #handmade, #handmadecards, #wplus9, #flowers, #copicmarkers, #copics, #color, #art, #stamp, #ink, #paper, #papercrafting

I started out coloring the yellow flowers. I think I did that because they are the easiest part of the image and they are in the "front" of the image. I moved on to the green leaves, the pink flowers and finally finished with the long blue leaves. I'll share all of the Copic Marker colors that I used at the bottom of the post. I colored the whole background light gray. The cool gray markers seem to be the ones I reach for most and they are the markers that create the most drama on this card. If you look closely you can see that I've used gray markers for some additional shading where I didn't achieve the depth and dimension I had hoped for with my original color choices. This is a great trick if you're looking to add some shadows but are worried about picking the wrong color to do it with. I also used the grays to add some drop shadows. I used lighter grays to add depth and I used a slash of the darker gray (maybe a C7? I'm so sorry that I didn't take note of which grays I used) under the leaves to make them look like they are popping off of the page. 
#mariawillis, #cardbomb, #cards, #cardmaking, #handmade, #handmadecards, #wplus9, #flowers, #copicmarkers, #copics, #color, #art, #stamp, #ink, #paper, #papercrafting

I love this tiny sentiment from Simon Says Stamps. I was looking for a small sentiment because I didn't want to cover up much of my background. I also wanted something meaningful because I was mailing this off to a friend who I both treasure and miss. I heat embossed the sentiment in white on black and it was perfect for this card. I added some clear sequins in different sizes and that was it!
#mariawillis, #cardbomb, #cards, #cardmaking, #handmade, #handmadecards, #wplus9, #flowers, #copicmarkers, #copics, #color, #art, #stamp, #ink, #paper, #papercrafting

Wait! Actually that was not it! I used both a black sharpie and a white gel pen on this card. I used the sharpie to get even more depth in the really dark parts of the design. I used the gel pen on the stamen and to add some highlights to the pink flower petals. Don't forget that if you're trying this yourself. These little details can make a big difference!

Ok, I know you're waiting for the list of Copic Colors that I used so here they are along with a link to Blick Art Materials where I like to buy my Copics:


R14
R22

Y02
Y08

YG01
YG03
YG05
YG09
YG17
YG67

BG11
BG15
BG18

RV000
RV02
RV06

C0 through C7

Alright! That's it for today folks. I hope you have some fun coloring something up on your own and I will see you back here soon!

Have an awesome day!
Maria


Sunday, January 27, 2019

"The Strangeness" Watercoloring with Arteza Real Brush Pens

Hey everybody! I hope you are having an amazing day! My goal this week is to get caught up on some blog posts as I've been neglecting my blog a bit. If you feel like you've seen this card before and you follow me on Instagram then you are not dreaming. I posted this on IG a while back and never took the time to post here. This stamp set is one of my absolute favorites (It's called The Strangeness from Simon Says Stamps)! I love the gorgeous drawing style and the striking bold lines. 
#mariawillis, #cardbomb, #card, #cardmaking, #handmade, #art, #arteza, #artezarealbrushpens, #flowers, #stamps, #ink, #paper, #craft, #simonsaysstamps,


I used my Arteza Real Brush Pens and a water brush to paint this on Bristol Smooth paper. I love using these pens with this paper because the ink sits on top and is so easy to move around to get the affect that you want. 
#mariawillis, #cardbomb, #card, #cardmaking, #handmade, #art, #arteza, #artezarealbrushpens, #flowers, #stamps, #ink, #paper, #craft, #simonsaysstamps,

After coloring the image I die cut it and popped it up with foam tape. This is an odd sized card because I could not get myself to hack off the ends of the flowers to fit on an A2 card. I stamped the fantastic sentiment on the bottom and hand drew the black border with a sharpie. The background splatters were done with Distress Oxide ink to give it a shabby, grungy look that contrasts with the bright pop of flowers.
#mariawillis, #cardbomb, #card, #cardmaking, #handmade, #art, #arteza, #artezarealbrushpens, #flowers, #stamps, #ink, #paper, #craft, #simonsaysstamps,

That's all for today guys! I hope you have an amazing day and I will see you back here soon!

Maria


Moon Men Galaxy Background with Nuvo Shimmer Powder

Hey you guys!! I've had the most amazing time last weekend at Creativation and I'm trying to get back into the swing of things here but of course I've gotten sick. No matter, I'll get through it but I wanted to pop in today to say hi and share a card I made quite some time ago and never shared. I love this Moon Men set from Reverse Confetti and the Tonic Nuvo shimmer powders make an amazing galaxy background to go with it. For this card I've used the shimmer powders in Storm Cloud (black) and Solar Flare (yellow/gold).

#art, #card, #cardbomb, #cardmaking, #color, #copics, #ink, #moonmen, #nuvoshimmerpowder, #outerspace, #paper, #papercraft, #reverseconfetti, #stamping, #tonicstudiosusa, #video, #videotutorial, #watercolor,

I used my shimmer powders to create the background and to paint shimmery details onto the moon. My galaxy background was created on the top part of my watercolor paper where I ripped it out of the spirals rings. I know it's an unconventional look but I like it and it allowed me not to waste even a scrap of my paper.
#art, #card, #cardbomb, #cardmaking, #color, #copics, #ink, #moonmen, #nuvoshimmerpowder, #outerspace, #paper, #papercraft, #reverseconfetti, #stamping, #tonicstudiosusa, #video, #videotutorial, #watercolor,

The Moon Men are colored with my Copic Markers as is the moon (the craters are painted with shimmer powder).
#art, #card, #cardbomb, #cardmaking, #color, #copics, #ink, #moonmen, #nuvoshimmerpowder, #outerspace, #paper, #papercraft, #reverseconfetti, #stamping, #tonicstudiosusa, #video, #videotutorial, #watercolor,

I heat embossed the star and constellation stamps randomly across the background in gold. The sentiment is heat embossed in white and popped up on foam adhesive. I added some gold foil on the right side of the background and then some circle and star embellishments in gold and called it good!
#art, #card, #cardbomb, #cardmaking, #color, #copics, #ink, #moonmen, #nuvoshimmerpowder, #outerspace, #paper, #papercraft, #reverseconfetti, #stamping, #tonicstudiosusa, #video, #videotutorial, #watercolor,

Have you tried out the Nuvo Shimmer Powders yet? If you're curious to learn a little more about them here's a video I made. You can watch me created the background that I used for this card as well as learn quite a few different ways to use these fun powders.


All right folks, that's it for today. I'm off to get some rest and start feeling better. If you're interested in trying out any of the Tonic Nuvo Shimmer Powders that I've used today I'm adding some links for you below. They are affiliate links and that means that when you use them I get a small commission that helps me keep my blog running (so thank you so much for supporting my blog!).

Have an awesome day you all!
Maria


LINKS TO TONIC NUVO SHIMMER POWDER:

Saturday, January 5, 2019

Goodbye Sweet Pup-You're My Lucky Star!

Hey Guys! I'm back today with something a little bit different from the Hero Arts My Monthly Hero December kit. This kit is full of magic with gorgeous fairies, an adorable mouse and tons of amazing add-ons. This card is made with one of the add-on sets called Lucky Star. When I saw this dog I immediately thought of some friends who recently lost their sweet dog. They are devastated and I wanted to send them a hug in the mail (in my world cards equal hugs). 

I started by blending the background with Distress Oxide inks. Then I inked up another MMH kit add-on. It's called, Star Light Star Bright, and is a background stamp. It inks up the whole background so I used Versamark ink and then hit it with some clear embossing powder and some heat. This resulted in the whole heart being glossy except for the moon and stars. I used a yellow Distress Oxide ink to sponge in the moon and stars and then used a paper towel to wipe the excess ink from the embossed areas. I added some Clear Wink of Stella to make the cosmos glitter and then I cut the heart out using some dies and my Big Shot. 
#mariawillis, #cardbomb, #card, #handmadecards, #heroarts, #dog, #stars, #copicmarkers, #copics, #timholtz, #distressoxideinks, #stamp, #heart, #condolencecard, #freshlymadesketches

I stamped this sweet, star gazing pup in Memento Ink and colored him in with my Copic Markers. There's a die set that matches this stamp set so cutting out the dog was easy.
#mariawillis, #cardbomb, #card, #handmadecards, #heroarts, #dog, #stars, #copicmarkers, #copics, #timholtz, #distressoxideinks, #stamp, #heart, #condolencecard, #freshlymadesketches

Next, I heat embossed the sentiment in white on black cardstock. I added the dog to the sentiment using foam adhesive and then the sentiment to the heart (again with the foam adhesive). I added a couple of star and clear dot embellishments to give my galaxy some dimensions. The background of the card is stamped with one of the smaller stamps (a trio of stars) from the same stamp set. 
#mariawillis, #cardbomb, #card, #handmadecards, #heroarts, #dog, #stars, #copicmarkers, #copics, #timholtz, #distressoxideinks, #stamp, #heart, #condolencecard, #freshlymadesketches

That's it for today you all! Thanks for stopping by for a visit. I'm entering this card in the Freshly Made Sketches Challenge this week. If you'd like to check out their awesome challenge this week you can click here. This is what their sketch is-if it inspires you then you should play along too!


Have an amazing day! See you guys soon!
Maria


The following product links are affiliate links. They can be used at no extra cost to you. When you use them (thank you!) I make a small commission that helps me keep my blog going. Thank you!

Wednesday, January 2, 2019

Watercolor Emboss Resist with Concord & 9th

Hey you guys! I hope you're having a great day. I'm back with another card made from Concord and 9th's Just Love Bundle. This time I used an Emboss Resist Technique with watercoloring. First, I embossed the floral stamp in white embossing powder (if you don't have white, clear embossing powder will work well too)...
#art, #arteza, #artezarealbrushpens, #cardbomb, #cards, #color, #concord&9th, #craft, #create, #handmade, #love, #mariawillis, #paint, #watercolor, #wowembossing, #distressinks, #handmadecards, #valentinesday,

Then I used Distress Inks and a water brush to watercolor the image. You can see that the embossed image resists the ink and remains white. This is a great technique for beginning watercolorists because the raised, embossed image helps you to keep your paint/ink where you want it. 
#art, #arteza, #artezarealbrushpens, #cardbomb, #cards, #color, #concord&9th, #craft, #create, #handmade, #love, #mariawillis, #paint, #watercolor, #wowembossing, #distressinks, #handmadecards, #valentinesday,

After my watercoloring dried I used my anti-static pouch on my card. Then I used Versamark ink and my Rose Gold Embossing Powder from Wow! Embossing to heat emboss the large "Love" sentiment straight onto the card face. 
#art, #arteza, #artezarealbrushpens, #cardbomb, #cards, #color, #concord&9th, #craft, #create, #handmade, #love, #mariawillis, #paint, #watercolor, #wowembossing, #distressinks, #handmadecards, #valentinesday,

I decided not to add any background splatter or sequins to this card this time. It's such a simple but pretty one-layer card and I decided to leave it alone.
#art, #arteza, #artezarealbrushpens, #cardbomb, #cards, #color, #concord&9th, #craft, #create, #handmade, #love, #mariawillis, #paint, #watercolor, #wowembossing, #distressinks, #handmadecards, #valentinesday,

That's all for today folks! Let me know if you have any questions. I'll add product links below so that if you want to add any of these products to your crafty stash it's as easy as a mouse click.  

Have an amazing day!

Maria


Product List:

Tuesday, January 1, 2019

Sending Love: No-line Watercoloring with Arteza Brushpens

Happy New Year Everybody!!
I hope you all closed 2018 out with a bang and are ready for a beautiful new year. It's that time of year where so many of us decide to create change in our lives in hopes of bettering either ourselves or our quality of life. Some of us make resolutions, some of us set goals, some of us get philosophical... I'm curious to know how all of you are approaching the new year? 

Long ago I stopped making New Year resolutions. I suppose it's because I feel that January 1st is just another marking of the passage of time. It is the beginning of a new year but it is also just like any other day of the year. It's like a bookmark marking a page in a book and in the same way that bookmarks can be moved... so can the markings of the passage of time. For whatever reason I don't feel like a need a bookmark on January 1st every year. I do feel it's important to set goals throughout the year (and through the different phases of our lives) and right now I'm really feeling like it's important to focus on the small choices that we (I) make everyday. These small choices become the building blocks of our lives. I don't know if this makes sense to any of you who are listening to my rambling thoughts... if so, I just want to say that you don't have to put pressure on yourselves to immediately achieve greatness in 2019. You can start by making tiny, conscious choices everyday-choices that are doable, achievable and that feel good. Over time these choices will become a huge part of you and can help create the change that you are seeking without feeling overwhelming and without setting yourself up for failure. Be kind to yourself, set realistic expectations and goals, set yourself up for success! This is what I plan to do for myself and I wish the same for you all. 

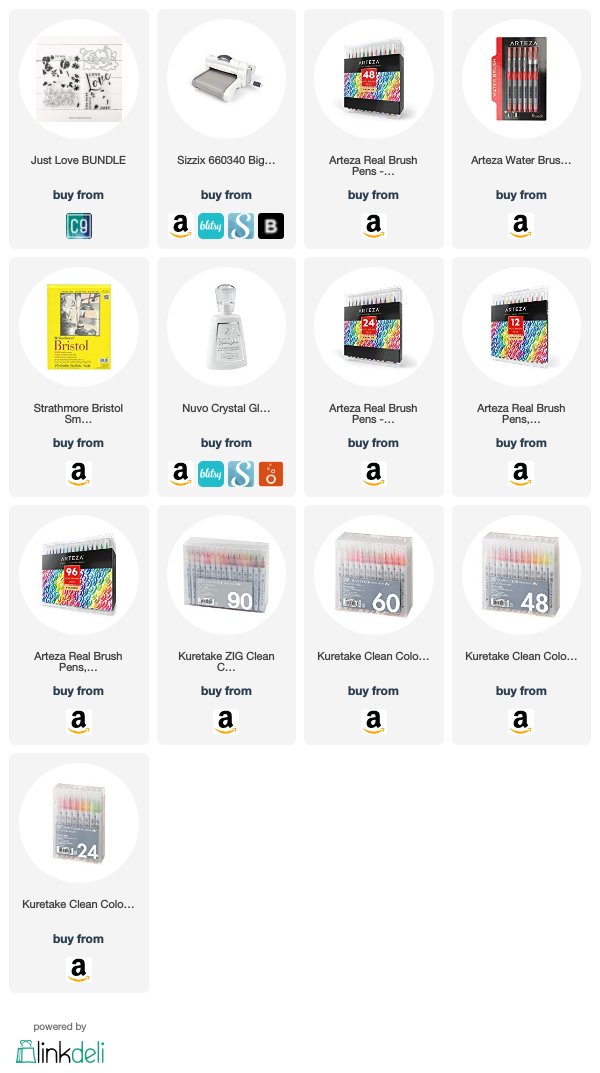
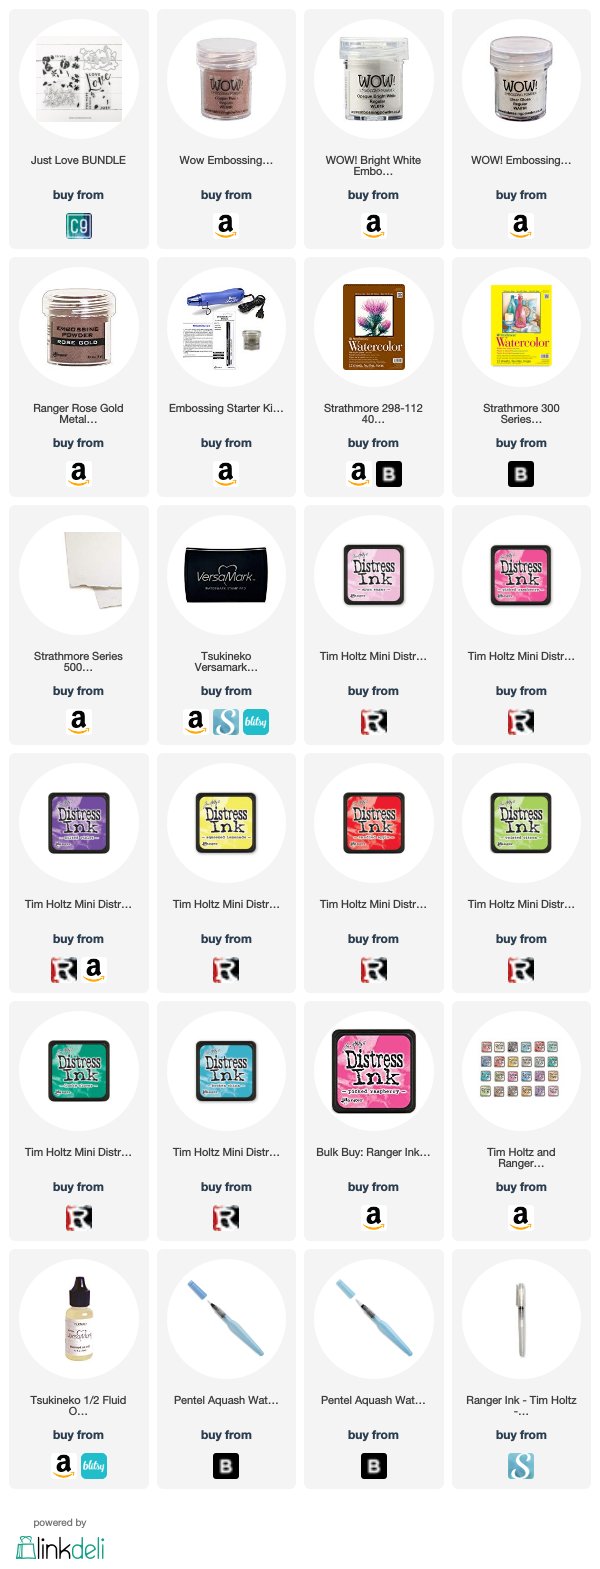
Ok, on to the card because I'm pretty sure this is why you are here. I had a ton of fun making this card. I haven't had much time to craft over the last couple of months (I fear this may continue as we enter tax season) so it felt fantastic to sit down, put on my audio book and lose track of time as I created. I used the Concord & 9th "Just Love" Bundle to create a couple of cards and this is one of them. I stamped the floral image onto Strathmore Bristol Smooth paper in Fade Out ink from Inkon3. This ink allows you to see the image well enough to to color or watercolor but it's light enough that you can't see the ink when you're done coloring. It's perfect the no-line watercoloring technique that I used. 


#cardbomb, #mariawillis, #cards, #handmade, #love, #concord&9th, #watercolor, #arteza, #artezarealbrushpens, #color, #art, #create, #craft, #paint,


Next, I used my Arteza Brush Pens and a water brush to watercolor the floral image. I wanted the flowers to be bold and bright so they would pop behind the black sentiment. In order to help the floral elements stand out I did a light gray watercolor wash in the background with splatters added in for texture. #cardbomb, #mariawillis, #cards, #handmade, #love, #concord&9th, #watercolor, #arteza, #artezarealbrushpens, #color, #art, #create, #craft, #paint,


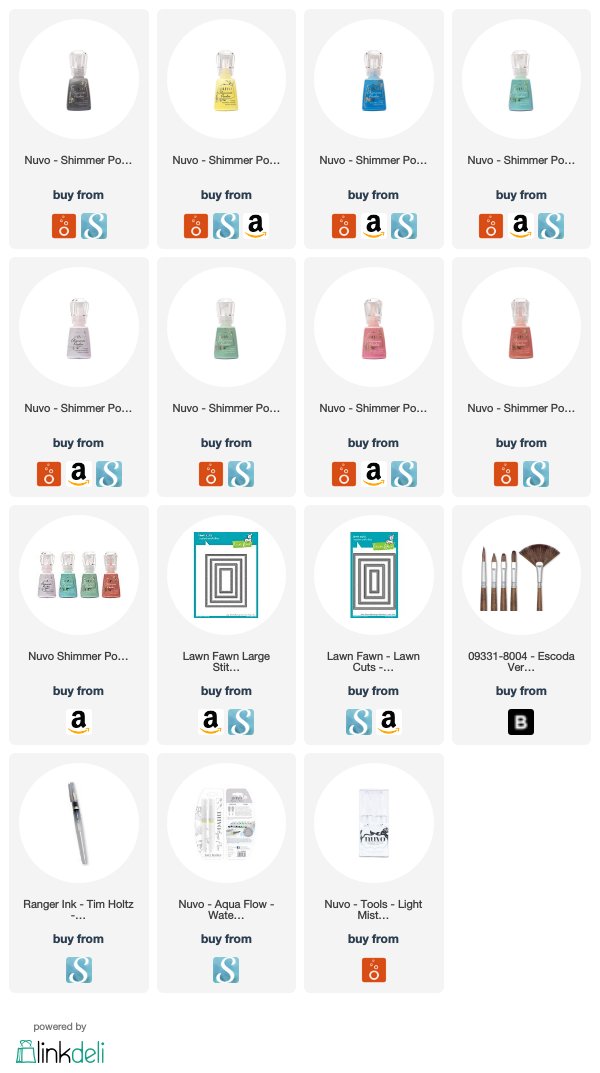
After finishing up the background I die cut the word Love twice out of black cardstock. I layered one on top of the other adhering them with liquid glue. Then I used a coat of Tonic Nuvo Crystal Glaze over the top of it to give it a shiny, crystalline finish. I glued that straight to the background, added some sequins and called it a day. 
#cardbomb, #mariawillis, #cards, #handmade, #love, #concord&9th, #watercolor, #arteza, #artezarealbrushpens, #color, #art, #create, #craft, #paint,


Simon Says Stamp has a fun Wednesday challenge going on right now. It's Anything Goes theme so I'm adding my card to their gallery as this fits the bill. I'm also adding some product links below in case you'd like to add any of the products I've used today to your own crafty stash. Some of the links are affiliate links and I earn a small commission at no extra cost to you when you use my links (thanks for using them I really appreciate it!).

Wishing you all a wonderful day and a happy new year full of all of the very best things!

Maria


Product List:
01 09 10