Friday, September 30, 2022

Hero Arts Countdown to Creativity: October 2022 Release!

Hey everybody! It's almost time for the October 2022 Hero Arts My Monthly Hero release and this month's kit is a fabulous kit for creating gorgeous holiday scenes and more.

If you aren't familiar with the My Monthly Hero kit, it's a kit that is released by Hero Arts on the first Monday of every month. It always has a fun, themed, collection of stamps, dies and other goodies. The cost is just $34.99/month and the value is always much greater! 

You have the option to subscribe (subscribing now means your first kit will be the November 2022 release), or, to buy your favorite kits as one-off purchases. Be aware that once these kits sell out they are gone for good. If you see a kit you like make sure to snatch it up quickly! 

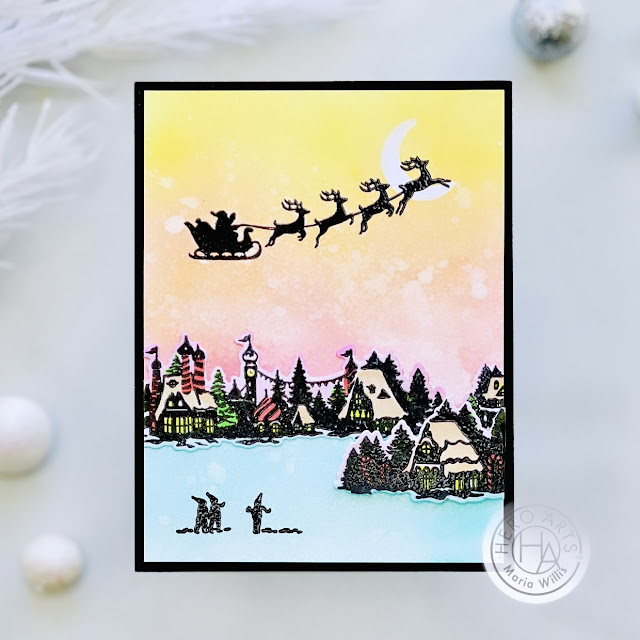
Today is Day One of the Countdown to Creativity and I've got a colorful Christmas scene to share with you. I started by stamping some of the scenes in Onyx Pigment Ink and then heat embossing them in clear. I used the coordinating dies to cut them out. 

Cardbomb,Maria Wills,Hero Arts,My Monthly Hero October 2022, cards, cardmaking, art, diy, handmade, christmas, inkblending,heat embossing,

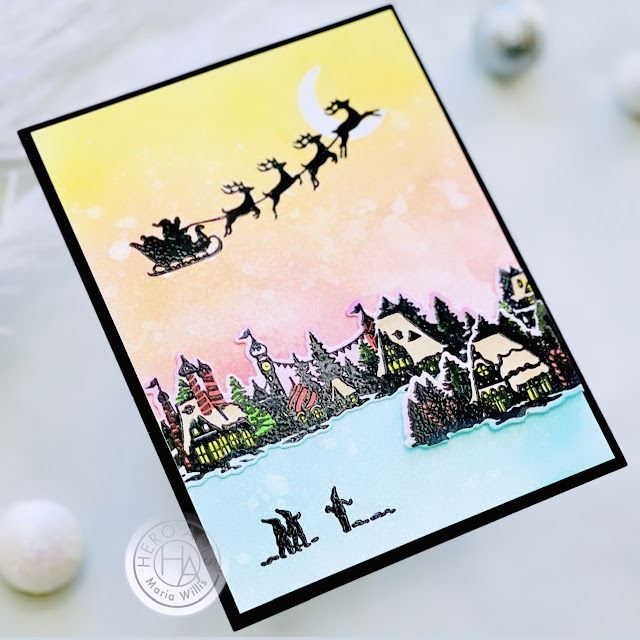
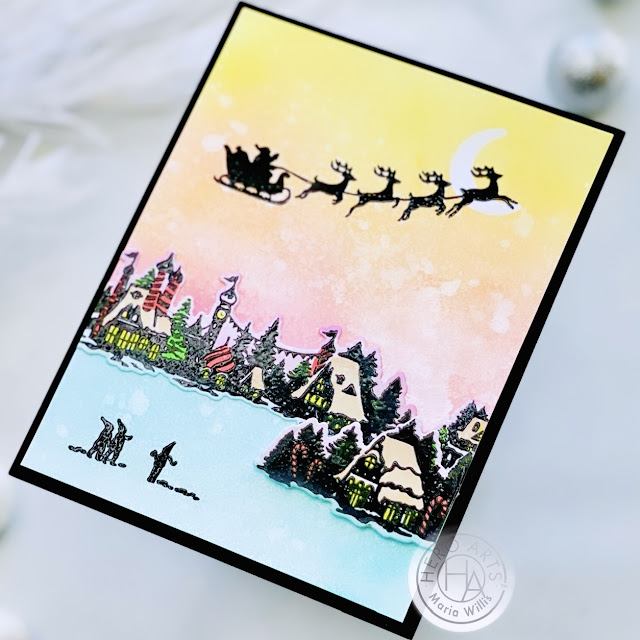
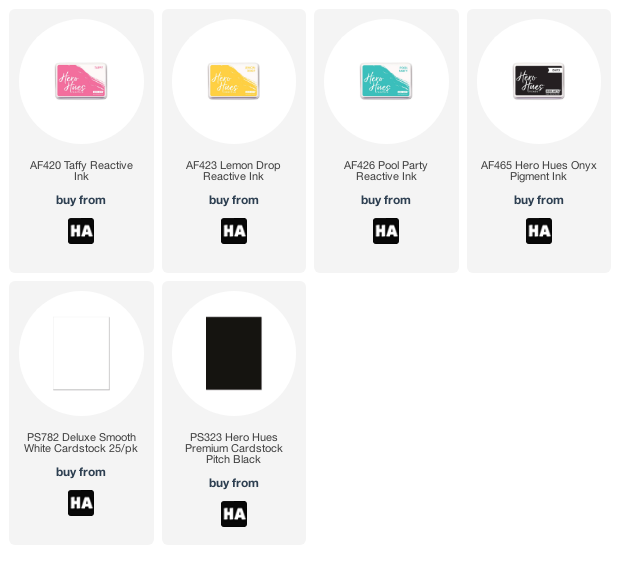
I figured out where I wanted the scene images to fit on my card front and ink blended the sky using Reactive Inks in Taffy and Lemon Drop. I inkblended the bottom with Pool Party then sprayed the whole background with white iridescent shimmer spray. Then, I stamped and heat embossed the Santa and elf images onto my background pieces. 
Cardbomb,Maria Wills,Hero Arts,My Monthly Hero October 2022, cards, cardmaking, art, diy, handmade, christmas, inkblending,heat embossing,

Finally, I added the die cut scene images using liquid glue and foam tape. I cut the excess off of both sides so that the images would be flush with the background. I added the background piece to a Pitch Black mat and that was it!
Cardbomb,Maria Wills,Hero Arts,My Monthly Hero October 2022, cards, cardmaking, art, diy, handmade, christmas, inkblending,heat embossing,

If you'd like a chance to win this kit before you can buy it head on over to the Hero Arts blog and enter for your chance to win. There are two more days of the countdown so be sure to check back for the next couple of days and see all of the inspiration from the design team!

Have an awesome day and I'll see you on Monday for the full release!
Maria


PRODUCT SUPLY LIST (Affiliate Links may be used at no extra cost to you):
Tuesday, September 20, 2022

Let That Shitake Go!

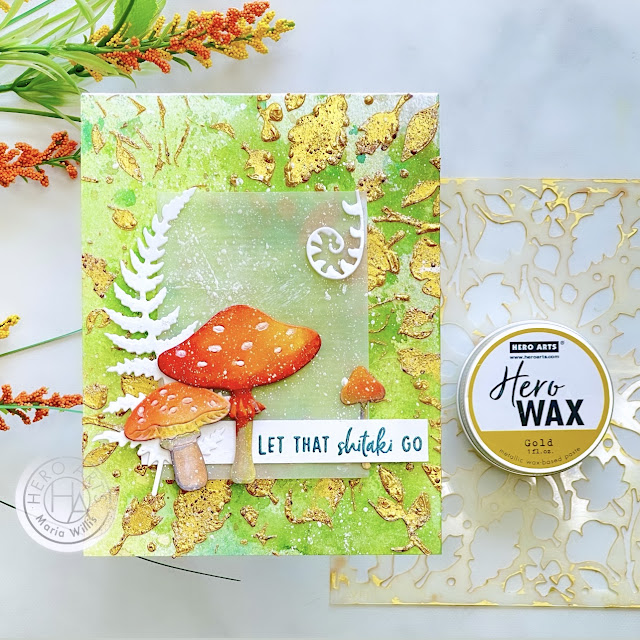
Hey everybody! It's Maria here and I am really happy to be here to share a mixed media card that I had so much fun making. I started out wanting to focus on the beautiful new Leaf Circle Stencil (so great for Autumn cards, right?) and when I saw how magical it looked in gold I decided to go with more of a nature/woodland theme. I know this card looks like a lot but it's actually easy to make so let me walk you through it step-by-step.


BACKGROUND:

  1. Cut a piece of Luxe Watercolor Cardstock to 4.25" x 5.5"
  2. Spray the background with liquid watercolor sprays of your choice (I added liquid watercolor and water to a spray bottle to create my own sprays). I used Leaf, Jungle Mist, Indigo and Art Print Brown. Allow to dry.
  3. Spray the same watercolor colors onto your work surface and smoosh your dried background into the color. This will add unpredictable visual texture and some extra color to your background. Allow to dry.
  4. Place your Leaf Circle Stencil over your background piece. I secured mine from the back with washi tape so that it would stay in place. Use your palette knife to spread Gold Hero Wax through the stencil. Don't worry about perfection- partial stenciling will add character to your background.
  5. Remove the stencil (put it in water so it will be easy to wash later) and immediately sprinkle some Sand Embossing Powder over the wet wax (a couple of pinches should do the trick). Make sure not to completely cover the wax so that you can still see the gold.
  6. Heat the embossing powder and wax to set them. This will melt the Sand Embossing Powder and it will also bubble the wax for extra texture.
  7. Splatter the background with White Glimmer Metallic Ink for extra magic.

Cardbomb,Maria Wills,Hero Arts,mixed media,Hero Wax,stencils,heat embossing,die cutting,mushrooms,leaves,stamping,handmade, cards, diy, watercolor

FOCAL POINT:
  1. Stamp the text stamp from the Sending Love Mail stamp in Granite ink onto vellum.  Cut this piece to 2.5" x 3.5" and set it aside.
  2. Use the Mushrooms and Ferns Fancy Dies to die cut mushrooms and ferns from Luxe Watercolor Cardstock. I left the ferns white.
  3. Using Liquid Watercolor sprays, spray the tops of the mushrooms Orange and the stems Art Print Brown.
  4. I used Tomato ink (ink-blending) and Copic markers to add a little bit of extra color and shading to my my mushrooms.
  5. Stamp the sentiment from Zen Messages in Aquamarine Pigment ink, heat emboss it in clear and cut it into a strip.

Cardbomb,Maria Wills,Hero Arts,mixed media,Hero Wax,stencils,heat embossing,die cutting,mushrooms,leaves,stamping,handmade, cards, diy, watercolor


ASSEMBLE:

  1. Add your background to a cardbase. I used Precision Glue to do this.
  2. Adhere your sentiment strip to the vellum piece then layer the ferns and mushrooms on top using either foam adhesive or glue dots to create dimension.
  3. Add foam adhesive to the vellum making sure to hide it behind the sentiment, ferns and mushrooms. Attach the focal point to the background.
  4. The final step is to splatter the focal point with White Glimmer Metallic ink. I covered my sentiment with a piece of washi tape to protect it. 


Cardbomb,Maria Wills,Hero Arts,mixed media,Hero Wax,stencils,heat embossing,die cutting,mushrooms,leaves,stamping,handmade, cards, diy, watercolor

Now you've got a finished card with tons of color and eye-catching texture! I hope some of you might have fun recreating this card or using some of the techniques I've shared today.

I hope you all have an awesome day today, but if your day is feeling hard, try to just let that shitake go!

Crafty hugs,

Maria


01 09 10