Hey everybody! It's almost time for the OctoberHero ArtsMy Monthly Hero release and this month's kit is a festive holiday kit!
But first, if you aren't familiar with the My Monthly Hero kit, it's a kit that is released by Hero Arts on the first Monday of every month. It always has a fun, themed, collection of stamps, dies and other goodies. The cost is just $34.99/month and the value is always much greater!
You have the option to subscribe (subscribing now means your first kit will be the November release), or, to buy your favorite kits as one-off purchases. Be aware that once these kits sell out they are gone for good. If you see a kit you like make sure to snatch it up quickly!
Today is Day Threeof the Countdown to Creativity and I've got a sneak peek of this month's kit to share with you... and this month's kit is fun for so many reasons! I can't spill all of the beans yet because this is just a sneak peek so stay tuned because the full release is tomorrow!
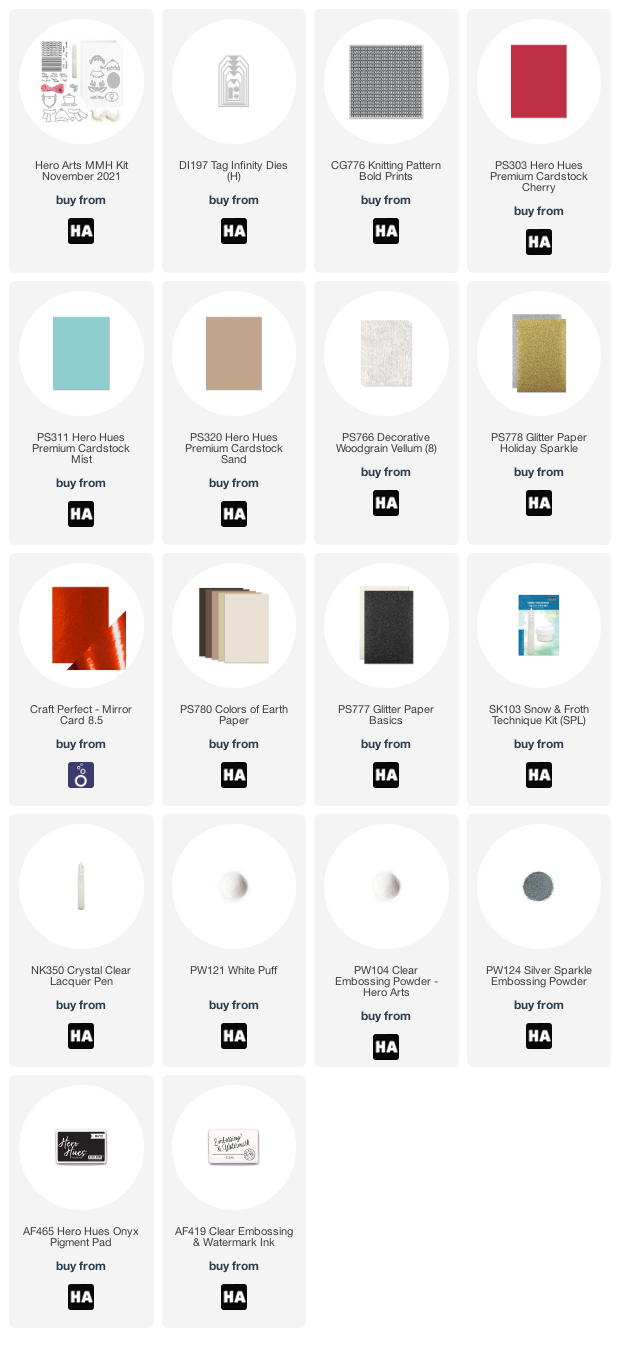
For today's card I started out by building myself a cute little reindeer using the dies from the kit. I cut the piece out from Sand cardstock and then added shading with my copic markers. I glued the reindeer pieces together and then added eyes and a nose that I had cut out in black. Once those were adhered I added some black gloss with a glossy gel pen. The final touch was to add a scarf that I had cut out using red foil.
To create the tag I used the Tag Infinity Dies to cut the largest tag out of Mist Cardstock. Next, I heat embossed my sentiment in Onyx Black and heat embossed in clear. I covered the sentiment with a small piece of low-tack tape. Then I used the dotted stamp from the kit to stamp the background in Versamark ink, removed the tape from the sentiment, and I heat embossed it in Clear Embossing Powder. I love the subtle look that gave my tag bc it helped give it a little personality but still allowed the reindeer to be the star of the show. I also added a gold glitter circle to reinforce the tag hole before adding a twine bow (twine is from the kit).
I covered an A2 cardbase with Woodgrain Vellum. I adhered it using liquid adhesive and because of the texture, the adhesive is not visible through the vellum at all. This gave my background some subtle but beautiful texture. I added the reindeer to the tag with foam tape. Then added the tag on top of the vellum and that finished off my card!
Tomorrow we get to reveal the full release so make sure to come back tomorrow for an awesome blog hop with tons of inspiration and giveaways too! For now you can head on over to the Hero Arts blog for a chance to win this kit before you can buy it!
See you tomorrow for the full release!
Maria
PRODUCT SUPPLY LIST (Affiliate links may be used at no extra cost to you):
Hey everybody and welcome to today's launch of Snowmies from Tonic Studios! I've got a ton of cards and a VIDEO for you today so I am going to just dive right in! Oh! Also there are cards and envelopes in the video that are not on my blog today so make sure you head over there to see everything I've got to share today!
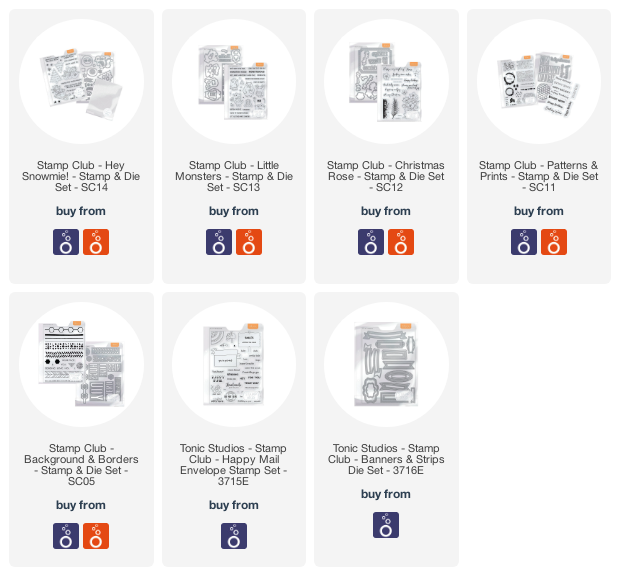
If you'd like to head straight to the shop here are my affiliate links:
-Snowmies bundle USA: https://shrsl.com/387hg
-Snowmies bundle UK: https://shrsl.com/387hk
-Mini Slimline Envelope Dies USA: https://shrsl.com/387hl
-Mini Slimline Envelope Dies UK: https://shrsl.com/387ho
For my first card I made a slim-line card with trees and snowmies from this month's Snowmies release. I created a custom sentiment using the large die cut letters from both Patterns & Prints and Backgrounds & Borders.
To create the background I did an easy watercolor wash using Distress Oxide inks. Then I sprayed the background with White Iridescent Shimmer Spray from Hero Arts which gave it a sparkly, snowy finish. I added snowflakes that I die-cut from holowaves cardstock to the background.
To finish my card off I added the trees and snowmies with foam adhesive and the letters with liquid glue. Some Nuvo Dream Drops in Indigo Eclipse.
Now, I promised you a VIDEO and you can check that out HERE (affialiate links may be used at no extra cost to you)...
For my next card I made another slimline card. I inkblended the background in bold blues and then I used the stencil that comes in the Snowmies bundle to stencil snowflakes onto the background using glacier paste. It came out super sparkly and gorgeous! at the bottom of the card I sprayed the background with White Iridescent Shimmer Spray to make it look like snow.
I watercolored the sledding snowmies and die cut them out. I placed them in the center of the card using foam tape.
Then I added my sentiments at the top and bottom of the card to finish it off.
For this next card I built two snowmies using the snowman builder dies. I built them in different sizes and gave them each a mug of something warm and delicious to drink.
I used white glitter paper to create some snow drifts and I heat embossed my sentiments in white on black.
I inkblended my background and then I used the falling snow side of the stencil to add snow using my Moonstone Glimmer paste. After that all I had to do was glue it all together and add it to a black cardbase.
My next card was really easy to put together. I used patterned paper on the card base then covered that with a panel that I textured using the texture plates from the new mini slimline envelope builder die set. I added white, glitter snowflakes on top of the white panel.
I built myself an easy snowman using the snowman builder dies. I added him to the card along with some snow drifts.
The last step was to add a sentiment: Sending warm holiday hugs! I love that sentiment!
You can use this set to make some really beautiful and easy to reproduce cards too. For this next card I sprayed some white cardstock with my Dina Wakley acrylic gloss sprays in shade of green. Then I cut some trees out using the dies from the Snowmies bundle.
I covered the cardbase in red, striped patterned paper and splattered it with Midas Touch. Then I added a strip of vellum and adhered the trees on top using foam tape.
I added a beautiful sentiment from the Christmas Rose stamp set and then some gold sequins to finish it off.
Ok, that's it for today! Thanks so much for joining us today's fun release. We have a great giveaway and a blog hop to share with you today so please scroll down for all of that info!
Have an amazing day!
Maria
GIVEAWAY:
-One lucky winner will win a £50/$50 Giftcard to Tonic Studios and the Snowmies bundle!
-To enter, comment on every blog in the hop by 11:59pm PST on November 3, 2021/ 7:59am GST on November 4, 2021
-Winner will be announced on November 5, 2021 on IG and FB so make sure you're following all of the Tonic Studios social media accounts!
Hello, everyone! I hope you all are having an amazing day. When I made this card a few days ago it was a warm, "summery" day... But, as I write this post I'm sitting all cozied up on my couch with cold, fresh air blowing through my windows and screen doors. It seems that all of a sudden the weather has turned and "snuggle weather is here." With the arrival of fall's crisp air it's also time for a new Get Crafty With Hero Challenge. The card I've made today is to kick off the new Fall themed challenge where you get to use your favorite fall colors. Head on over to the Hero Arts blog to play along.
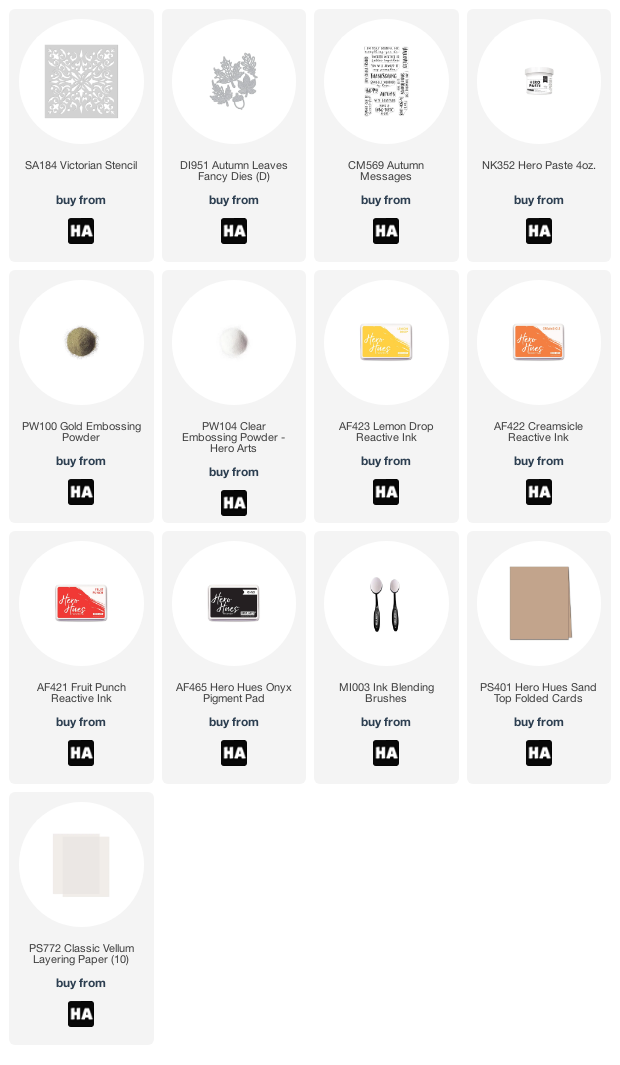
For today's card I inkblended a piece of white cardstock using Lemon Drop, Creamsicle and Fruit Punch reactive inks. I let the ink dry completely before moving on.
Next, I used the Victorian Stencil to add some Hero Paste to my background. I peeled the stencil off and cleaned it immediately. While the paste was still wet I covered it with gold embossing powder. I used a heat tool to heat emboss the paste but I was careful not to get my heat tool too close to the paste so I wouldn't bubble it. I cut my background down to 4'x5.25' and used foam tape to add it to a sand cardbase.
I finished my card off by adding a leaf from the Autumn Leaves Fancy Dies and a sentiment from the Autumn Messages stamp set. The sentiment was heat embossed on vellum using Onyx pigment ink and clear embossing powder.
Ok, guys, that's it for today! If you'd like to play along with the Hero Arts Fall Color Challenge head over to the Hero Arts Blog to play along!
Have an awesome day!
Maria
PRODUCT SUPPLY LIST (Affiliate links may be used at no extra cost to you):
Hey everybody! The wait is over! It's time for theHero ArtsOctober My Monthly Hero release and this month's kit is a festive holiday kit (affiliate links may be used at no extra cost to you)!
Before I get to my cards, if you aren't familiar with the My Monthly Hero kit, it's a kit that is released by Hero Arts on the first Monday of every month. It always has a fun, themed, collection of stamps, dies and other goodies. The cost is just $34.99/month and the value is always much greater! This month's kit is valued at $72!
You have the option to subscribe (subscribing now means your first kit will be the November release), or, to buy your favorite kits as one-off purchases. Be aware that once these kits sell out they are gone for good. If you see a kit you like make sure to snatch it up quickly!
This kit has an absolutely gorgeus, A2 sized window die. It has beautiful, etched details and a perfect spot at the top for adding a sentiment. I die cut it from white cardstock and lightly ink-blended it with Splash Reactive Ink. Then, I heat embossed the sentiment using Onyx Pigment ink and Clear embossing powder. I also ink-blended a second panel in Lemon Drop ink, splattered it with Midas Touch and set it aside to dry.
Next, I heat embossed the tree, candelabra and champagne glasses in silver. I colored them all with my copic markers and then die cut them using the coordinating dies the come in the MMH kit.
I used foam tape to put my card together. I turned the candles upside down to create a chandelier and tucked the champagne glasses inside one of the windows. The final step was to add the Christmas tree to the front of the card.
For my next card I went the complete opposite of my first card. This time I went for a metallic, grungy look by combining the new Gear Clock Boldprints with the new Steampunk Holiday set. I started by ink-blending a piece of Aegean cardstock with Blue Hawaii ink (around the edges only). Then I heat embossed the Gear Clock background stamp with Sand embossing powder. After that I used the Novel Prose background stamp to do some taco stamping (fold the stamp like a taco and stamp with it) and heat embossed that with white puff embossing powder.
To finish off the background, I heat embossed the sentiment and some gears in Onyx ink and clear embossing powder. I used two different sentiments to do this and I used washi tape to cover up the part of each sentiment that I didn't want to use. I also took a black posca pen and marked up the background a little bit.
Last, I heat embossed the little steampunk owl and key in brass on Pitch Black cardstock and then cut them out using the matching dies. I attached them to my card using foam tape and positioned them so that the owl was perching on the key.
Every once in a while I like to make a single layer card that's easy to mail so I decided to do that with the gorgeous Christmas Tree stamp. I heat embossed the image and sentiment onto Cherry Cardstock using Gold Glitter Embossing Powder. I decided to color the image with my colored pencils but I wasn't able to get the contrast I was hoping for so my coloring just looked, "blah." I basically never throw anything away (I try to fix everything) and this card was no exception.
I grabbed my fine tipped, colored Posca Pens (acrylic paint pens) and decided to try coloring the tree with those. Because the paint is opaque I was able to get bold colors and make the tree standout on the red background. It was a little hard to color perfectly because the pen tips were larger than some of the tiny details of the stamp but I ended up being happy with how it turned out.
After that all I had to do was to glue my panel to a cardbase and my card was done!
Ok! That is it for today but please make sure to enter our fabulous GIVEAWAY and continue on with our BLOG HOP for tons of amazing inspiration!
Have an awesome day!
Maria
GIVEAWAY:
We will give away ALL OF THE OCTOBER ADD-ON PRODUCTS, drawn from the comments left across the hop. Enter by Sunday, October 10th at 11:59pm Pacific, and the winner will be announced on the Hero Arts blog the following week.
Hey everybody! It's almost time for the OctoberHero ArtsMy Monthly Hero release and this month's kit is a festive holiday kit!
But first, if you aren't familiar with the My Monthly Hero kit, it's a kit that is released by Hero Arts on the first Monday of every month. It always has a fun, themed, collection of stamps, dies and other goodies. The cost is just $34.99/month and the value is always much greater!
You have the option to subscribe (subscribing now means your first kit will be the November release), or, to buy your favorite kits as one-off purchases. Be aware that once these kits sell out they are gone for good. If you see a kit you like make sure to snatch it up quickly!
Today is Day Threeof the Countdown to Creativity and I've got a sneak peek of this month's kit to share with you... and this month's kit is fun for so many reasons! I can't spill all of the beans yet because this is just a sneak peek so stay tuned because the full release is tomorrow!
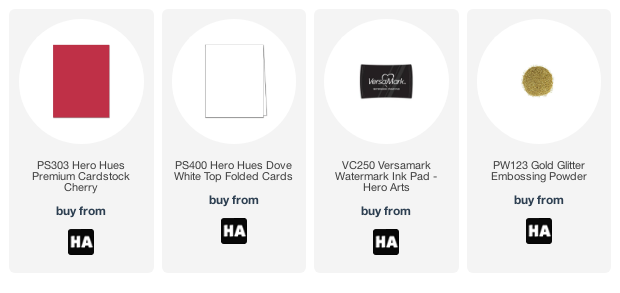
This kit has a gorgeous Christmas Tree stamp and I wanted to create a one-layer card with it. I heat embossed the image and sentiment onto Cherry Cardstock using Gold Glitter Embossing Powder. I decided to color the image with my colored pencils but I wasn't able to get the contrast I was hoping for so my coloring just looked, "blah." I basically never throw anything away (I try to fix everything) and this card was no exception.
I grabbed my fine tipped, colored Posca Pens (acrylic paint pens) and decided to try coloring the tree with those. Because the paint is opaque I was able to get bold colors and make the tree standout on the red background. It was a little hard to color perfectly because the pen tips were larger than some of the tiny details of the stamp but I ended up being happy with how it turned out.
After that all I had to do was to glue my panel to a cardbase and my card was done!
Ok! That is it for today but please come back tomorrow for the full kit reveal and more cards!
Have an awesome day!
Maria
PRODUCT SUPPLY LIST (Affiliate Links may be used at no extra cost to you):