Monday, February 20, 2023

Hero Arts Spring Catalog Release 2023- Blog Hop and Giveaway!

Hello everybody and welcome to the Hero Arts 2023 Spring Catalog Release! Today is a day that many of us have been waiting for and I am so excited to get to share a few of the new products with you today. Before I get to my cards though I want to mention some of the fun new stuff that is launching today. Just click below if you're interested in going straight to check them out!

-Hero Arts 2023 Spring Catalog

-Hero Arts 2023 Creative Essentials Catalog

-NEW Neon Liquid Watercolors

-Hero Arts Spring 2023 Stamp-A-Long!

-Hero Arts Spring 2023 Product Bundle


Ok, let's get on to my cards! I decided it would be fun to use some of the same products for both of my cards but to showcase them in two very different ways. So, my first card is clean and simple (for me) and my second card is more of a grunge, mixed-media style. Both cards use the Overlapping Hexagons Bold Prints and the Yay! Birthday Bundle sets. My second card also uses the Friendly Messages Bundle.

I started my first card by stamping the Overlapping Hexagons Bold Prints in Granite ink on white cardstock. I colored the centers of the hexagons pink, cut it down to 4" x 5.25" and mounted it to a Paradise card base. While I had the Paradise Cardstock out I also cut a large hexagon using the Hexagon Infinity Dies. I sprayed it with White Iridescent Shimmer Spray and set that aside to dry.

Cardbomb, Maria Willis,Hero Arts, Hero Arts Spring Catalog 2023, cards, cardmaking, stamps, stamping, handmade, diy,die cutting, mixed media, art, color, ink

Next, it was time to create my focal point. I stamped the cake image from the Yay! Birthday stamp set in black ink and colored it with alcohol markers. I also stamped the "Hooray!" sentiment in Onyx Pigment Ink and heat embossed it using clear embossing powder. I used the coordinating dies to cut both of these out (I LOVE that there are dies for the large sentiments in this set!.
Cardbomb, Maria Willis,Hero Arts, Hero Arts Spring Catalog 2023, cards, cardmaking, stamps, stamping, handmade, diy,die cutting, mixed media, art, color, ink

Once my large hexagon was dry I added foam tape to the back and adhered it to my card front. I added foam tape to both the cake image and the die cut sentiment and centered those on the large hexagon. I thought about adding embellishments but like the clean, soft, shimmery look of this card so I left as is.

Cardbomb, Maria Willis,Hero Arts, Hero Arts Spring Catalog 2023, cards, cardmaking, stamps, stamping, handmade, diy,die cutting, mixed media, art, color, ink


For my second card I put drops of Core Inkers (Ultra Pink, Summer Sky and Paradise) on my glass worktop. Then I sprayed the drops with rubbing alcohol and smashed some copy paper (from my printer) into the ink. This process yielded a vibrant, colorful background that I loved. I "taco stamped" the Overlapping Hexagons Bold Prints randomly onto the background using Onyx Pigment Ink and heat embossed it using Clear Embossing Powder. Next, I splattered my colorful background and an A2 sized piece of Pitch Black Cardstock with White and Gold Glimmer Metallic Ink and set those aside to dry.
Cardbomb, Maria Willis,Hero Arts, Hero Arts Spring Catalog 2023, cards, cardmaking, stamps, stamping, handmade, diy,die cutting, mixed media, art, color, ink


I wanted to create a focal point that would not cover up too much of the background so I decided to use vellum and small tag with a bold sentiment. I cut the vellum with my Nesting Circle Infinity Dies and used the Tag Infinity Dies to cut a tag out of Mist Cardstock (I used a black pen to hand decorate the tage). I heat embossed my sentiments using Onyx Pigment ink and Clear Embossing Powder and then i cut them out using their coordinating dies. I used foam tape to adhere the sentiment to the tag and then then the tag to the vellum. I trapped a length of black metallic thread between the layers for a little extra texture.
Cardbomb, Maria Willis,Hero Arts, Hero Arts Spring Catalog 2023, cards, cardmaking, stamps, stamping, handmade, diy,die cutting, mixed media, art, color, ink

I used liquid glue to add my colorful background to the black mat. I glued it offset and then cut off the excess. I added my focal point making sure that the adhesive was was hidden behind the tag (so it wouldn't show through the vellum). The final touch was to add some black enamel dots as embellishment.

Cardbomb, Maria Willis,Hero Arts, Hero Arts Spring Catalog 2023, cards, cardmaking, stamps, stamping, handmade, diy,die cutting, mixed media, art, color, ink

Ok, you guys, that is it for today but we've got an amazing blog hop today and a ton of insanely talented crafters are sharing their creativity to bring this catalog to life for all of us. I hope you will keep hopping along (blog hop list is below) and make sure to enter the giveaway as well!

Have an awesome day!
Maria


GIVEAWAY:
We'll be giving away two $50 gift cards, drawn from the comments left along the hop. Comment on all the blogs for more chances to win! You have until Sunday, February 26 at 11:59pm to enter. The winners will be announced on the Hero Arts blog.

BLOG HOP LIST:
Hero Arts Creative Team: 
Special Guests: 
Sharing on Instagram: 


PRODUCT SUPPLY LIST (affiliate links may be used at no extra cost to you):

Friday, February 10, 2023

Hero Arts Digital Kit: Papillons - Clean and Simple Cards!

Hello everybody! I'm so glad to have you back today because I wanted to share a few more cards featuring the new Papillons Digital Kit from Hero Arts. I shared some vintage style cards using this kit in a post a few days ago (CLICK HERE TO CHECK OUT THE VINTAGE CARDS) and I wanted to share some clean and simple cards as well.

For these cards I printed the images out onto some linen/vintage finish office paper. I used two images that were pre-colored and printed one in black and white so that I could color it with my alcohol markers (that one is bottom center). I also selected images with no writing so that I could add my sentiments. After printing (using Word) I cut the images down to A2 sized pieces. I added sentiments from the Sending Love Mail stamp set in black ink. The only thing left to do was to add these beautiful butterflies to Ivory Cardbases and this easy card set was done!

Cardbomb, Maria Willis, Hero Arts, Digital Release, Butterflies, handmade, cards, vintage, art, color, DIY, CAS, cardmaking, Papillons

Alright, that's all I've got for today but please let me know if you've got any questions. If not, I hope you'll have a ton of fun with this digital kit!

Have an awesome day!
Maria

Thursday, February 9, 2023

Butterflies and Texture!

Hi everybody! I'm glad you're here because I had so much fun making the card that I'm sharing with you today. Earlier this week Hero Arts had a stunning new release and it was all about those butterflies! The add-ons are equally fabulous so today I'm sharing two of my favorite add-ons with you: the Beautiful Butterflies Bundle and the Background Texture Strips. 

Now, I'm the kind of crafter who always has colorful scraps of past projects lying around. I noticed I had a piece of white cardstock that I had been using to get some ink off of my blending brushes and it was such a pretty color combination that I decided to use the scrap. It also had some random stamping using the the script stamp from the Background Texture Strips so it was truly meant to be used for this card.

I cut the paper down to A2 size and finished ink blending it in Ultra Pink, Lemon Yellow, and, Summer Sky. I wanted to add a little more visual texture to the background so I splattered it with rubbing alcohol to create some lighter spots and I also sprayed it with White Iridescent Shimmer Spray. I wanted to some more "shadow" to the background so I used the Luggage Tag Alphabet Frame Cuts (still connected) to create a stencil. I gently ink-blended the negative portion of the die cut using Granite Core ink and focusing on the outer edges of the card face. This left me with a soft, beautiful background that had a lot of visual texture...

Cardbomb, Maria Willis, Hero Arts, butterfly, cards, art, diy, handmade, cardmaking,mixed media,heat embossing,ink blending,embossing paste,

But, If you know me, you know that I like texture that I can touch! So I grabbed the Background Texture Strips stamp set and I decided to use the stamp that looks like tiny newspaper print (remember there was already some of the scripty stamp on the background from a previous project). I used the newspaper print stamp (on a stamping block) with Moonstone Pigment ink around the edges of the card-face and then I heat embossed it in clear so that it was shiny and raised. Next, I used the Star Cluster Stencil and my Pearl Hero Paste to add some stars to the background. Note that this has a gorgeous pearlescent finish. The pearlescent finish faded into the background shimmer and I had really wanted more contrast so the stars popped off the background. In the end I decided to color all of the paste with a white gel pen to get the contrast I wanted (hot tip: use the regular Hero Paste for more contrast).
Cardbomb, Maria Willis, Hero Arts, butterfly, cards, art, diy, handmade, cardmaking,mixed media,heat embossing,ink blending,embossing paste,

To create a focal point for my card I heat embossed a butterfly from the Beautiful Butterflies set in White Embossing Powder on Pitch Black Cardstock. I die cut it with the coordinating dies and adhered it with foam tape. My sentiment is from the Sending Love Mail stamp set and I heat embossed it on Charcoal cardstock using Onyx Pigment ink and Clear Embossing Powder. The final touch was to add some Pewter Hero Pearls to the background.
Cardbomb, Maria Willis, Hero Arts, butterfly, cards, art, diy, handmade, cardmaking,mixed media,heat embossing,ink blending,embossing paste,

Alright, that's it for today! I hope you all have a great day and I will see you back here soon!
Maria


Wednesday, February 8, 2023

Hero Arts Digital Kit: Papillons - Vintage Cards!

Hey everybody! I'm back today with a super fun and easy set of vintage-style butterfly cards. Over the last few months Hero Arts has been release digital papers and kits with their releases. There have been some really fun ones but I think this new Papillons Digital Kit is my favorite to date (and at just $4.99 it is a screaming deal!). Now, I was a little worried if I'd be able to use the kit or not because I don't have any fancy editing software. I shouldn't have worried because I was easily able to use this kit with Word. I downloaded the kit and then I just dragged the images into a blank word document and resized them how I pleased.

There are a variety of images that come with the kit, some are single butterflies, some are multiple butterflies, some have writing and some don't, etc... You can add them and arrange them and size them however you like. The kit does come with paintbrushes.... I do think you need software (maybe Adobe?) to use those, however, they were not necessary for this kit to be be absolutely phenomenal!

For these cards I decided to go for a vintage look and I printed the images out in color (yes, color! I didn't even have to color them-but you can print them inn black in white and color if you want to) on some vintage looking printer paper I had in my office. I cut them down to A2 sized papers and used Sand Core ink to ink blend around the edges. Then I used Sand ink, black ink and Gold Glimmer Metallic ink to splatter the background (the splatters are subtle and don't show up well in the pictures.

I wanted to glam the butterflies up a little so I used a paint brush to paint on some Gold Glimmer Metallic Ink. You can kind of see this in this pictures. I took a quick video of this to share but somehow I deleted it (sorry). To finish my cards off I glued the beautiful Papillon papers to Ivory Cardbases. These were fun, easy and make such a sweet little card set. 

Cardbomb, Maria Willis, Hero Arts, Digital Release, Butterflies, handmade, cards, vintage, art, color, DIY, CAS, cardmaking, Papillons

Ok, you guys, that is it for today but please come back tomorrow because I've got more to share!
Have an awesome day!

Maria


Tuesday, February 7, 2023

Hero Arts February 2023 Premium My Monthly Hero Kit: Mixed Media!

Hey everybody! I hope you're having an awesome day! Today I'm excited to be back with another creation using goodies from yesterday's Hero Arts release. Yesterday the new Premium My Monthly Hero kit came out and I absolutely died when I saw the rub-ons (image transfer sheets) that are included in the kit. These are so cool because you can rub them onto a background if you want, or, you can rub the butterflies onto paper, vellum, etc and use the coordinating butterfly dies (also in the Premium kit) to cut them out. On this project I've done both.

I started out by using my Rounded Rectangle Infinity Dies to cut out a piece of watercolor paper. I sprayed that with DIY Reactive Sprays in Root Beer and Blue Raspberry and ink blended around the edges with Indigo Core ink. Next, I added some of the floral and star rub-ons to the background then stamped the Background Texture Strips in Sand ink. I added White and Gold Glimmer Metallic ink splatters too.

Cardbomb, Maria Willis,Hero Arts,My Monthly Hero  February 2023, MMH, mixed media, butterflies, art, color, sprays, DIY, handmade,Hero Wax, stamps, stencils, rub-ons, die cutting

To add more texture to the background I stamped the Background Texture Strips again using Onyx Pigment in and then heat embossed that in clear. I rubbed the edges into some Versamark embossing ink and added Sand Embossing Powder. This added some amazing, gritty texture to the edges. Next, I grabbed my Star Cluster Stencil and added some Gold Hero Wax. I wanted a little more of that gold so I rubbed some Hero Wax around the edges with my finger.
Cardbomb, Maria Willis,Hero Arts,My Monthly Hero  February 2023, MMH, mixed media, butterflies, art, color, sprays, DIY, handmade,Hero Wax, stamps, stencils, rub-ons, die cutting

Once my background was done I used the gorgeous butterfly rub-on and transferred it a piece of white cardstock. I die cut it with the coordinating dies from the Premium kit. Then I added a coiled up piece of black metallic thread to the back with some foam tape and added that to my project to finish it off.
Cardbomb, Maria Willis,Hero Arts,My Monthly Hero  February 2023, MMH, mixed media, butterflies, art, color, sprays, DIY, handmade,Hero Wax, stamps, stencils, rub-ons, die cutting

That's it for today you guys but please come back tomorrow as I'll be sharing three cards that I made with the gorgeous new Papillons Digital Card kit!

Have an awesome day and I'll see you back here soon!
Maria


PRODUCT SUPPLY LIST (Affiliate links may be used at no extra cost to you):

Monday, February 6, 2023

Hero Arts My Monthly Hero Release February 2023: Blog Hop and Giveaway!

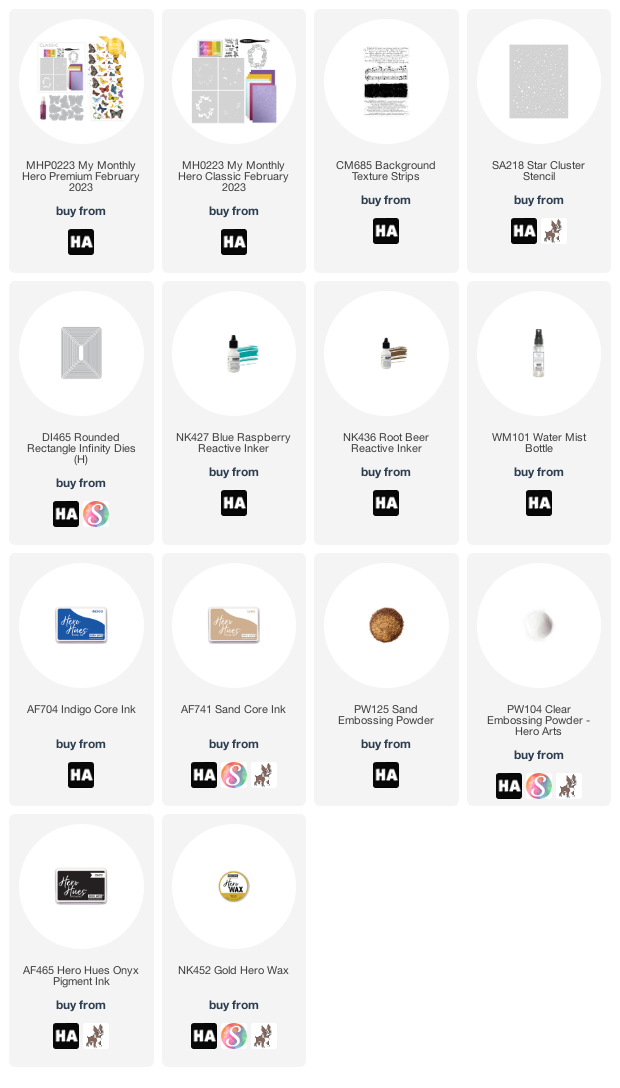
Hey everybody! The wait is over! It's time for the Hero Arts February 2023 My Monthly Hero release and this month's kit is a fantastic, butterfly themed bundle! 

Before I get to my cards, if you aren't familiar with the My Monthly Hero kit, it's a kit that is released by Hero Arts on the first Monday of every month. It always has a fun, themed, collection of stamps, dies and other goodies. The cost of this Classic kit is just $34.99/month and the value is always much greater! This month's kit is valued at $74! Starting with this release there is now a PREMIUM KIT option!!! The Premium Kit will include everything that the Classic (original) kit includes plus some additional upgrades. Premium Kit subscribers will receive the kit for $49.99 and the value for this month's kit is $108 so you'll be receiving over double the value! All current MMH subscribers (signed up prior to January 31, 2023) will receive this upgraded kit at no additional cost! Lucky you guys!

Check out the kits to see what is included:

-CLASSIC KIT

-PREMIUM KIT

You have the option to subscribe (subscribing now means your first kit will be the March 2023 release), or, to buy your favorite kits as one-off purchases. Be aware that once these kits sell out they are gone for good. If you see a kit you like make sure to snatch it up quickly! There are also a ton of amazing add-on products! You can buy the add-ons as a bundle at a discounted rate or just pick up your favorite products. 

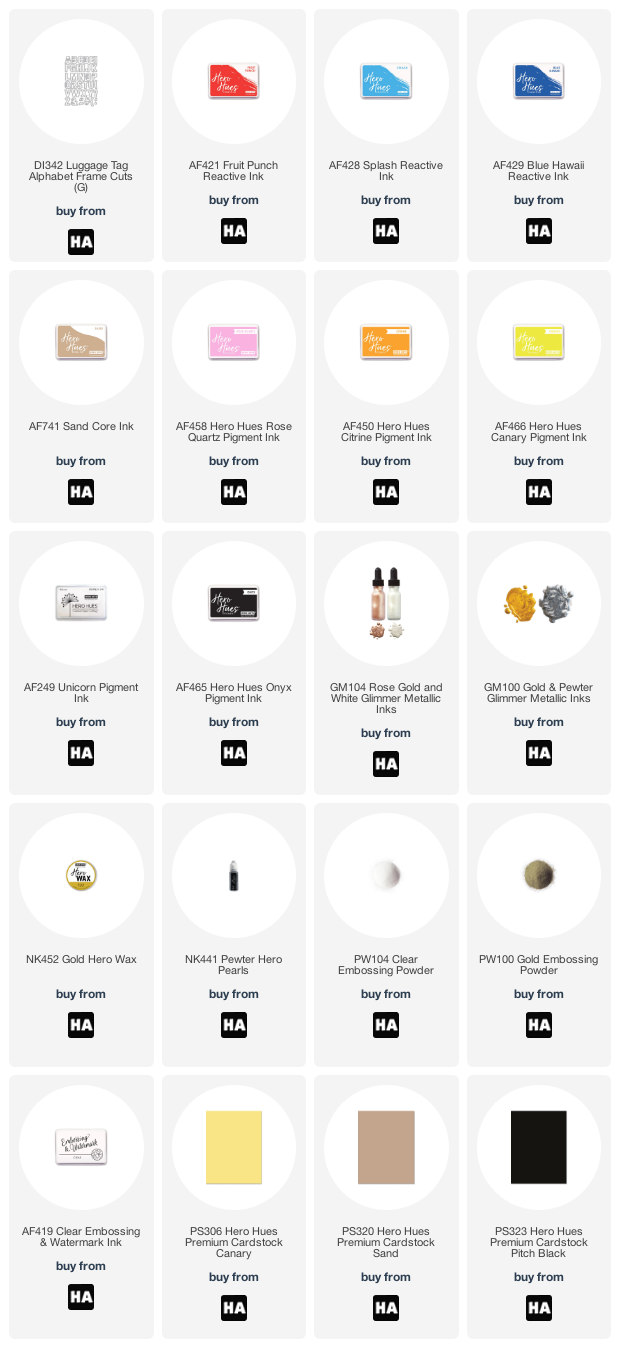
For my first card I am using the fancy butterfly dies from the Premium Kit, a sentiment from the Classic Kit and the new Background Texture Strips. I started out by die cutting my butterflies from Canary cardstock and inkblending the edges with Fruit Punch Reactive ink. Then I pressed some of the edges of the butteflies into Versamark Embossing Ink and heat embossed them in Gold. I added some extra detail to the butterflies with white gel pen and set them aside.

Cardbomb, Maria Wills, Hero Arts, My Monthly Hero  February 2023, Premium kit,butterflies, mixed media, cards, handmade, diy, art, color, die cutting,

Next, I took a piece of A2 sized Pitch Black cardstock and stamped the right side of the background using Unicorn White Pigment Ink (some full strength and some second generation) and a scripty stamp from the Background Texture Strips stamp set. I wanted to add gold to the background so I splattered it with Gold Glimmer Metallic ink. I had some cardboard packaging from my cat's food that I've been wanting to use on a project so I tore that and glued it to my background piece. In order to tie it in to the black background I added some black splatters (you can do this with ink or with black acrylic paint). Then I grabbed my Gold Hero Wax and rubbed it over the raised areas of the cardboard and up the left side of the black background. This helped to connect the cardboard to the background and give the butterflies somewhere to sit. Three different gold mediums (embossing powder, glimmer metallic ink, Hero wax) might seem like overkill to you but they each have a different finish and a different texture so they end up being eye-catching in different ways while still coordinating.
Cardbomb, Maria Wills, Hero Arts, My Monthly Hero  February 2023, Premium kit,butterflies, mixed media, cards, handmade, diy, art, color, die cutting,

After all of that the only thing left to do was add a sentiment. I stamped the "happy birthday" sentiment in Onyx Pigment ink onto Sand Cardstock and heat embossed it in clear. Then I die cut it with my Nesting Circle Infinity Dies, cut the bottom off and ink blended the edges with Sand Core Ink... and, that's all there was to it!
Cardbomb, Maria Wills, Hero Arts, My Monthly Hero  February 2023, Premium kit,butterflies, mixed media, cards, handmade, diy, art, color, die cutting,

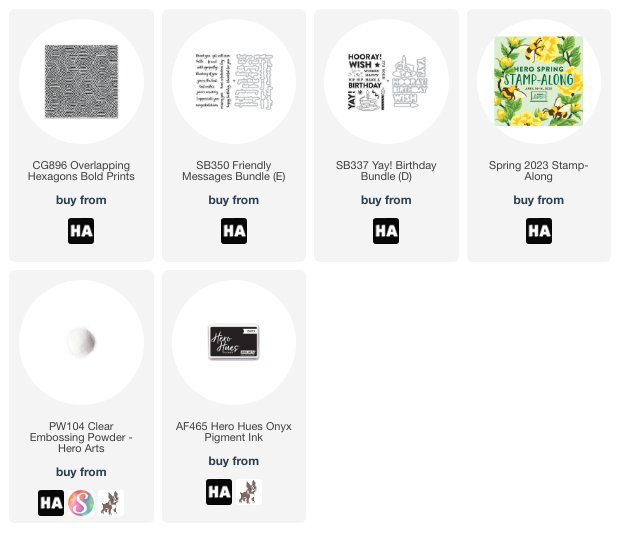
My next card focuses on one of the new stamps from today's release called Abstract Butterfly Wing Background. Today, I used this stamp "as is" to make a large, colorful background but I'm really looking forward to using the more detailed parts of it for mixed media projects. For this card, I stamped the card onto white cardstock using Hero Pigment Inks in Rose Quartz, Citrine and Canary. These inks have a much longer drying time than core inks so I was able to stamp multiple times to get good coverage (and blend the colors) then cover them with Clear Embossing Powder to heat emboss the image.Cardbomb, Maria Wills, Hero Arts, My Monthly Hero  February 2023, Premium kit,butterflies, mixed media, cards, handmade, diy, art, color, die cutting,

Heat embossing a solid image allows for a cool technique called Emboss Resist. I used both Splash and Blue Hawaii Reactive Inks to ink blend over my entire image and background. The embossed image resisted the ink so that it only sank into the (once white) background. I used a paper towel to wipe down the embossed areas and remove any extra ink that might be sitting on top of the image. I cut this piece down just a smidge and added it to a black A2 cardbase.

Cardbomb, Maria Wills, Hero Arts, My Monthly Hero  February 2023, Premium kit,butterflies, mixed media, cards, handmade, diy, art, color, die cutting,

I wanted to add a sentiment but I didn't want to cover up too much of the background. I decided a simple, "HI," would do and I used my Luggage Tag Alphabet Frame Cuts to cut the letters out three times. I glued the letters together so that they would be very thick and then I glued those onto my card front. 
Cardbomb, Maria Wills, Hero Arts, My Monthly Hero  February 2023, Premium kit,butterflies, mixed media, cards, handmade, diy, art, color, die cutting,

Just in case you didn't see my blog post from yesterday here's a look at another card that I made using a butterfly from the Premium Kit. All of the details are on that blog post and you can check it out HERE.
Cardbomb, Maria Wills, Hero Arts, My Monthly Hero  February 2023, Premium kit,butterflies, mixed media, cards, handmade, diy, art, color, die cutting,

Now, I've got to tell you that I had an incredible time creating with this release and I've created many more cards than what I've shared today. Tomorrow (Tuesday, February 7th) at 11am Pacific, Aaron (Owner of Hero Arts) and Creative Team Member Lydia Fiedler will be doing a live (Hero Arts Facebook and YouTube Channel). I've sent a total of ten cards/projects in for them to share including a fun mixed media project using the rub-ons from the Premium Kit. I've also used the Papillon Digital Kit and it is freaking amazing! It was my first time using a digital kit and I'm totally sold on it after this experience. You can tune in live or watch the replay to see those samples on video. I will also be sharing those cards/projects here on my blog over the next few days.

Ok! That's all I've got but the rest of the Hero Arts Creative Team and the Guest Designers have so much incredible inspiration to share. I hope you'll join the blog hop and enter the giveaway.

Have an amazing day!
Maria

GIVEAWAY:
We will give away a $50 gift card, drawn from the comments left across the hop. Enter by Sunday, February 12th at 11:59pm Pacific, and the winner will be announced on the Hero Arts blog the following week.

BLOG HOP LIST:

PRODUCT SUPPLY LIST (Affiliate links may be used at no extra cost to you): 

Sunday, February 5, 2023

Hero Arts Countdown to Creativity: February 2023 My Monthly Hero Release

Hey everybody! It's almost time for the February 2023  Hero Arts My Monthly Hero release and this month's kit is a fabulous kit for creating some gorgeous butterfly themed cards and projects!

If you aren't familiar with the My Monthly Hero kit, it's a kit that is released by Hero Arts on the first Monday of every month. It always has a fun, themed, collection of stamps, dies and other goodies. The cost is just $34.99/month and the value is always much greater! 

BIG NEWS!! Starting with the February 2023 release Hero Arts will now be offering both a Classic Kit and a Premium kit every month! The Classic kit will be what you're familiar with and will stay priced at $34.99. The Premium Kit will include everything from the Classic Kit plus some fabulous extras! If you are already a kit subscriber (prior to January 31, 2023) you will be receiving the Premium Kit at no additional cost (February 2023 only-after that you'll need to upgrade your subscription if you'd like to keep receiving the Premium kit).

You have the option to subscribe (subscribing now means your first kit will be the March 2023 release), or, to buy your favorite kits as one-off purchases. Be aware that once these kits sell out they are gone for good. If you see a kit you like make sure to snatch it up quickly! 

Today is Day Three of the Countdown to Creativity and I've got a card featuring one of the many gorgeous, detailed butterfly dies from the Premium kit! These dies feature both an inner (detailed) portion as well as as a separate outer die which can be used either on their own or together. On This card I've used them together.

I started by cutting a piece of Paradise Cardstock down to 4" x 5.25" and inkblending the edges with Blue Hawaii Reactive ink. Then I splattered it with both white and gold metallic glimmer ink. I also heat embossed some of the diamond stars from the main kit in gold onto the background. 

Cardbomb, Maria Willis, Hero Arts, My Monthly Hero  February 2023,#butterflies, art, color, diy, handmade, cards,mixed media, ink,inkblending,die cutting

Next, I used the fancy butterfly dies from the Premium kit to cut out two butterflies from Canary and Pitch Black cardstock. I used Fruit Punch Reactive ink to ink blend the edges of the Dandelion butterfly and then glued that to the black butterfly slightly offset. I glued the double butterfly to my background and added that to a black cardbase. I added a sentiment from the kit (I masked it off so that I could use just part of it) with foam tape.
Cardbomb, Maria Willis, Hero Arts, My Monthly Hero  February 2023,#butterflies, art, color, diy, handmade, cards,mixed media, ink,inkblending,die cutting

The final step was to add some Pewter Hero Pearls to the background and some white gel pen to butterfly to make some of those fabulous details pop!
Cardbomb, Maria Willis, Hero Arts, My Monthly Hero  February 2023,#butterflies, art, color, diy, handmade, cards,mixed media, ink,inkblending,die cutting

Ok, guys, that's it for today! If you'd like a chance to win this kit before you can buy it then head on over to the Hero Arts blog and find out how (plus check out all three days of incredible inspiration for this kit which is coming at you tomorrow!).

Have an awesome day guys!
Maria


01 09 10