Hello everybody! Thanks for stopping by today because I have a clean and simple card to share with you today. I'm using the brand new Winter Window stamp set from Gina K Designs. Now, this set has some really beautiful elements that can be used to build a window scene complete with a window treatment, trees in the distance and beautiful birds. There are also coordinating dies! There is so much you can do with this set but for today I decided to keep it simple.
I stamped the tree in black onto watercolor paper. Then I watercolored with my Karin markers.
I started out by watercoloring the ribbon and ornaments before moving on to coloring the tree. After that I watercolored the presents. It was so hard for me to do but I managed to leave the background white.
I heat embossed my sentiment in black and then I popped my panel up on a light blue card base.
Ok you guys! That's it for today. Thanks for stopping by and I'll see you back here soon!
Hey everybody and welcome to a super awesome release from Pinkfresh Studio! Today's release is a stamp, stencil, die and hot foil release and there are some incredibly stunning products! Today I'll be featuring the new Lush Peonies and Garden Roses suites.
Now first of all, if you aren't familiar with how Pinkfresh does their releases let me give you a little info. These releases have stamps, layering stencils and coordinating dies. They sometimes have coordinating hot foil plates too! This is incredible bc the whole product line works seamlessly together... but, each of the elements works on their own as well. That means you can purchase only the products from the suite that best meet your needs (but you've got the option to go all out and get it all).
On my first card I used the Lush Peonies stamp set and paired it with the coordinating die set. I stamped the large floral image onto watercolor paper in black pigment ink and then heat embossed it in clear.
I used my Arteza Watercolor Markers to watercolor the image and then I added some extra details with a black sharpie and a white gel pen. Then I used the coordinating dies to cut the image out.
My next card features the Lush Peonies stamp set again but this time I used the coordinating stencils to color in the floral image. Now you can see what I was talking about when I was telling you how cool the product suites are and that you can use them separately or together (you can use this five piece set of layering stencil without the stamp set too!). On this card, I heat embossed the image in silver onto Hammermill cardstock.
Next, I used my layering stencils to color the image in with inks and a blending brush. For this card I used:
It was so easy to achieve a soft, beautiful look using these ink colors. I cut my flowers out with the coordinating dies and set them aside.
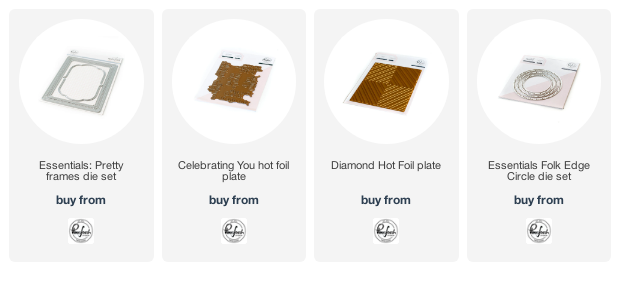
I used the Diamond Hot Foil Plate and some silver holographic foil to create my background. I lightly inkblended the background with Aquamarine ink to add a little bit of color. My sentiment was hot foiled in black using the Celebrating You Hot Foil Plate and dies. To finish my card off, I adhered the florals with foam tape. Where ever they hung off the edge of the card I cut them off and then used those pieces to fill in the borders of my card (nothing went to waste!). The final step was to add that bold, shiny sentiment in the middle.
For my last card I used the Garden Roses Stamp set as well as the coordinating stencils and dies to create a beautiful slimline card. This time I stamped my floral in Rose Pigment Ink from Hero Arts and heat embossed it in clear. Then I used the stencil set to inkblend with the following colors:
Then, I die cut the image out with the coordinating dies and set it asside.
Next I used the Slim Stitches die to die cut a textured background from white cardstock. I also stamped a sentiment in black and then cut it out using the Essentials: Folk Edge Circle Die Set. This set is great because it also allowed me to cut the perfectly sized detail circle frame for my sentiment. I lightly inkblended it with some Aquamarine and adhered them w foam tape.
To finish my card off I added the Slim Stitches background to a light blue cardbase before adhering my sentiment piece with foam tape. Then I used foam tape to add my florals to the borders. Again, I cut off the excess floral bits and used them to add flowers to the bottom, right of the card.
Here's a close up so that you can see how incredible these flowers look when stenciled. All the extra texture from the dies is really pretty too and was so easy to add.
Ok, you guys, that's it for today! I hope you enjoyed the cards and had a fun look at the brand new release from Pinkfresh Studio. I hope you all have an amazing day and a great start to a wonderful week!
Maria
GIVEAWAYS:
-Pinkfresh Studio will be giving away the full release on the Pinkfresh blog & YouTube channel.
-Pinkfresh Studio will also be giving away a total of TEN $25 gift cards along the hop.
-Winners will be selected from the comments and posted on October 5, 2021 on the Pinkfresh Studio GIVEAWAY PAGE. Winners must check that page & claim their prize within 2 weeks.
Hello everybody and welcome to this month's Tonic Studios Stamp Club Monsters release! Now this set is so fun and quirky and it has totally stolen my heart! It is available in limited quantities so if you love it, run to the store fast! You can shop at Tonic USA or Tonic UK.
This set has a bunch of fun little monsters and some fun little accessory stamps to go with them (think potion bottles, eye balls and birthday cakes)! The die set is also fantastic as it has not only coordinating dies but word dies, a stitched star background die and a great dotted coverplate as well! You can check it all out in my VIDEO HERE!
On my first card I colored in one of my favorite monsters (he's so happy with that huge smile) with copic markers. Then I cut him out with the coordinating die.
I ink blended the background panel using a stencil that I made by cutting the circle dot die plate two times, side by side. I gently inkblended soft primary colors through the stencil and I love how the background came out.
I combined a die cut "hi" with one of my favorite sentiments and popped all of my elements up using foam tape to finish off the card.
Now, I mentioned a made a video so before I get too far along here it is...
For my next card I used a monster that I've nicknamed "Grumpy." The poor little guy looks so bummed out that I just can't help but love him. I stamped him straight onto a white cardbase, added a flower to his hand, and colored him with my copic markers. I used a sharpie to add some grass so he had something to stand on.
I combined two of the sentiments on the front of my card.
And then I used an adhesive foam sheet to pop up the front of my card before adding a few sequins.
This next card is all about getting that party started! I stamped two little party monsters clinking their drink potions together on watercolor paper. I watercolored them using my Nuvo Aqua flow pens.
I heat embossed my sentiment in black. I also stamped the inside of the card with "We'll have a monster of a good time!"
The final step was using foam adhesive to pop the watercolored panel up onto a black background.
Now, if you're not one for coloring then this card is for you. I heat embossed my images in white on white cardstock. Then I used a blending brush to ink blend over them in pink, yellow and blue inks. I wanted there to be a little more contrast so I grabbed my copic markers and darkened up the background (behind the monsters only) a little bit to make the monsters look like they were in the foreground. I also used a black gel pen to add dots to their eyes.
For the next step, I used the stitched stars detail die to add some really cool detail and texture to my backgournd above the monsters. I also heat embossed my sentiments in black on white, cut out the sentiment strips and added them with foam tape.
I added some striped washi tape to the top of a white note card. Then, I added strips of black cardstock at the top and bottom of my monster panel and mounted it to the card base.
My final card is a slim-line card. I used the circle dot die from the bundle to create a white, holey background panel. I put that on top of a watercolored background from my stash.
I added the layered panels to my black, mini-slimline cardbase then set to work coloring and die cutting my monsters and the two-layer cake.
After heat embossing my sentiments I added them and the monsters to my card front using foam tape.
Ok you guys that is it for today! I absolutely love this Monsters release and I hope you will too! Before I go I want to show you what the full Monsters release looks like and of course we've got a blog hop and a giveaway too (scroll down for details).
Bye everybody and have and awesome day!
Maria
GIVEAWAY:
-One lucky winner will win a £50/$50 Giftcard to Tonic Studios and the Monsters bundle!
-To enter, comment on every blog in the hop by 11:59pm PST on September 29, 2021/ 7:59am GST on September 30, 2021
-Winner will be announced on October 1, 2021 on IG and FB so make sure you're following all of the Tonic Studios social media accounts!
Hi everybody! I'm popping in with a fun card from the lates Simon Says Stamp STAMPtember release! Now it's Picket Fence Studio's turn to join the fun with an adorable cat stamp set called, Sarcastic Kitties. You can get just the stamp set, or, go big and get the stamp and die bundle.
I decided to go with a mixed media look for my mini-slimline card. I grabbed a watercolored, galaxy background from my stash and then added some gold mousse through the SSS Circle Dots Stencil to add a little texture and shine.
Then I watercolored on of the cats from the set using my Karin markers. I only used two colors ( a gray and a pink) but I was able to mix them to achieve a range of shades.
I heat embossed my sentiment in black and added some extra detail to the background with a black posca pen. Then I adhered the cat to my card with foam tape, attached the background to a black cardbase, and called it good!
Thanks for stopping by today! I hope you have an awesome day and I'll see you all back here soon!
Happy STAMPtember everyone! Today is Hero Art's turn to collaborate with Simon Says Stamps as they come together to release an exclusive (to SSS) and limited stamp set! This stamp set is called, Make a Wish, and it's such a sweet little set.
I decided to make a mini-slimline card and I started out by ink blending my background in Taffy, Splash and Lemon Drop Reactive Inks. Then I used the Tile Pattern Stencil and some White Iridescent Shimmer Mist to create a subtle, textured background. I also splattered both White and Gold Glimmer Metallic ink onto the background for a little extra shine and texture. The final step for the background was to stamp the "Happy Birthday" sentiment multiple times in Versamark ink and heat emboss it in White Satin Pearl Embossing Powder.
I stamped the Make a Wish image in Onyx Pigment ink and heat embossed it with clear embossing powder. Then I cut it out using my Nesting Circle Infinity Dies. I also cut a silver glitter circle in the same size from the Holiday Sparkle Glitter Paper collection. After coloring my image with copic markers I glued the two circles together with liquid adhesive and attached them to my card base with foam tape.
After adding all of that to a dark gray mini slimline cardbase the final touch was to add some holographic stars that I had cut using the Star Confetti Fancy Die.
Well, that's it for today you guys! I hope you're enjoying all of the Simon Says Stamp STAMPtember releases and that you've thought this Make a Wish collaboration with Hero Arts is as fun as I think it is.
Bye for now and have an awesome day!
Maria
PRODUCT SUPPLY LIST (Affiliate links may be used at no extra cost to you):
Hey everybody! I hope you had an awesome weekend! I am popping in to share a bunch of cards with you and to let you know that I am up on the Hero Arts blog and YouTube channel today sharing a video on how to use your Hero Paste and how to get the most out of it. I share a bunch of techniques and I hope you'll enjoy it.
Here's a look at the cards I create in the video (well, I make the backgrounds in the video anyhow)... This first card was made by creating custom colors of Hero Paste using reactive ink re-inkers.
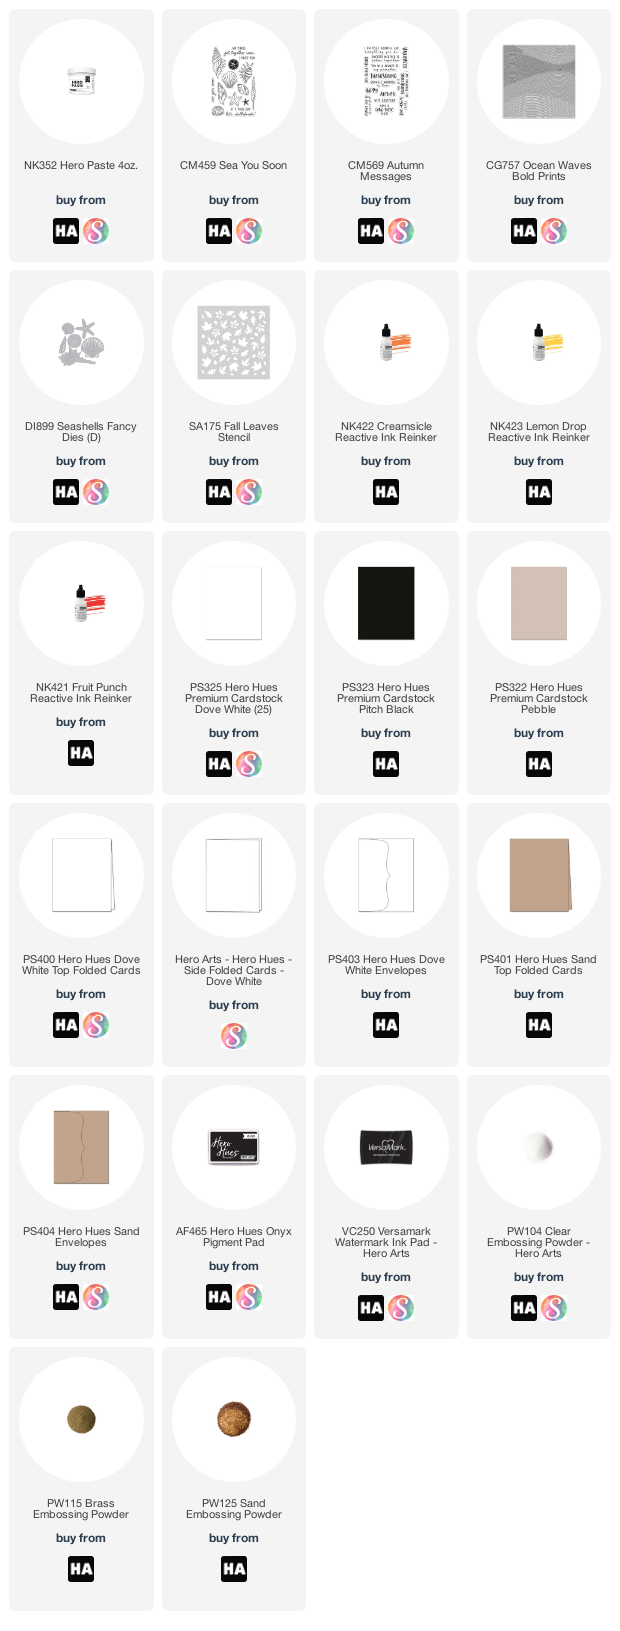
I paired my colorful Hero Paste with the Fall Leaves Stencil to create this beautiful fall colored background.
I finished the card off by adding a sentiment from the Autumn Messages stamp set.
This second card was put together using a scrap piece of Pitch Black cardstock and some Hero Paste that I covered with Brass Embossing Powder.
I stamped a Sand cardbase in Versamark ink with the Ocean Waves Bold Prints stamp.
I added a sentiment from the Sea You Soon stamp set, a sea star from the Sea Shells Fancy Dies and put it all together using foam tape.
For my last card I started out by spraying my DIY Liquid Watercolor Sprays onto a piece of cardstock to give it some fun color. Then, I used the Mermaid Sea Stencil to apply my paste.
Once the paste was dry I sprayed more liquid watercolor onto the background and allowed the color to pool in the spaces between the embossing paste.
To finish the card off I add a white frame using the Nesting Rectangle Infinity Dies. Then, I added a white shell from the Seashells Fancy Dies and topped that with a gold sea horse from the Paper Layering SeaHorses dies. The final touch was to add a sentiment from the Sea You Soon stamp set.
Ok, that is it for today you guys. For all the hot tips please head on over to the Hero Arts YouTube channel and watch the video!
Have an awesome day!
PRODUCT SUPPLY LIST (Affiliate links may be used at no extra cost to you):
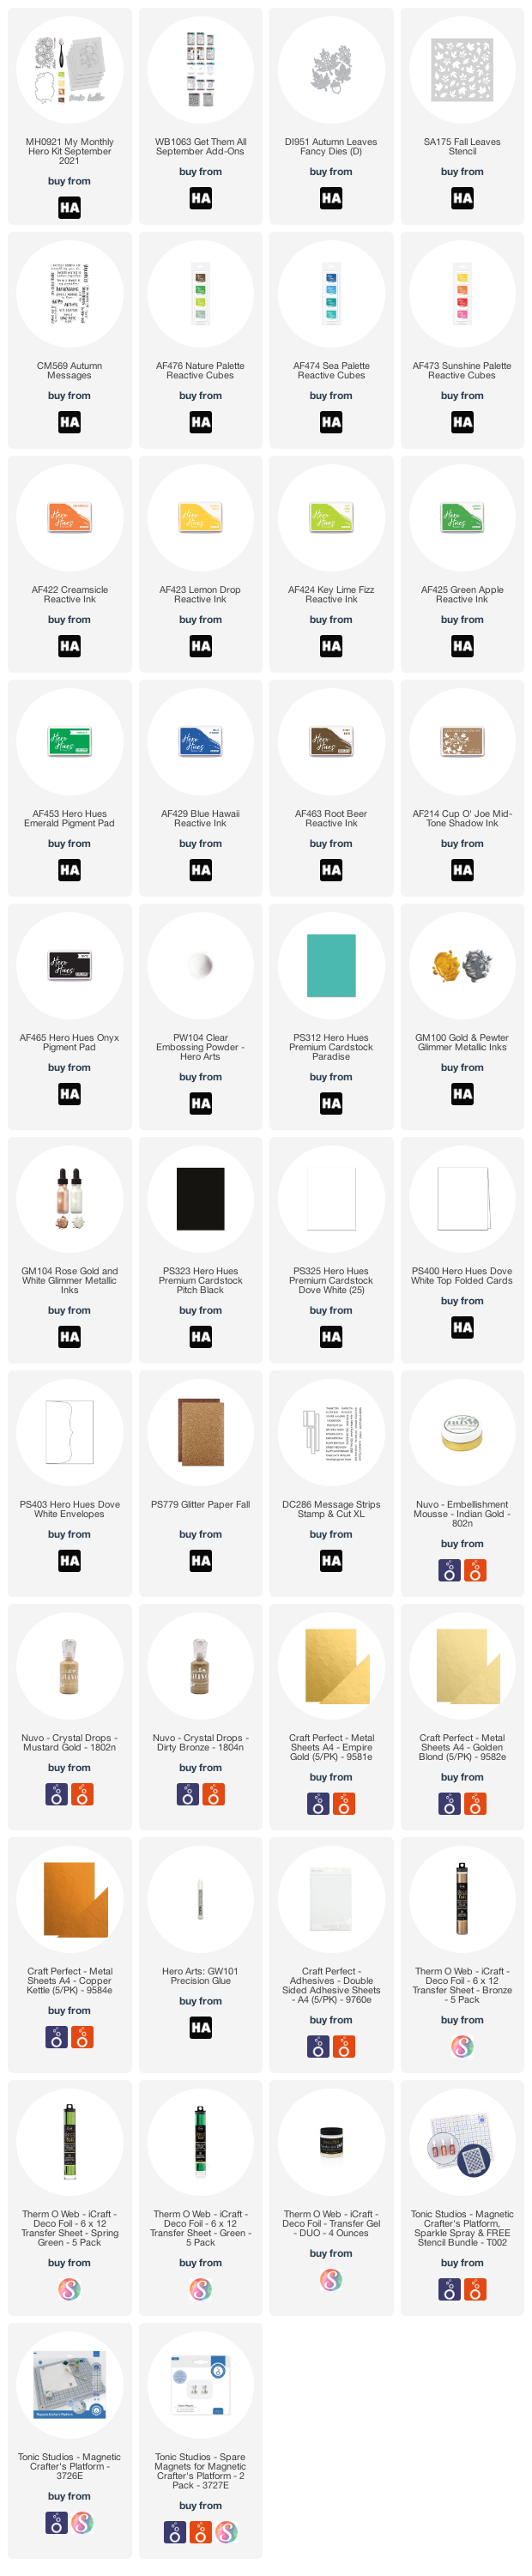
Hi everybody and happy Hero Arts release day! The September My Monthly Hero Kit is here and it is such a magical kit!
If you aren't familiar with the My Monthly Hero kit, it's a kit that is released by Hero Arts on the first Monday of every month. It always has a fun, themed collection of stamps, dies and other goodies. The cost is just $34.99/month and the value is always much greater! This month's kit is valued at $87!
You have the option to subscribe (subscribing now means your first kit will be the October release), or, to buy your favorite kits as a one-off purchases. Be aware that once these kits sell out they are gone for good. If you see a kit you like make sure to snatch it up quickly! There are also always a ton of fantastic add-on products offered. You can choose to buy your favorites or buy them all at a discounted rate.
We also have an awesome GIVEAWAY and a BLOG HOP with tons of inspiration going on so please make sure to check the info for those at the bottom of my post! And, I have a VIDEO today sharing a really fun foiling technique where no heat is necessary to foil (see below)
Ok, on to my first card! This kit has a gorgeous sunflower stamp with five coordinating stencils for adding perfect layers of color to your project. I used the stencils to ink blend the flowers and then I added a little extra color with a red copic marker.
Next, I used Deco Foil Transfer Gel Duo to add some foil accents to my flowers. Here's the video so that you can see exactly how I did all of that...
If you are having trouble watching this video CLICK HERE to view it on YouTube.
After foiling the flowers I cut the image out with the coordinating dies and set them aside. I took a piece of Paradise cardstock cut to 4.25" x 5.5" and partially inkblended it using Blue Hawaii ink. Then, I heat embossed the "so much" from the Message Strips Stamp & Cut XL onto my card front leaving enough space above to add the "thanks" die cut.
I added my sunflowers using foam tape and then splattered my card with both gold and white glimmer metallic ink. After the ink dried I added my thanks dies to front of my card with liquid adhesive. These dies were tripled up and I have a trick for perfectly aligning the dies and doing it without messy adhesive in my VIDEO.
This next card is another card with foiled accents and it was put together in much the same way as the first card. I did use a different color combo on the flower petals and centers (Creamsicle and Fruit Punch) But I didn't end up loving it so I again added red marker and then went in with a fine tip sharpie to add a bunch of scribbles and lines to make it my own.
I splattered my black background with gold glimmer metallic ink and then popped the sunflowers up in the center of the card using foam tape.
I added the "thanks" die to my card on an angle and using foam tape. This time instead of just using the detailed word die I also used the shadow background so that my sentiment would pop and be easy to read.
If you haven't seen the add-ons this month you have got to check them out! I made this card by combining three of them: Autumn Leaves Fancy Dies, Fall Leaves Stencil and a sentiment set called, Autumn Messages. I started off by grabbing a background I made using my DIY Liquid Watercolor sprays (How-to VIDEO HERE).Then I used gold Nuvo Mousse and the stencil to quickly create the background. I splattered it in both gold and white glimmer metallic ink and set it aside to dry.
Next I used the Autumn Leaves Fancy Dies to cut a whole bunch of leaves from the Fall Glitter Cardstock and some gold, metal sheets. I stamped the sentiment, cut it with my rectangle dies and popped it up using foam tape. I made sure only to apply foam tape in the center of the sentiment so that it was easy slide the leaves under the sentiment to embellish it.
I added all of my leaves using glue dots which made it easy to secure them without adhesive being visible.
I was also able to lift and curl the edges of some of the leaves to add even more dimension. If you decide to do use the metal sheets for your leaves or die cuts be aware that they can crease or bend in a very different way than paper does (because they are literally made of metal).
Now, Just in case you didn't see my blog post on Sunday with my sneak peek card for this release, here ya go. If you want more info on how to make this card you can head to my blog post HERE.
Ok, that's it for me today you all! I hope you love this Sunflower release and this month's add-ons as much as I do and will join the giveaway and continue hopping with us for even more inspiration.
Have an awesome day!
Maria
GIVEAWAY:
We will give away one $50 gift card, drawn from the comments left across the hop. Enter by Sunday, September 12th at 11:59pm Pacific, and the winner will be announced on the Hero Arts blog the following week.