Hi everybody! I'm so glad you're here because today is launch day for the newest Tonic Studios Stamp Club release called I Love You Fairy Much. I had so much fun with this release that I've got eight cards and a video to share with you today. Before I get to the cards I want to let you know that this release is available exclusively from Tonic Studios. There is a limited quantity of bundles and when they are sold out they'll be gone for good so make sure to grab yours before they sell out. If you want to grab an I Love You Fairy Much bundle for yourself here are the links:
There is also a GIVEAWAY over on my Instagram account @Cardbomb. If you'd like a chance to win this whole stamp and die bundle plus some Nuvo Hybrid inks and one of my favorite blending brushes, please head over to my Instagram account to enter the giveaway.
Ok, let's get on to the cards! For my first card I ink-blended a background, splattered it with Glitter Gloss and gouache, and stamped it with dragonflies.
Then I adhered the fairyland frame die cut to frame out my scene. I used it together with the outer frame so that it perfectly framed on an A2 sized card.
I added a fairy sitting on a mushroom to the left and added a sentiment to the right to finish my card off.
Here's a link to the video I made if you'd like to see this release in action...
If you're having trouble watching this video CLICK HERE to view it now.
My next card features a watercolored background in light pastels. It's splattered with Glitter Gloss for some extra shimmer and I used my Tim Holtz Deckle Trimmer to cut it down.
I added a die cut frame from Pinkfresh Studios. I layered a flagged sentiment on to the bottom and added some clear sequins to the background.

To finish the card off I added a copic colored fairy using foam adhesive to make it look like she is floating over the sentiment.
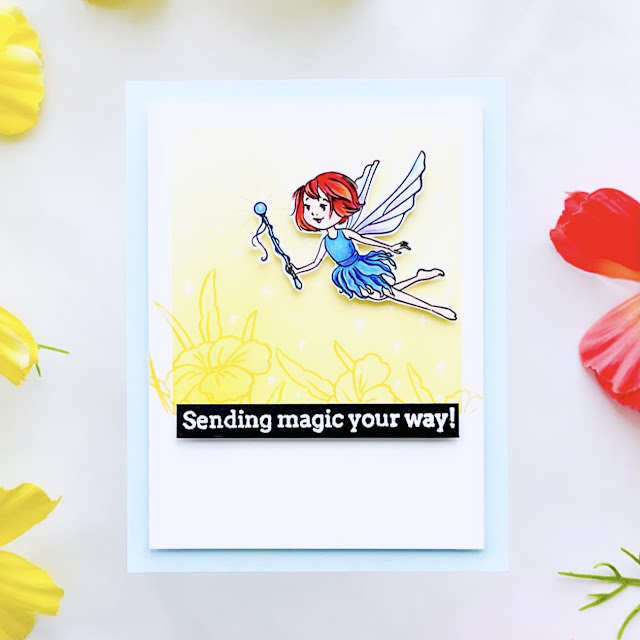
This next card is one of my favorites because I just love this little fairy! She's super spunky and I love her wand. I decided to mask off the background and ink blend a square in yellow. I used that same color of yellow ink to stamp some flowers on to the bottom of the square. I also stamped the wand glow onto the background right behind where I would place the fairy and her wand.
I mounted that card panel onto some light blue cardstock using foam adhesive. Then I heat embossed my sentiment in white embossing powder onto black cardstock and adhered that to my card as well.
Finally, I used foam adhesive to glue my fairy down. I love how it looks like she's hovering over a field of flowers.
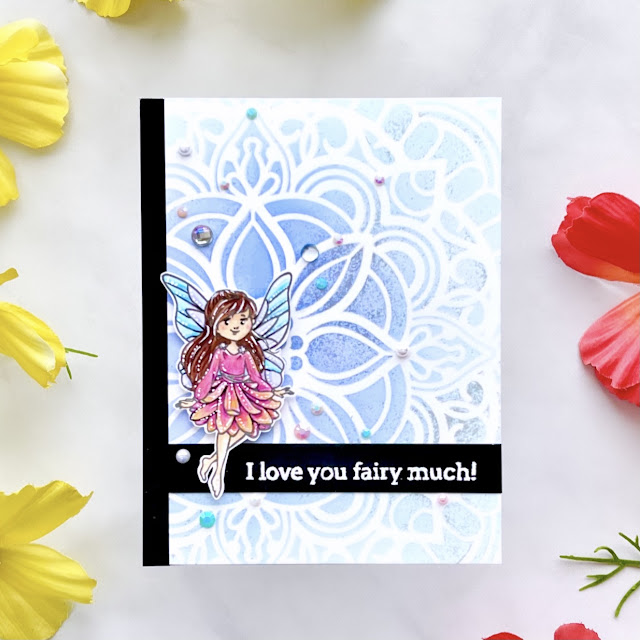
This card was fun to put together... I started out ink-blending the background with Nuvo hybrid ink. I especially like using this ink when I am going to apply a product on top of the ink bc this hybrid ink is permanent and will not react with water (or wet products). After ink-blending I added a thin layer of glacier paste on top. I cut the background down to four inches by five and a half inches. I glued this to the right side of a card base. I glued a one quarter inch strip of black cardstock to the left side of the card to fill in the remaining space.
I heat embossed my sentiment in white on black and added the strip to my card.
After that all I had to do was add my fairy and some rhinestones and jewels to my card front.
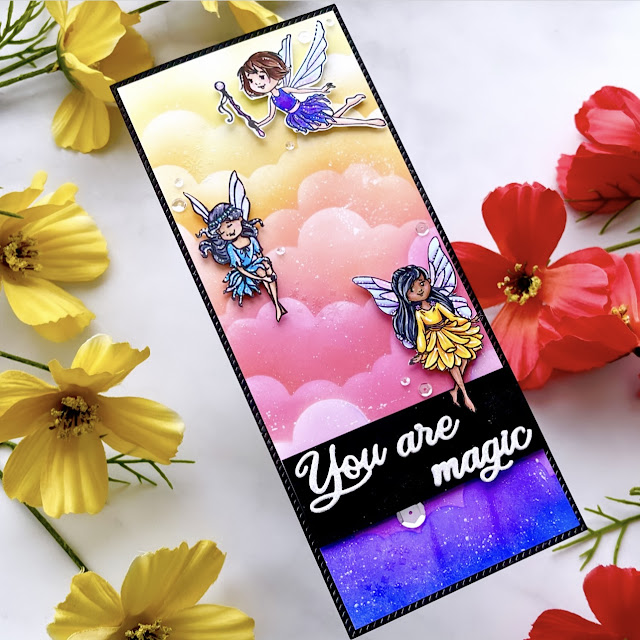
The I Love You Fairy Much bundle makes creating slimline cards a snap. With so many coordinating elements it's really easy to quickly fill up your card with images that go well together. I started this card by inkblending the background with card stencils that I made using the cloud dies from the second stamp club release. I used a rainbow of colors and then splattered it with Glitter Gloss and white paint. I also heat embossed the fairy dust stamp multiple times onto the background in the spaces between where the fairies would be placed.
Next, I die cut my sentiment multiple times in white cardstock. I also cut it out one time form glittery white cardstock. I glued the multiple layers together with the glittery cardstock on top. This gave me a fun, dimensional, die-cut sentiment that popped off of a piece of black cardstock.
To finish my card off I adhered all of my fairies using foam adhesive and then added a few subtle sequins.
If you look closely at the fairies you will be able to see that I used a white gel pen to add little highlights to their hair, wings and outfits. I think this gives them a sparkly, magical look.
I just love it when a stamp set is versatile and this bundle has got a lot going on. This mushroom stamp pairs perfectly with its punny sentiment to make for a great guy card! I started out by stamping the mushroom in Antique Linen Distress Oxide ink on black cardstock. Then, I colored the image in with colored pencils. This was my first time trying this and I had fun with it but it was hard for me.
After I finished coloring I heat embossed a sentiment directly below the image. I also splattered the background lightly with white paint before cutting it out with my Deckle Edge trimmer.
I splattered my green cardbase with black ink and adhered my image panel down using foam tape.
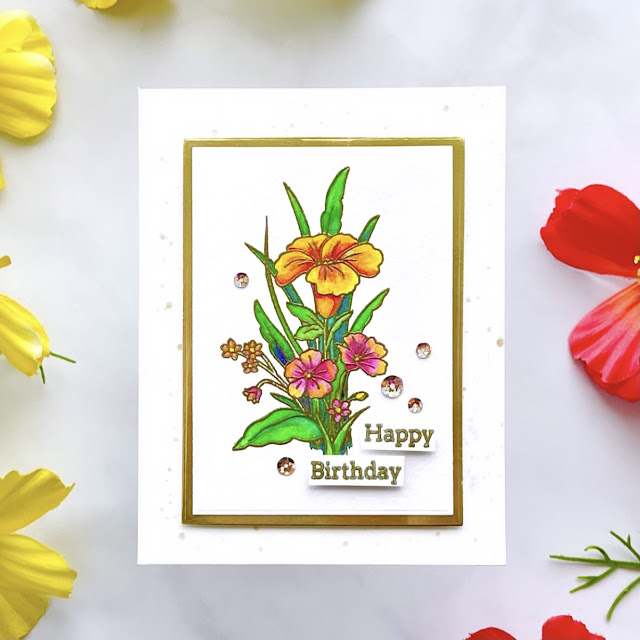
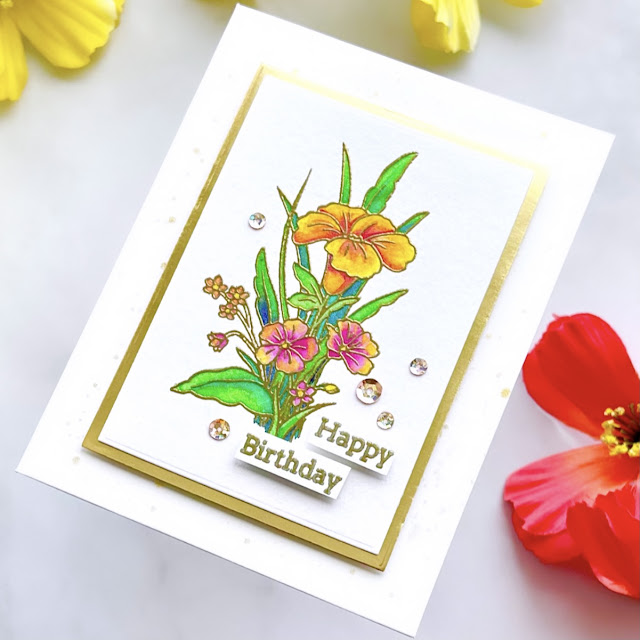
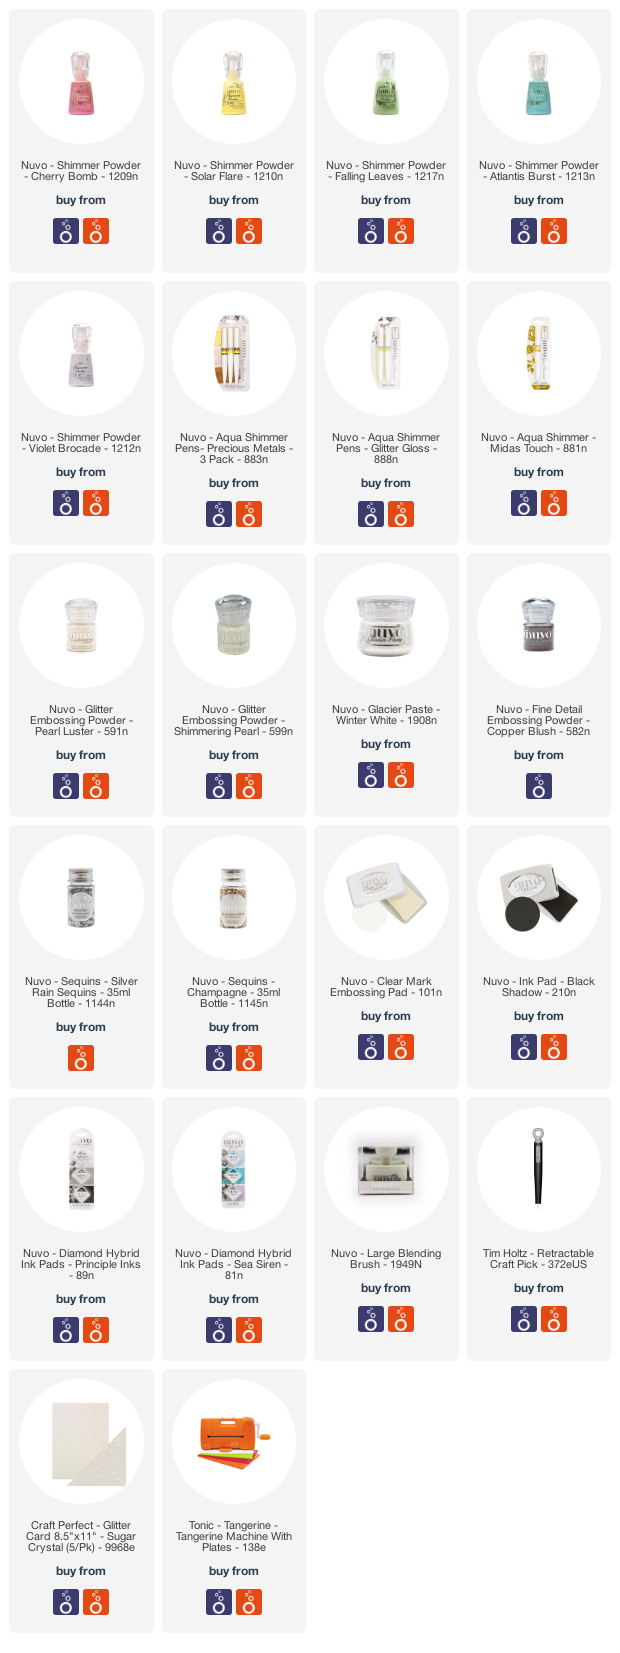
Here is another way that you can use this set to create beautiful (non-fairy) cards. I heat embossed the floral image in gold and then watercolored it using Nuvo Shimmer powders.
I used the dies from Stamp Club 6 to cut out my layers and added those onto an ivory cream card base that I splattered with Midas Touch.
I added some Nuvo sequins in Champagne to finish this card off.
For my last card I wanted to share how easy it is make a fabulous shaker card using the fairyland frame die from this set. I cut the die from the inside of an A2 sized piece of black cardstock.
I inkblended a background panel in red, orange and yellow. Then I poured chunky gold glitter and yellow butterfly confetti on top of it. I added a double layer of quarter inch foam tape to the back of the die cut frame and attached to the background, trapping all of the glitter and confetti inside.
The final steps were to add a gold, heat embossed sentiment and a copic colored flower to the card front.
Have an amazing day you guys!
Maria











No comments:
Post a Comment