Hello everybody and welcome to this month's Stamp Club launch from Tonic Studios! This month's release is called Happy Hibiscus. The release is a large, 6" x 8" stamp and die bundle that includes gorgeous, tropical themed stamps, lovely sentiments and a die set that is packed full of useful dies (including stitched square and rectangle dies!). The stamp and die will only be sold as a bundle and there is limited stock so get yours while they're still available because once they sell out they are gone for good! To see all the details of the release you can head over to Tonic Studios (Tonic UK)! We also have an amazing GIVEAWAY for you today too (details at the bottom of my post).
The main stamp in this Happy Hibiscus release is a large, background stamp which can obviously be used as a background stamp. The big surprise of this release is that this background stamp is actually a 3 in 1 concept! When you use the coordinating dies with this stamp you can cut it into two pieces: a floral frame and a floral bouquet. This means that you can use this one stamp as a background stamp, a frame, or a centerpiece. In my first card I will show you what it looks like when used as a background. I also have cards showcasing the floral frame and bouquet later in this post (there's a VIDEO too!).
For my first card I stamped the background stamp in Black Shadow ink onto watercolor cardstock using my Misti. Then, I watercolored it using my Nuvo Aquaflow pens. To add extra shading I also used some watercolors pencils (used as pencils, no water) and a sharpie.


I heat embossed my sentiments onto black cardstock and adhered them to my card with foam adhesive.


Now that you've seen the main stamp, here's a look at what the whole Happy Hibiscus stamp set looks like. In addition to the background stamp there are also floral borders, a floral heart and some great sentiments in lovely fonts.

The die set has a coordinating die for every image in the stamp set. It also has two word dies that have background halos for layering and 7 different stitched square and rectangle dies. These stitched are particularly cool because they stitch both the positive and negative pieces of the paper that you die cut.

Here's a video I made to show everything included in this Happy Hibiscus bundle as well many cards and projects that I've made.
I've already shown you what the background stamp looks like when you use it as one piece so now let's take a look at what happens when you use the coordinating dies to cut it apart. For my next card I heat embossed the background stamp in silver embossing powder on watercolor paper. I selected a rainbow of Nuvo Aquaflow pens and watercolor washed the whole panel (see below for video) in color.

There are two dies in the set that cut this large image into two pieces. One die fits tightly to the outer floral frame. The other die fits tightly to the inside to cut out the floral bouquet. These must be cut out separately as the dies would overlap. First I cut out the floral frame and cut that piece down to 4.25" x 5.5". Then, I cut out the center piece and set it aside. I did a pale watercolor wash on another piece of watercolor paper and stamped, "It's your day!" on it.

Next, I adhered the floral frame to the watercolored piece with foam adhesive. I used the Happy Birthday dies to cut my main sentiment out of holographic paper with a black background. I popped that up on foam tape too. The final detail was to add some sparkly splatters with my glitter gloss pen and then to add some sequins.

For my last card I used the floral bouquet from the center of the image. I layered it on top of a stenciled piece of cardstock and cut off the pieces that were hanging off of the edges.

I layered that piece on top of some silver striped cardstock just to make it a little fancy. You can see the silver cardstock again behind the "For You" sentiment. If you watch the video below I have some die cutting tips as well as a great tip for easily lining these word dies up with the background AND how to do it without using glue!

After adhering my sentiment dies to my card with foam tape I adhered the whole front panel to a gray card face which was already attached to an A2 sized card base.

Here's that video I promised you. It shares how I made both my second and third cards today. It also has a great tip for perfect die cutting every time as well as a tip on how to easily align your word dies and to do it without glue!
If you're having trouble viewing this video click HERE.
Ok, that's all for me today you guys but before I go I've got tell you about a fantastic giveaway from Tonic Studios!
GIVEAWAY!!
Tonic Studios will be giving one lucky winner this Happy Hibiscus release AND a $50 gift card to spend at Tonic Studios ( £50 if you're in the UK!)! That is such a fantastic giveaway and someone is going to be so happy! To enter the giveaway you need to comment on every blog in this blog hop (the list of blog hoppers is down below). Get your comments in by 11:59 pm PST on November 25th, 2020. The winner will be announced on the Tonic Studios Instagram and Facebook accounts on November 27th, 2020 (so make sure you're following the Tonic Studios social media accounts). Good luck to you all!
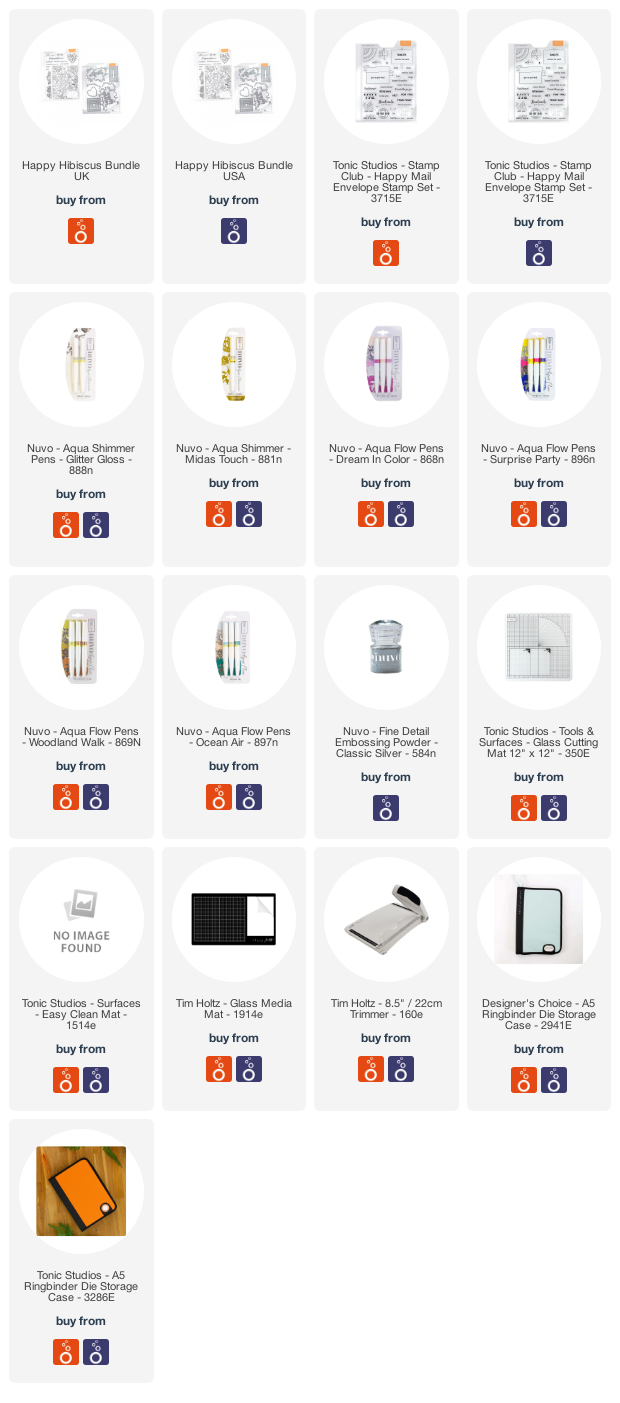
Ok, the blog hop list is below (or just head over to Seeka's blog right now). I've also linked most of the products that I've used today in case you'd like to check anything out.
Have an awesome day (or evening if you're on the other side of the Earth from me)! Bye for now.
Maria.
BLOG HOP LIST:
Maria Willis: You are here.
Seeka: Next.
PRODUCT SUPPLY LIST: