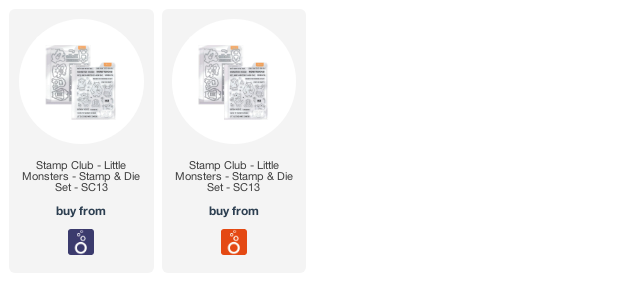
Hello everybody and welcome to this month's Tonic Studios Stamp Club Monsters release! Now this set is so fun and quirky and it has totally stolen my heart! It is available in limited quantities so if you love it, run to the store fast! You can shop at Tonic USA or Tonic UK.
This set has a bunch of fun little monsters and some fun little accessory stamps to go with them (think potion bottles, eye balls and birthday cakes)! The die set is also fantastic as it has not only coordinating dies but word dies, a stitched star background die and a great dotted coverplate as well! You can check it all out in my VIDEO HERE!
On my first card I colored in one of my favorite monsters (he's so happy with that huge smile) with copic markers. Then I cut him out with the coordinating die.
I ink blended the background panel using a stencil that I made by cutting the circle dot die plate two times, side by side. I gently inkblended soft primary colors through the stencil and I love how the background came out.
I combined a die cut "hi" with one of my favorite sentiments and popped all of my elements up using foam tape to finish off the card.
Now, I mentioned a made a video so before I get too far along here it is...
For my next card I used a monster that I've nicknamed "Grumpy." The poor little guy looks so bummed out that I just can't help but love him. I stamped him straight onto a white cardbase, added a flower to his hand, and colored him with my copic markers. I used a sharpie to add some grass so he had something to stand on.
I combined two of the sentiments on the front of my card.
And then I used an adhesive foam sheet to pop up the front of my card before adding a few sequins.
This next card is all about getting that party started! I stamped two little party monsters clinking their drink potions together on watercolor paper. I watercolored them using my Nuvo Aqua flow pens.
I heat embossed my sentiment in black. I also stamped the inside of the card with "We'll have a monster of a good time!"
The final step was using foam adhesive to pop the watercolored panel up onto a black background.
Now, if you're not one for coloring then this card is for you. I heat embossed my images in white on white cardstock. Then I used a blending brush to ink blend over them in pink, yellow and blue inks. I wanted there to be a little more contrast so I grabbed my copic markers and darkened up the background (behind the monsters only) a little bit to make the monsters look like they were in the foreground. I also used a black gel pen to add dots to their eyes.
For the next step, I used the stitched stars detail die to add some really cool detail and texture to my backgournd above the monsters. I also heat embossed my sentiments in black on white, cut out the sentiment strips and added them with foam tape.
I added some striped washi tape to the top of a white note card. Then, I added strips of black cardstock at the top and bottom of my monster panel and mounted it to the card base.
My final card is a slim-line card. I used the circle dot die from the bundle to create a white, holey background panel. I put that on top of a watercolored background from my stash.
I added the layered panels to my black, mini-slimline cardbase then set to work coloring and die cutting my monsters and the two-layer cake.
After heat embossing my sentiments I added them and the monsters to my card front using foam tape.
Ok you guys that is it for today! I absolutely love this Monsters release and I hope you will too! Before I go I want to show you what the full Monsters release looks like and of course we've got a blog hop and a giveaway too (scroll down for details).
Bye everybody and have and awesome day!
Maria
GIVEAWAY:
-One lucky winner will win a £50/$50 Giftcard to Tonic Studios and the Monsters bundle!
-To enter, comment on every blog in the hop by 11:59pm PST on September 29, 2021/ 7:59am GST on September 30, 2021
-Winner will be announced on October 1, 2021 on IG and FB so make sure you're following all of the Tonic Studios social media accounts!