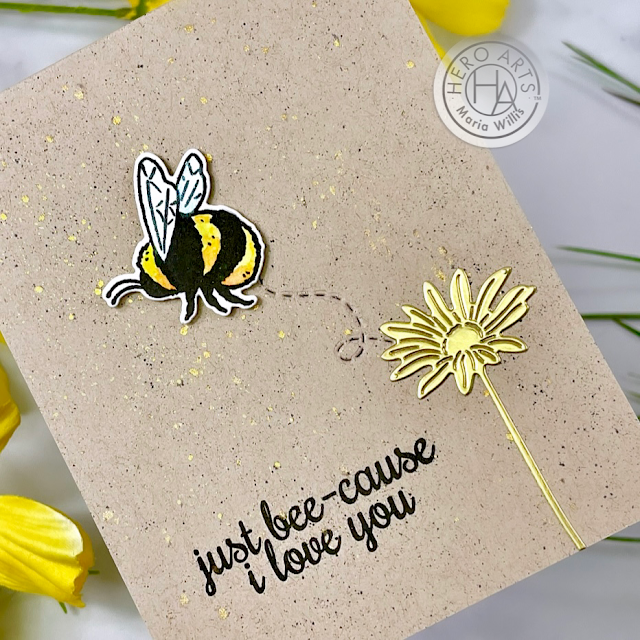
Hi everybody! The day so many of us have been waiting for is finally here! Today Hero Arts is releasing their new Spring Catalog and there is so much good stuff in it I cannot even tell you! You can click here to check out all of the new products if you're itching to see them right away. I've got five cards to share with you today so let's get to it!
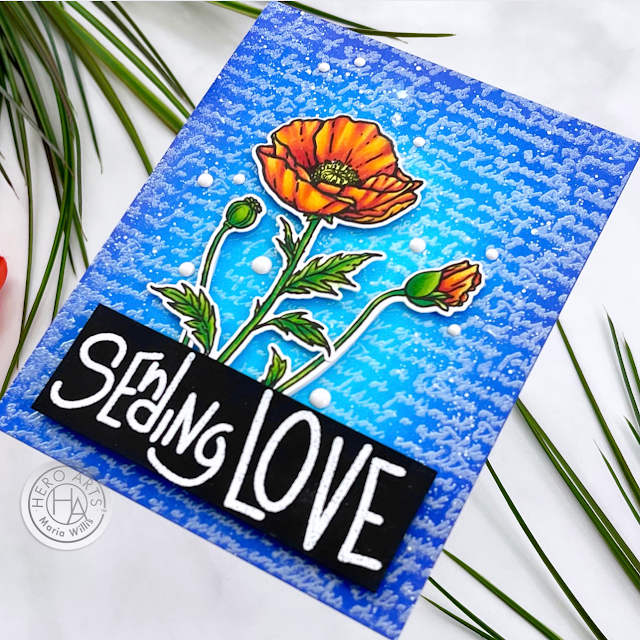
My first card features the new Hero Florals Poppy Combo. These poppies are so gorgeous and I love them even more because they are the state flower here in California. I colored my poppies with copic markers, die cut them and set them aside.
Next, I ink blended a background panel in Splash and Blue Hawaii reactive inks. Then I heat embossed my background using the
Script Bold Prints background stamp and White Sating Pearl Embossing Powder. I also splattered my background with white metallic ink. I heat embossed my sentiment from
Handwritten Messages in white detail embossing powder on black cardstock and cut it into a rectangle.
I arranged all of my pieces and adhered them to my background using foam adhesive. I used the sentiment piece to hide the bottoms of the flower stems. To finish the card off I used white enamel dots.
My next card features both the
Hoppy Day and
Lily Pond HeroScape stamp sets. The
Hoppy Day set is such fun and laid back set and it's also a lot of fun to color. The
Lily Pond HeroScape set is perfect for building gorgeous scenes and worked perfectly with these zen frogs. I started out by coloring the frogs and the lotus flowers with my copic markers. Then I glued them together to create this zen-yoga tower of frogs. I saved a few flowers for the bottom of the card.
I used the
Lily Pond HeroScape and reactive inks to ink up the background scene on the bottom of my card. Above that I ink-blended Splash and Thistle inks to create a soft background which I spritzed with shimmer spray. I also used the shimmer spray to cover my clouds which added a lovely, subtle sheen.
I used foam tape to add my background to a slim-line card base. Then I added my clouds, frogs, flowers and sentiment to my card to finish it off.
This card shares the
Butterfly Garden Background Cling. This stamp set is so gorgeous and if what you're looking for is stamp one image only and end up with hours of mindless, fantastic coloring... then this is the stamp for you! I stamped it in INTENS-ified black ink so that I could use a variety of coloring mediums without having to worry if my ink would smear.
I spent a long, happy time coloring this and it was such a great escape to focus in on all of the tiny details as I added layers of color. I watercolored, copic colored, pencil colored, sharpied and gel penned all over this card until I was happy with it.
I finished it off with the new
Big Hugs Stamp & Cut die. I cut it out of white cardstock three times, and, one more time out of sparkly white cardstock. I glued the layers together with the sparkly layer on top and then added it to my card. It was a great way to add a sentiment because after all the time I spent coloring I didn't want to cover up the background too much. Some sequins were the final touch for this card.
I used a new die for my next card. It's called the
Sun and Waves Window Fancy Die and I cut it out of black cardstock. I used glimmer metallic inks in gold, white, blue and purple to paint the sun and waves. I was really impressed with how bold and metallic these look on the black cardstock. I heat embossed my sentiment in white onto my black cardstock and put this piece aside.
I ink blended a background using reactive inks in Lemon Drop, Creamsicle and Fruit Punch. Then I stamped some birds and a palm tree and spritzed it with shimmer spray.

Finally, I added a strip of amethyst cardstock to the side of a white card base. I glued my inkblended background so that it would be visible through my die cut piece. Then, I added my black, die-cut pie card front to the card using foam tape for some extra dimension.
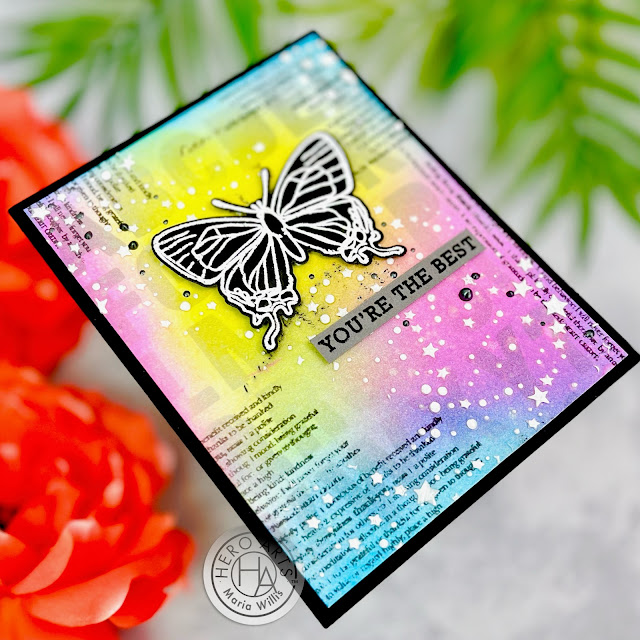
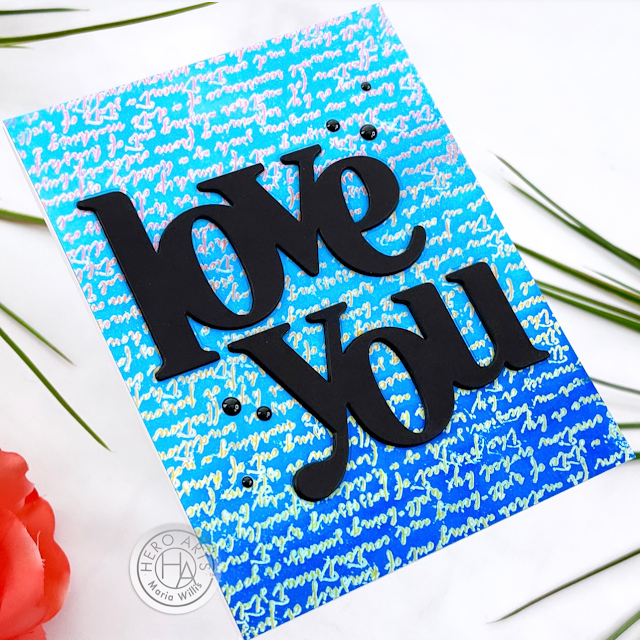
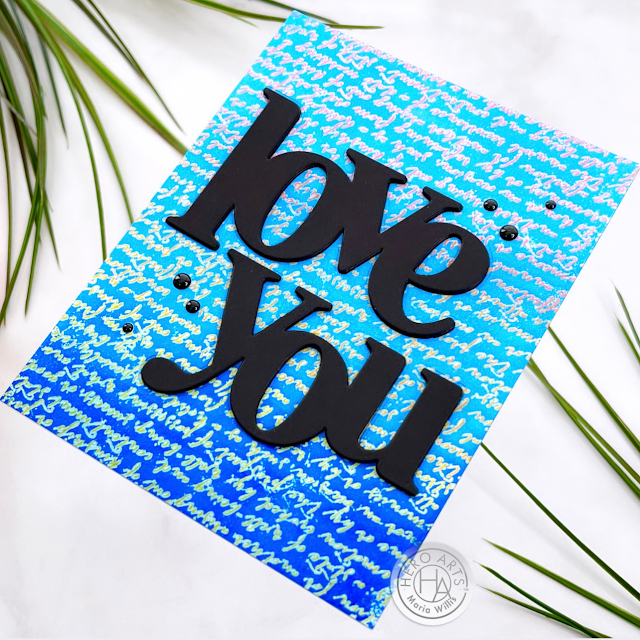
My last card for today shares a fun and colorful background with a bold die cut sentiment that pops right off of it. I started by stamping the
Script Bold Prints stamp onto my background using Taffy, Creamsicle and Lemon Drop inks. After I was happy with the amount of color I had layed down I stamped again with VersaMark ink and heat embossed the background in clear embosssing powder. This sealed the ink in and allowed the color to show through.
Next, I ink blended the background in Splash and Blue Hawaii inks. I went right over the top of the my heat embossed background which resisted the ink. I added this panel to an A2 sized card base.
To finish my card off I added the
Love You Stamp & Cut XL to the front of my card. It was cut three times and glued together to add dimension to my card. I polished the whole thing off with some black enamel dots and called it a day!
Thank you guys so much for stopping by today! This catalog is so amazing and you can see even more of the new product if you continue on with our blog hop. You can either head right over to
Mindy's blog or check out the full list of bloggers below. Remember to enter the giveaway for your chance to win! I've also got links below if you'd like to check out any of the products that I've used today.
Have an amazing day!
Maria
GIVEAWAY:
Comment on the hop by Wednesday, February 24th at 11:59pm pst for a chance to win one of three $50 gift certificates to the Hero Arts store. The more blogs you leave comments on, the more chances to win!
BLOG HOP LIST:
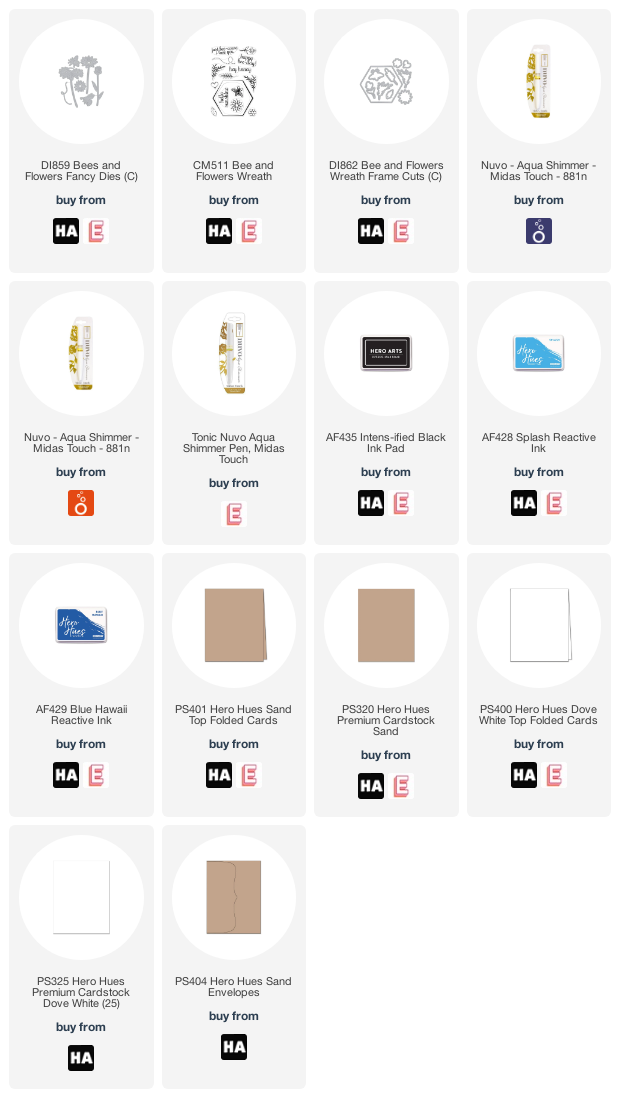
PRODUCT SUPPLY LIST:


