Hi everybody! I'm so glad to have you here because today I am sharing a light-up card! I used to dread making interactive cards because they can be so fiddly... but, never fear! Pearblossom Press is here to make light-up cards easy for us. I used one set of the Pear Blossom Press EZ-lights to make this card. Each set has a small battery, three small lights on wires, and, a button to turn the lights on.
Looking at this card you wouldn't immediately know that it's a light up a card. I think that's part of the magic because it's such a great surprise to press that button at the bottom and see the card light up. I started out by ink blending my background using Hero Arts reactive inks in Splash, Blue Hawaii, Grape Slush, Green Apple and Blue Raspberry. I splattered the grass with black ink and the sky with both white iridescent shimmer spray and silver metallic ink. Finally I heat embossed the stars and constellations from the Lucky Star stamp set onto the background using White Detail Embossing Powder.
Now that my background is ready I can start prepping it to add my
EZ-Lights. I selected three places to position my lights and used my craft pick to poke holes through my cardstock. I placed two holes in stars and another in the middle of the night sky.
Next, I placed clear enamel dots over each of the holes. This will hide the light bulbs, prevent them from poking through the front of the card and softly diffuse the light.
I turned my card face over so that I could attach the
EZ-light unit. The first thing I like to do is to insert the battery into the unit. Then I press the purple button to make sure my lights all light up. If they don't you may need to flip your battery over. The light bulbs are located at the ends of the wires. I carefully placed them on the holes that I punched through my cardstock and taped them into place. Next, I decided where to position the battery/button unit and adhered that with some double sided tape.
HOT TIP: position it so that you can remove your battery from the side of your card. That way you can remove the battery and preserve it until you give the card away. Next, I gently coiled the excess wiring and taped it to my cardstock so that it was secure.
The
EZ-lights aren't very big but they are thicker than one layer of foam tape. So, I added a double layer of foam tape making sure I avoided my lights and the wire connections. Here's what that looked like...
When I flipped my card around the lights were totally hidden and this is what it looked like...
When I pressed the button my card lit up and looked so cool. I took this picture on a sunny day so you can't tell how bright these lights really are but they are bright!
I used copic markers to color this sweet image of star-gazing kids. I cut them out with the
coordinating dies and added them to my card using foam tape for a little extra dimension.
I hand-wrote "push" in the bottom, left corner where I positioned the button so that the recipient would know where to push to activate the lights. If you have a stamp set that has "press," or, "push" it would be really great to use that with these light-up style cards.
Ok, that's it for today! I hope you'll check out these
EZ-lights from
Pearblossom Press for yourself as they are so easy to use and can really take your cards to the next level!
Have a great weekend everybody!
Maria
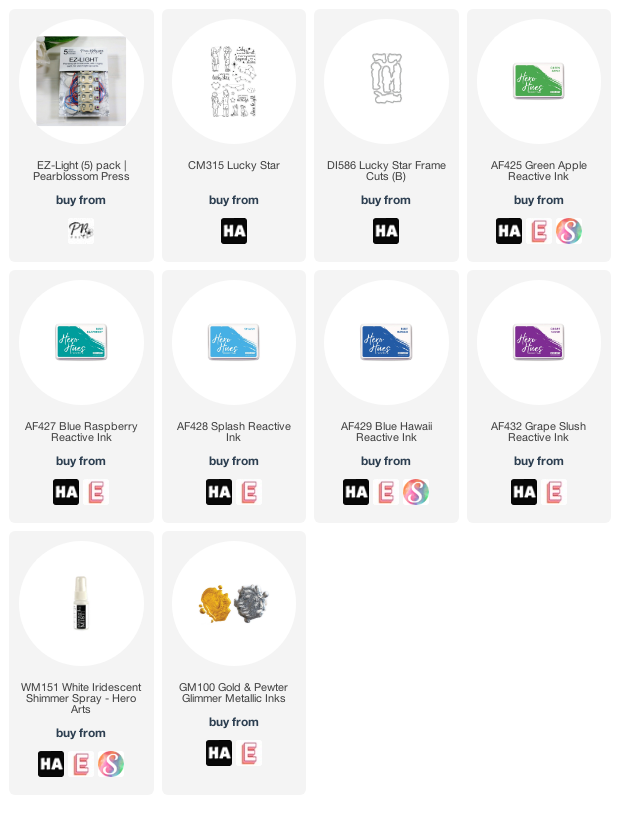
PRODUCT SUPPLY LIST:


What a beautiful card Maria! ❤️❤️❤️
ReplyDeleteSuch a clever card, Maria! I love that you covered up the light holes! And I love the coloring and the feeling that the card evokes!
ReplyDelete