Hey everybody and welcome to the release of Tonic Studios newest Stamp Club release! This month's release is called Compassion and Poppies and it is a beauty! The stamps are packed with gorgeous florals and heartfelt sentiments and the dies add a ton of extra versatility to the bundle! If you like what you see you'll want to head to the shop (Tonic Studios USA or Tonic Studios UK) now and pick up a bundle because once they are sold out they are gone for good.
I've got ten different cards and a video to share with you today so let's get to it! For my first card I stamped the largest floral image in Black Shadow ink and watercolored it.
I used the rectangular frames from the coordinating dies to cut my panel. Then I used the larger rectangle to cut a black mat to easily frame out my image piece.
I added this to a lightly watercolored card front and finished it off with a heat embossed sentiment.
If you'd like to take a closer look at how I put my cards together here's a video to show you in more detail...
If you are having trouble viewing this video please CLICK HERE to watch it now.
For my next card I used alcohol markers to color three of the poppies from the main image. One of the cool things about the dies in this set is that they cut the large poppy stamp into two flower groupings. I used this group of three as a focal point for this card.
To finish my card off I stamped a sentiment in blue and put everything together using foam adhesive.
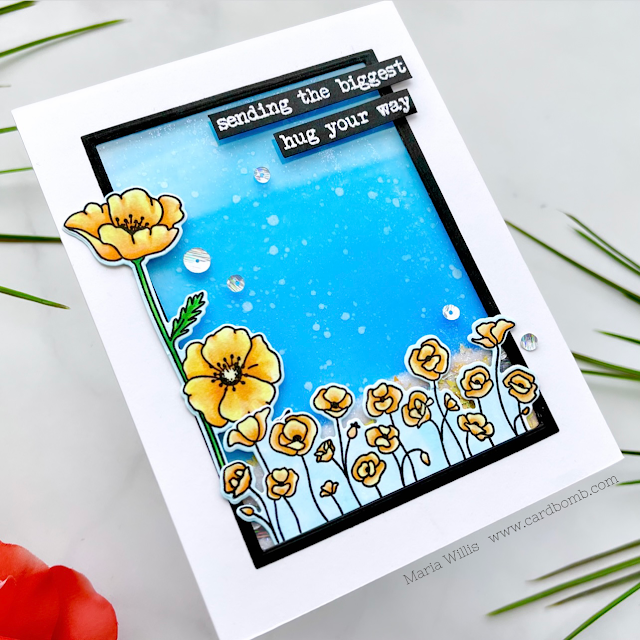
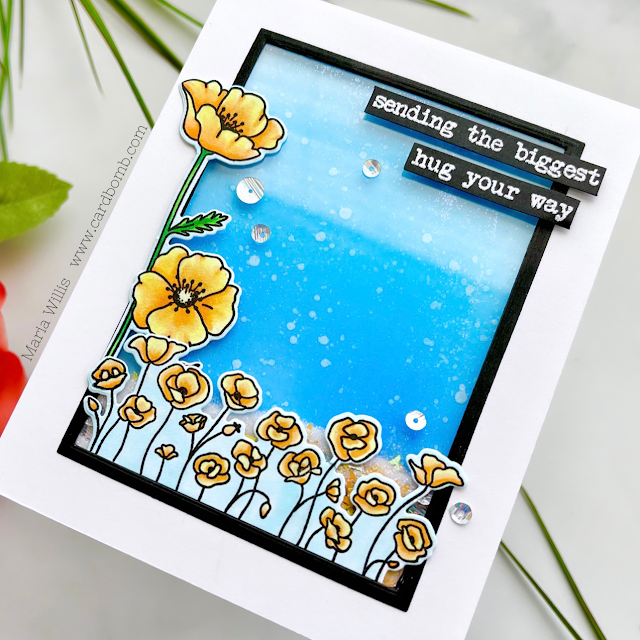
I used the second flower grouping from the main stamp along with another poppy strip to create my next card which happens to be a shaker card.
I used the medium rectangle to cut the center out of some white cardstock. Then, I used the medium and large rectangles to create a black frame and glued that on. I added acetate to the back of the panel and then glued my flowers to the front.
Next, I added sequins and glitter on top of my background and then I adhered the front panel on top using foam tape. If you do this make sure that you completely seal all of the gaps so that none of the shaker guts fall out. Here's a picture to show you what the card looks like when you can see the guts through the acetate window.
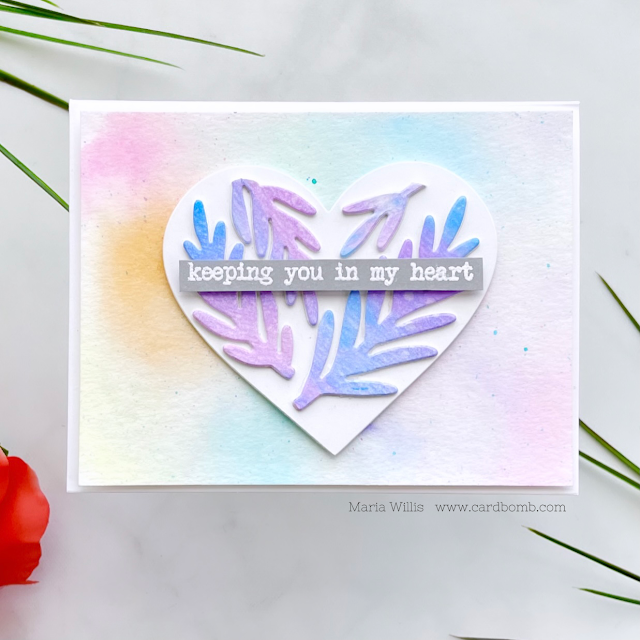
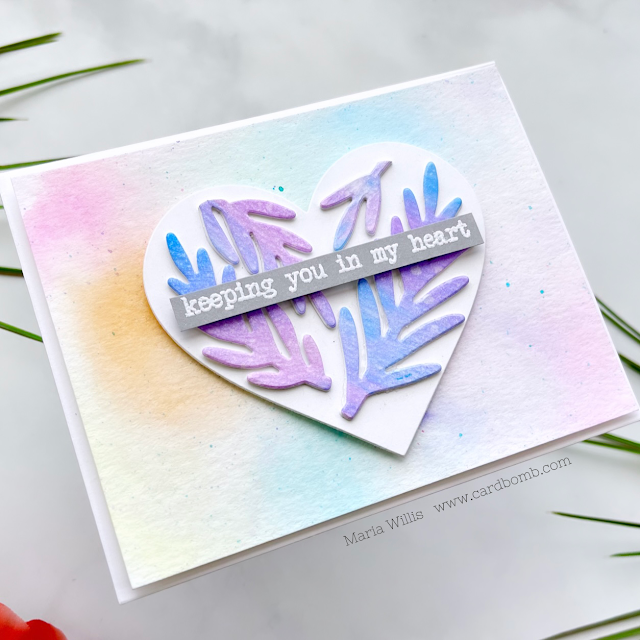
For my next two cards I did the same technique for each but used different background colors for totally different looks. I used the two leaf frond dies to cut out a bunch of die cuts from some ink-blended paper. I also cut out a bunch of die cuts in white. I glue two white ones underneath each colored die cut to create thick pieces.
I added a sentiment and glued my heart to a watercolored background piece.
This next card was created exactly the same way. This time I used a square layout and a darker color scheme.
I used the same sentiment because I thought it was perfect for the heart shape.
I added sparkle to the die cuts and flecks of black to the background for some added detail.
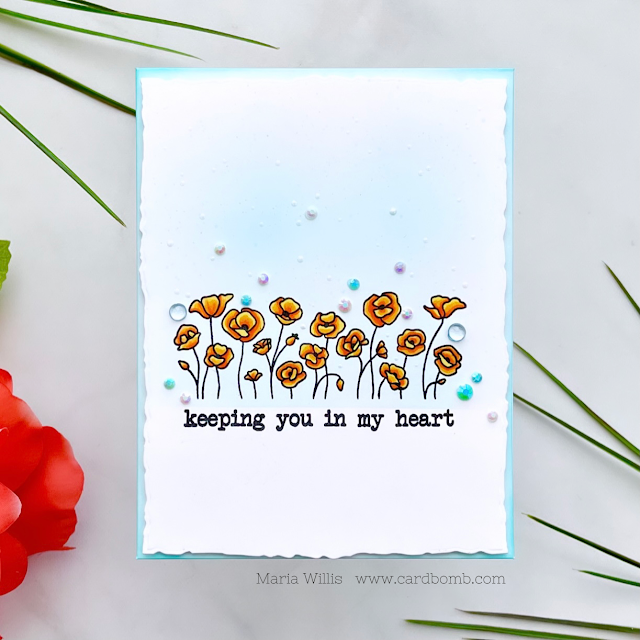
This next card uses another of the stamp images to create a focal point. I stamped the image in black and colored it using alcohol markers.
I placed a piece of low-tack tape below the image and used a blending brush to gently ink blend some blue onto my cardstock. I added a very light layer of ink so that it didn't affect my colored flowers.
This nest card uses a bunch of the twig looking dies cut out in both white and silver.
I arranged them over a gray background that was splattered with glitter gloss and added some of the smallest flowers from the stamp set.
I added a sentiment and put the whole thing on lighter gray cardstock to finish it off.
This card is a really simple one but sometimes that's just what you need when you have to send a sympathy card. I started out by masking a circle off on my card panel.
Finally, I colored in my flowers with gray markers and added a sentiment.
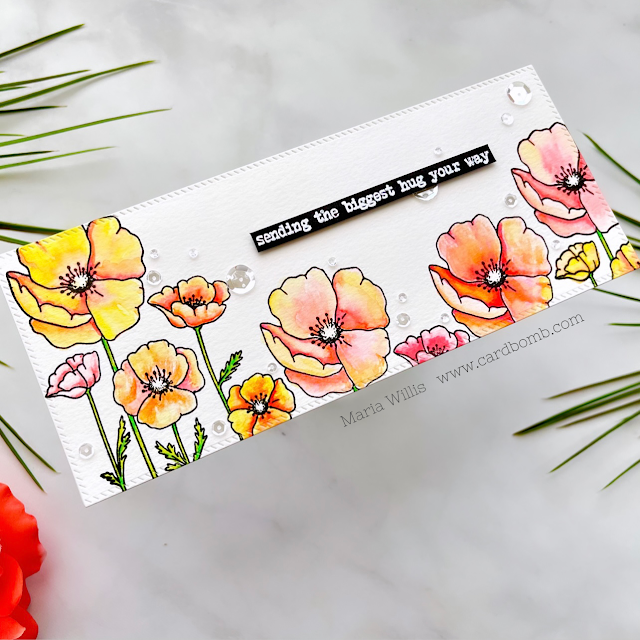
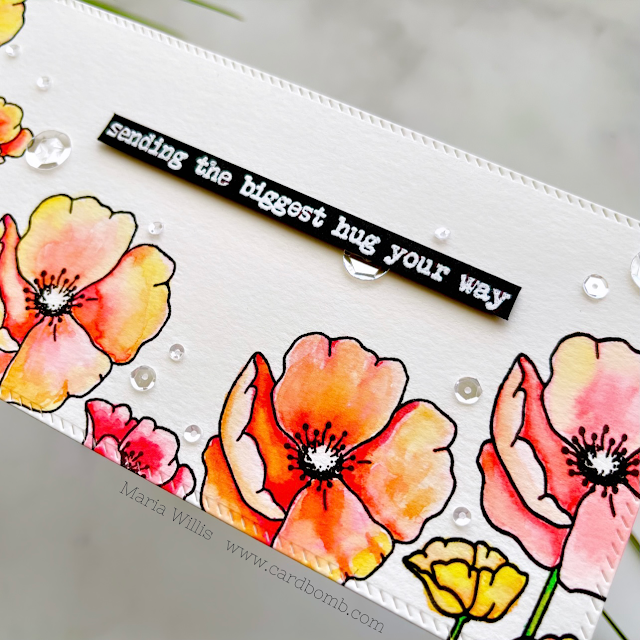
The large poppy stamp can very easily be used to create a slim-line card. All you need to do is to stamp it repeatedly from one side of the cardstock to the other. I show how to do this in my video above.
I stamped my poppies repeatedly onto watercolor paper using black shadow ink.
Then, I watercolored using Karin markers and a paint brush.
My last card is probably the easiest one of the bunch. Like I said before, sometimes you just need an easy (but pretty) card when someone's heart is hurting.
I heat embossed the poppies in white onto some textured, gray cardstock. The image is so pretty that it didn't need coloring for this type of card but I did add some dream drops to the centers of the flowers.
Now that you've had a look at all of the cards I made, here's a look at both the stamp and die sets that are included in this bundle. It's an incredible value for $34.99!
Ok, you guys, that is it for today. I hope you enjoyed my cards and will love playing with this bundle as much as I have. Check out the giveaway below and keep on hopping along with us for more amazing inspiration using this bundle!
Have an awesome day!
Maria
GIVEAWAY:
-One lucky winner will win a £50/$50 Giftcard to Tonic Studios and the Compassion & Poppies Bundle!
-To enter comment on every blog in the hop by 11:59pm PST on March 3, 2021/ 7:59am GST on Feb. 4, 2021
-Winner will be announced on March 5th, 2021 on IG and FB so make sure you're following all Tonic accounts!
BLOG HOP LIST:
PRODUCT SUPPLY LIST:











Love your video and all the amazing cards you have created 😍😍
ReplyDeleteLove the simple yet beautiful cards you created. So pretty.
ReplyDeleteSo many different ideas to create with this stamp and die set! I like that these Stamp club selections are so versatile.
ReplyDeleteStunning and beautiful cards as always, I just purchased my kit😊😊😊
ReplyDeleteThank you for the fabulous video! I have so many ideas in my head now, you rock!
ReplyDeleteI love your video and all the cards you made. You showed so many ways to used this set. I'm smitten.
ReplyDeletelove the different ways you have used these products - very inspiring
ReplyDeleteYour cards are awesome and such a nice selection. My favorites are the last card and the one with the white and silver twigs. Beautiful
ReplyDeleteBeautiful cards with this Stamp Club kit! I especially love the slimline card you created with all the gorgeous poppies!
ReplyDeleteMaria, I love your video and the cards you created. You gave so many ideas to make beautiful and a great variety of cards. Thank you for the inspiration!
ReplyDeleteLove the iridescent flowers on
ReplyDeletethe first card. The third
card looks like the flowers
are in front of water.
Wonderful collection of cards.
thanks for sharing
txmlhl(at)yahoo(dot)com
WOW! Such a variety of amazing cards! I LOVE the first one with the rainbow colored poppies!
ReplyDeleteMarisela Delgado said: Such beautiful cards! So lovely. mariandmonsterd@yahoo.com
ReplyDeleteSO many pretty cards with the new poppies release by Tonic Studios!!!! I especially love your "thinking of you" card with its unique rainbow colored poppies! Clever execution! :)
ReplyDeleteWow!!!!!! These are all STUNNING!!!!!!!! I love each one! Congratulations
ReplyDeleteWow Maria, each of your cards are simply stunning. I especially love the ‘keeping you in my heart’ card design!
ReplyDeleteHi Maria, all are beautiful, I must be in a rainbow mood as I just love the rainbow flowers. Thanks for sharing, neat as usual.
ReplyDeleteWow, the grey card with the twigs die is so elegant, I would of never thought of making this card, but I love it! Also I really like the rainbow watercolor card. All just gorgeous!
ReplyDeleteI love the versatility of this set! Thank you for all the beautiful ideas! Your cards are gorgeous!
ReplyDeleteWow, Maria! Each of your cards is gorgeous and so very different! As I scrolled through, I fell in love with each one. I think my favourite is your second slimline poppy card! Such pretty colours!! Thanks so much for the helpful video! Stay safe! :)
ReplyDeleteWow, so many amazing cards! Wonderfully creative and beautiful designs. Love the rainbow card - well, love them all!
ReplyDeleteOh my gosh, these are all just amazing. I love every single one, for different reasons. You are so talented, and have such different ideas, I am always amazed.
ReplyDeleteAbsolutely stunning thanks for the inspiration trying to look at different designs and techniques thanks again
ReplyDeleteThanks beautiful
ReplyDeleteSophia L Perry
ReplyDeleteBeautiful inspiration
Beautiful variety!
ReplyDeleteWow! Love how you’ve shown the versatility of this set!
ReplyDelete