Hello everyone! I'm so happy you're here because it is release week for Tonic Studios Stamp Club and this month's set is one of my absolute favorites! This month's bundle is called Patterns & Prints and it is an amazing bundle for adding all kinds of visual texture and bold sentiments to your projects. Guess what?! I have more good news! Backgrounds & Borders (sold out in less than 24 hours) is back for a second round and it coordinates so well with the new Patterns & Prints set. So, two awesome bundles that work well together-it doesn't get much better than that!
Today's post is part of a blog hop with tons of inspiration so make sure to click to the next blogger when you hit the bottom of my post. We've also got two great giveaways for you today! First, we are giving away this Patterns & Prints bundle and a $50 gift card to Tonic so make sure to enter below. Second, everyone who orders the Patterns & Prints bundle will receive a FREE stamp in their order (check out the free stamp at the bottom of my post). On top of all that I also have a VIDEO for you today so make sure to check that out too (below).
Now, I just couldn't put this bundle down so I ended up making nine cards to share with you today. You can see all of them in the video or cruise through this blog post for more details.

Before I get to my first card here is that video I promised you!
If you are having trouble watching this video please click here to view it on YouTube.
For my first card I started out with a background that I had made using Dina Wakley Gloss Sprays. Then I used three of the stamps from the Patterns & Prints set to stamp the background. I used a combination of gray ink, blue pigment ink and white puff embossing powder.

Then, I layered my word dies on top of the crosshatch die so that my sentiment was anchored in as a focal point.

For my next card I started out with a watercolored background and then I used multiple stamps to stamp on top of that adding a lot of texture.

I heat embossed almost every layer of this card in clear embossing powder and the texture when you run your fingers over the background is amazing! The magic maker for this background is Sand embossing powder from Hero Arts.

I finished this card off by adding a custom sentiment that I created from the dies.

This next card was so easy to make but it sure is eye candy!

I started out by using my Nuvo Shimmer Powders in Blue Blitz and Storm Cloud. I sprinkled them lightly onto water color paper and then spritzed with water. The pigment exploded into this gorgeous mess of color and I let it air dry.

Once it air dried added my sentiments in black and white to keep with a fairly monochromatic look.

This next card began with a purple and pink watercolored background.

Then I added a lot of stamping in different colors and different heat embossed finishes. I stamped the circles in gray and then heat embossed in clear. When I heat embossed the little scratches in bronze some of that embossing powder stuck to the clear EP and melted into it creating a swirly gold mess. I love when unplanned things like this happen!


Then I cut the hexagon die multiple time out of gold foil (leaving it attached between cuts) and added that to my background.

To finish my card off I added sunflowers and a sentiment from the Sunshine & Sunflowers bundle.

This is the card that I made in my video...

I love how easy it is to create easy and colorful cards with this Patterns & Prints bundle.

I added a gold glitter sentiment with foam tape to easily finish off this card.

The hexagon pieces that come out of the honeycomb die cut are so fun and are perfect to use in your shaker cards. So I stamped the background of this card and used a little bit of gold nuvo mousse on some of the edges.

Next, I used an A2 sized shaker pocket to create a shaker card. The guts were a combination of the hexagon die cuts from the honey comb die (leftover from the sunflower card), some champagne sequins and some gold chunky glitter.

I glued my sentiment right on top of the shaker pouch with my Nuvo Deluxe adhesive.

This card is so simple but so eye catching. The dies from this bundle make it so easy to make a card from those beautiful backgrounds you have lying around but haven't yet figured out what to do with. For this card I used an alcohol ink background that's full of gorgeous purples, blues and gold.


I also love pretty and delicate these script word dies are when used without the shadow background.

My last card is another simple one but it's an eye catching one too. I started out with a watercolored background piece. Then I used the "Hello" die cut three times on a piece of white cardstock.

It was easy to line the die up since it is shaped in a rectangle.


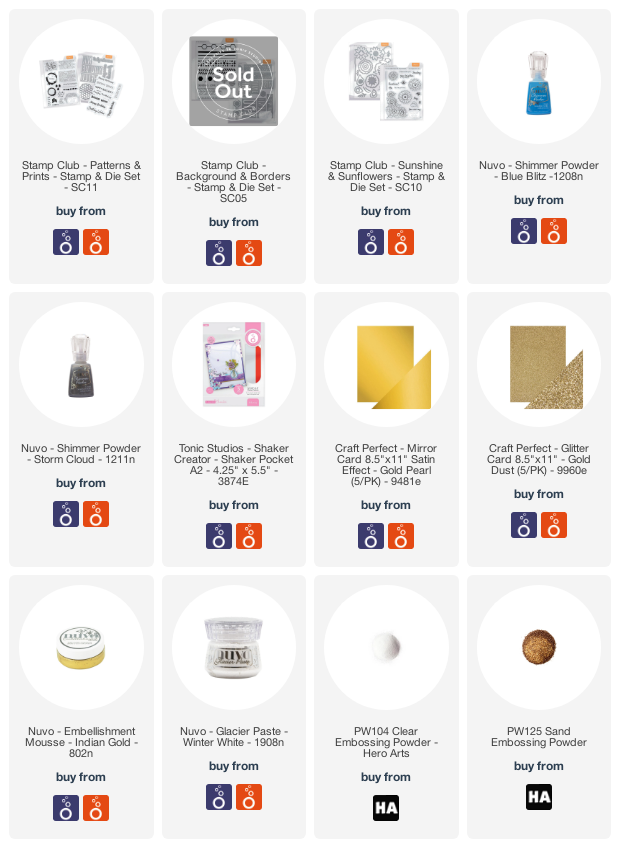
Now here's a look at the whole Patterns & Prints bundle...

And, here is a look at the Happy Birthday stamp that you will receive with your purchase of the Patterns & Prints bundle.

Ok you guys that is all for today! But before I go please remember to enter the giveaway below and join us for this awesome blog hop!
Have an awesome day!
Maria
GIVEAWAY:
-One lucky winner will win a £50/$50 Giftcard to Tonic Studios and the Patterns & Prints bundle!
-To enter comment on every blog in the hop by 11:59pm PST on August 4, 2021/ 7:59am GST on August 5, 2021
-Winner will be announced on August 6th, 2021 on IG and FB so make sure you're following all of the Tonic Studios social media accounts!
BLOG HOP LIST:
Maria Willis: You are Here.
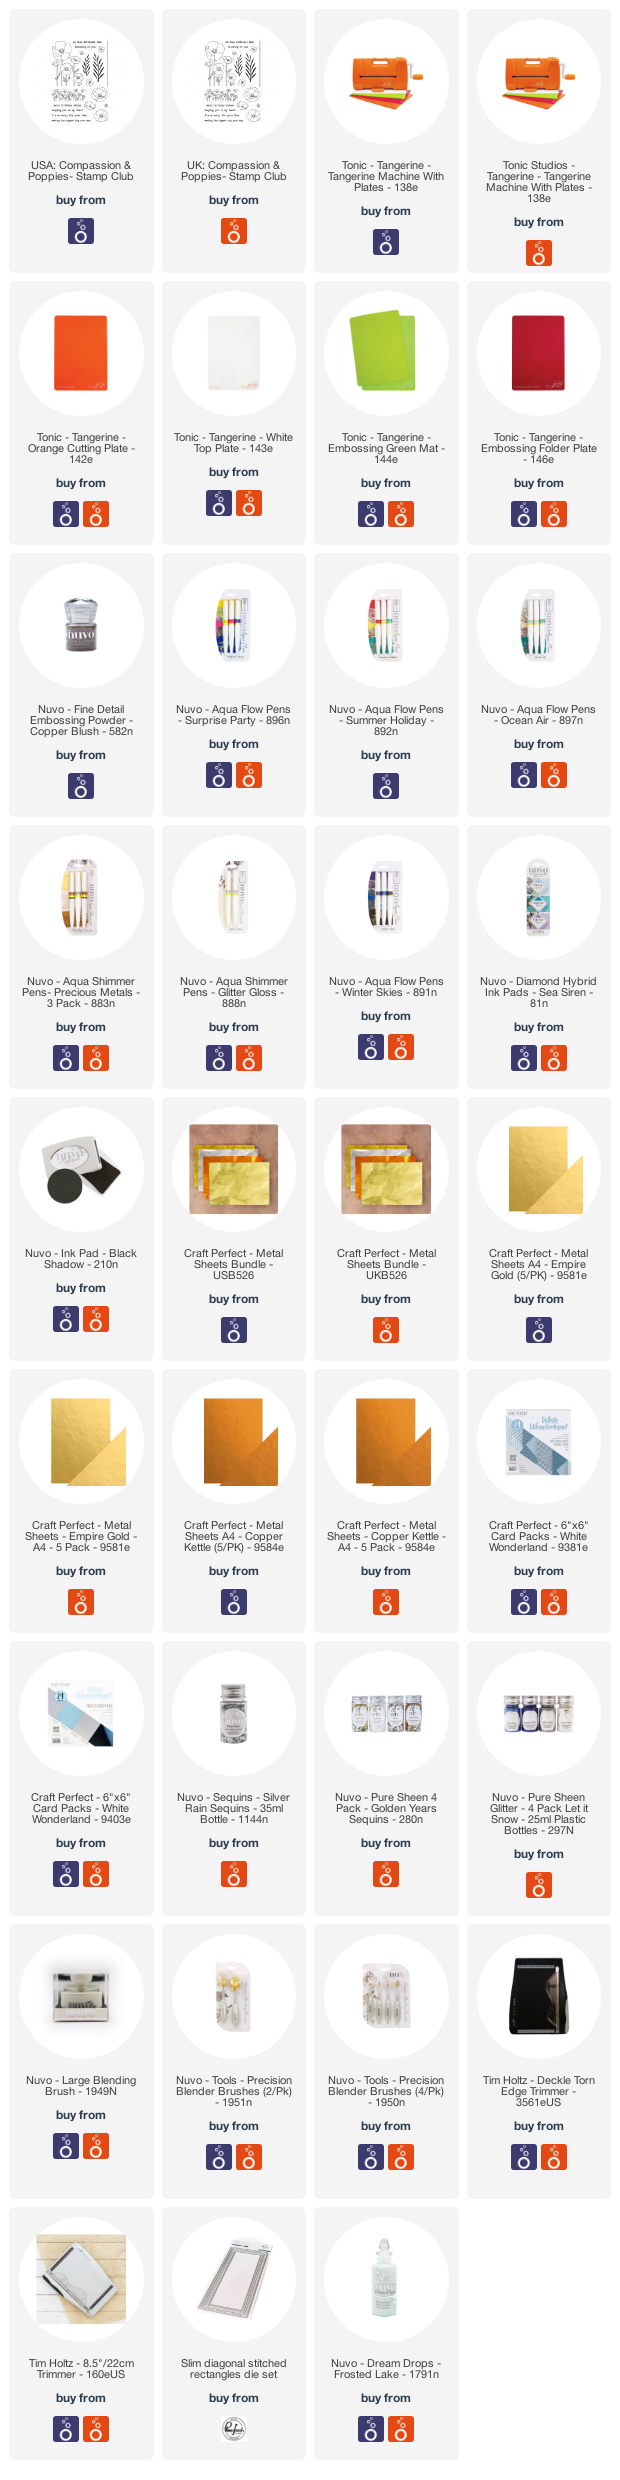
PRODUCT SUPPLY LIST (Affiliate links may be used at no extra cost to you):