Hey everybody! The wait is over! It's time for theHero ArtsNovember My Monthly Hero release and this month's kit is a fun holiday tag building kit with many fun characters (affiliate links may be used at no extra cost to you)!
Before I get to my cards, if you aren't familiar with the My Monthly Hero kit, it's a kit that is released by Hero Arts on the first Monday of every month. It always has a fun, themed, collection of stamps, dies and other goodies. The cost is just $34.99/month and the value is always much greater! This month's kit is valued at $70!
You have the option to subscribe (subscribing now means your first kit will be the November release), or, to buy your favorite kits as one-off purchases. Be aware that once these kits sell out they are gone for good. If you see a kit you like make sure to snatch it up quickly! There are also a ton of amazing add-on products! You can buy the add-ons as a bundle at a discounted rate or just pick up your favorite products.
Now, this kit comes with some really fun tag building elements that allow you to custom build reindeer, elves, Santa and snowmen. You can make them tags or cut the circular "hook" off the top of the die cuts to create dies that can easily be used on cards. The kit also comes with two patterned stamps (dots and stripes), some sentiments and twine.
For my first card I got inspired by the "no peeking" sentiment. I decided to make presents using the patterned stamps and I used the twine to tie bows around them. For one present I used the the dot stamp, White Puff embossing powder and Paradise cardstock. For the second present I used the striped stamp, silver embossing powder and Lapis cardstock. I tied them up with the twine from the kit and the red added a nice little pop of color.
Then I built an elf and tucked him behind the gifts to make it look like he is indeed peeking- what a naughty guy! For my naughty elf I used paper from the Colors of Earth cardstock pack for his face and ears/hair. I colored his nose and hair with brown copic markers. I cut the eyes out of white cardstock, placed them in the eyeholes and held them in place with a piece of tape stuck to the back. I used a black gel pen to color the eyes then added highlights with a white gel pen. I cut the hat twice, once from red foil and again from white glitter cardstock. I cut the "crown" out from the white glitter and glued it to the red foil hat. This gave me dimension and sparkle. To embellish the pompom on the hat I used the lacquer pen and white puff embossing powder that come in the kit. When I heat set these two products they expanded and puffed to give me a really fun 3D effect on the pompom.
To finish my card off I used the new Candy Canes Bold Prints background stamp, versamark ink and Kiwi cardstock. Then I inkblended around the edges using Blue Raspberry Reactive ink which made the center of the card glow. I adhered the sentiment, gifts and elf using foam adhesive and that was that!
My next project was super fun to make and I could see myself making a bunch of these to handout as fun little treats! This is actually a box and I've put a packet of apple cider inside but it would be great with hot chocolate or fancy coffee packs too. I used mist cardstock to create my box which I custom sized to my apple cider packet. I used the Knitting Pattern Bold Prints stamp and versamark ink to stamp a subtle pattern onto my box (I did mask it off so that I only stamped the front of the box). I heat embossed my sentiment in Onyx ink and clear embossing powder. Then I glued my box together and wrapped it with a 1.5" strip of Woodgrain Vellum. I attached the vellum band to itself in the back so that I could slide it on and off of the box if I wanted to.
Next, I cut the mug from Kiwi cardstock and inkblended the edges with Blue Raspberry Reactive ink. I heat embossed a snowflake using White Puff embbossing powder. then I cut the top of the mug die again in Sand cardstock. I did this because the liquid part of the mug is not attached to the mug which made it really easy for me to make hot chocolate with Sand cardstock and some brown markers. I also die cut the whipped cream and the candy from white cardstock. I added color to the candy cane with red markers. Then, I added 3D foam to the whipped cream using the lacquer pen and White Puff embossing powder. I glued all of these pieces together and stuck them to my box using foam adhesive.
The last step was to create a topper for my apple cider packet. I did this by folding a strip of Cherry cardstock in half and glueing it to the top of the apple cider packet. I used the Tag Infinity dies to create a gold glitter circle thing for my topper and then I added some twine to finish it off.
The apple cider pouch fits perfectly inside the gift box. This could also be a really fun way to give some one a gift card to their favorite coffee shop or hot chocolate bar. I love having fun ways to give smaller gifts at the holidays because it's such an easy way to make people feel cared for and thought about.
Now, here's a look at another card that I made using the November MMH kit. This is the card that I shared during the countdown but I wanted to share it again today for anyone who missed my last post.
If you wnat to check out the details on how I made this please head to the original blog post by CLICKING HERE.
This reindeer really is so cute! I turned this tag into a card but it would be really fun to use this as a tag on a gift as well.
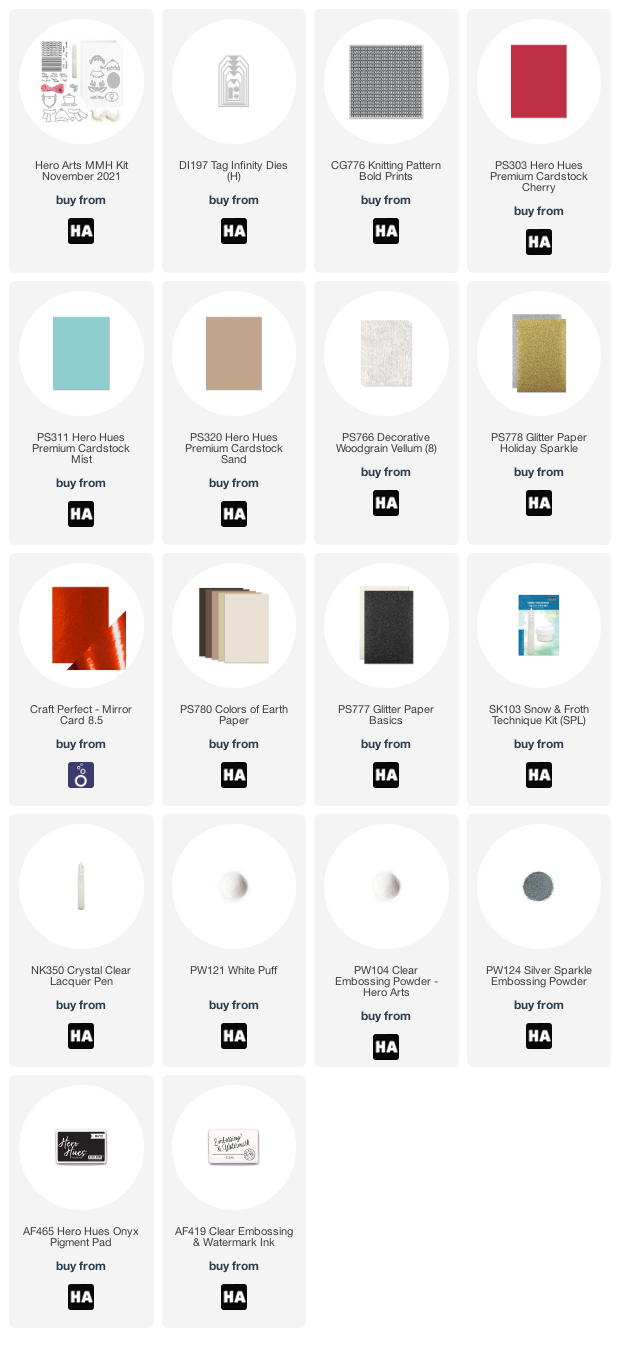
Now before I go I want to show you a look at the full kit... it's got so much great stuff in it!
Ok, that's all for today you guys! Make sure you check out the info below so that you can join our giveaway and keep on hopping along with us for more MMH kit inspiration!
Bye for now and have an awesome day!
Maria
GIVEWAY:
Hero Arts will give away ALL OF THE NOVEMBER ADD-ON PRODUCTS, drawn from the comments left across the hop. Enter by Sunday, November 7th at 11:59pm Pacific, and the winner will be announced on the Hero Arts blog the following week.
Hey everybody and welcome to today's launch of Snowmies from Tonic Studios! I've got a ton of cards and a VIDEO for you today so I am going to just dive right in! Oh! Also there are cards and envelopes in the video that are not on my blog today so make sure you head over there to see everything I've got to share today!
If you'd like to head straight to the shop here are my affiliate links:
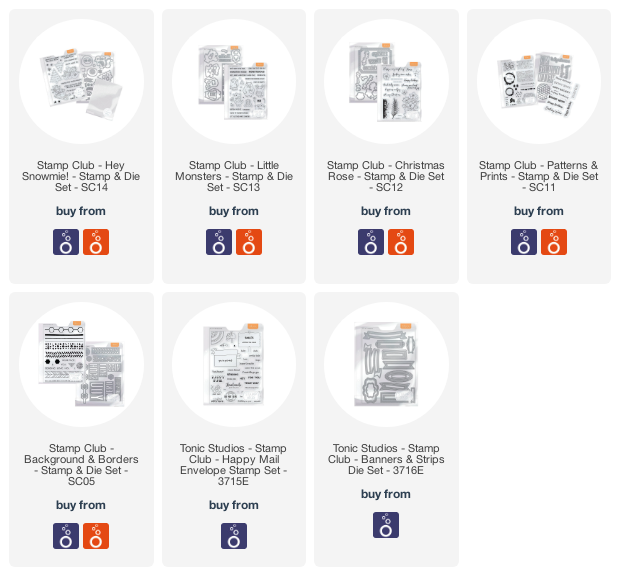
-Snowmies bundle USA: https://shrsl.com/387hg
-Snowmies bundle UK: https://shrsl.com/387hk
-Mini Slimline Envelope Dies USA: https://shrsl.com/387hl
-Mini Slimline Envelope Dies UK: https://shrsl.com/387ho
For my first card I made a slim-line card with trees and snowmies from this month's Snowmies release. I created a custom sentiment using the large die cut letters from both Patterns & Prints and Backgrounds & Borders.
To create the background I did an easy watercolor wash using Distress Oxide inks. Then I sprayed the background with White Iridescent Shimmer Spray from Hero Arts which gave it a sparkly, snowy finish. I added snowflakes that I die-cut from holowaves cardstock to the background.
To finish my card off I added the trees and snowmies with foam adhesive and the letters with liquid glue. Some Nuvo Dream Drops in Indigo Eclipse.
Now, I promised you a VIDEO and you can check that out HERE (affialiate links may be used at no extra cost to you)...
For my next card I made another slimline card. I inkblended the background in bold blues and then I used the stencil that comes in the Snowmies bundle to stencil snowflakes onto the background using glacier paste. It came out super sparkly and gorgeous! at the bottom of the card I sprayed the background with White Iridescent Shimmer Spray to make it look like snow.
I watercolored the sledding snowmies and die cut them out. I placed them in the center of the card using foam tape.
Then I added my sentiments at the top and bottom of the card to finish it off.
For this next card I built two snowmies using the snowman builder dies. I built them in different sizes and gave them each a mug of something warm and delicious to drink.
I used white glitter paper to create some snow drifts and I heat embossed my sentiments in white on black.
I inkblended my background and then I used the falling snow side of the stencil to add snow using my Moonstone Glimmer paste. After that all I had to do was glue it all together and add it to a black cardbase.
My next card was really easy to put together. I used patterned paper on the card base then covered that with a panel that I textured using the texture plates from the new mini slimline envelope builder die set. I added white, glitter snowflakes on top of the white panel.
I built myself an easy snowman using the snowman builder dies. I added him to the card along with some snow drifts.
The last step was to add a sentiment: Sending warm holiday hugs! I love that sentiment!
You can use this set to make some really beautiful and easy to reproduce cards too. For this next card I sprayed some white cardstock with my Dina Wakley acrylic gloss sprays in shade of green. Then I cut some trees out using the dies from the Snowmies bundle.
I covered the cardbase in red, striped patterned paper and splattered it with Midas Touch. Then I added a strip of vellum and adhered the trees on top using foam tape.
I added a beautiful sentiment from the Christmas Rose stamp set and then some gold sequins to finish it off.
Ok, that's it for today! Thanks so much for joining us today's fun release. We have a great giveaway and a blog hop to share with you today so please scroll down for all of that info!
Have an amazing day!
Maria
GIVEAWAY:
-One lucky winner will win a £50/$50 Giftcard to Tonic Studios and the Snowmies bundle!
-To enter, comment on every blog in the hop by 11:59pm PST on November 3, 2021/ 7:59am GST on November 4, 2021
-Winner will be announced on November 5, 2021 on IG and FB so make sure you're following all of the Tonic Studios social media accounts!
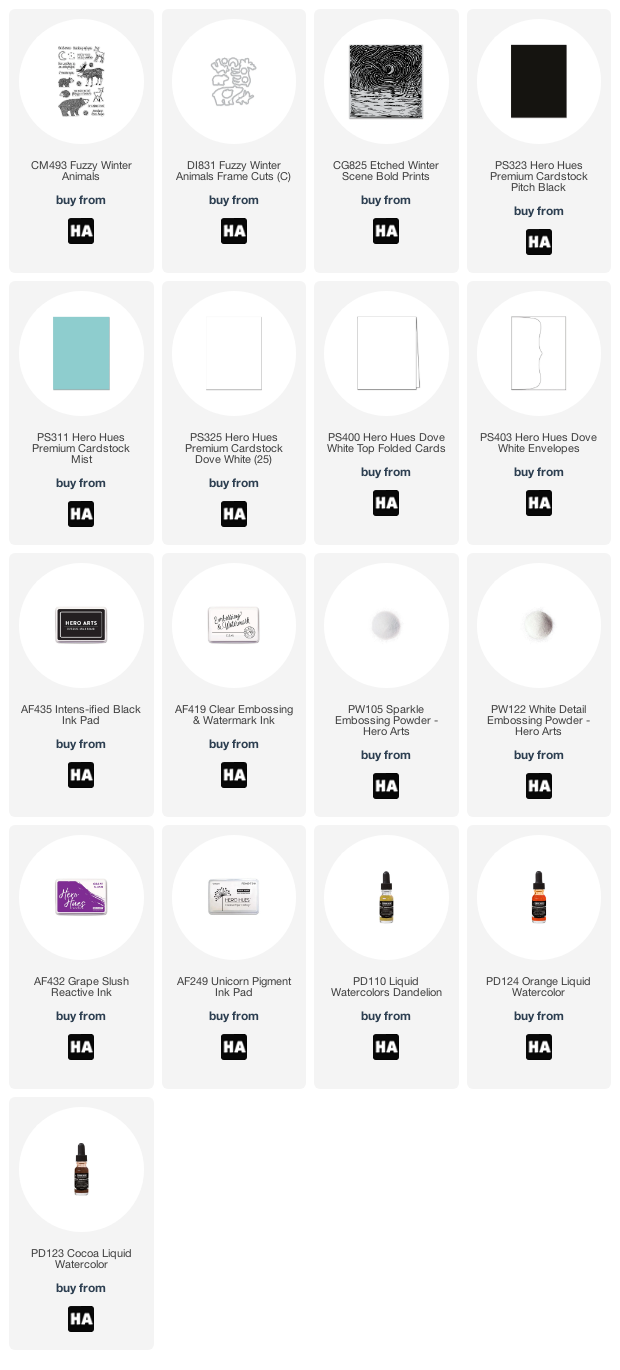
Hi everybody! I'm just popping in today to let you know that I'm up on the Hero Arts blog today sharing this card. It features two of my favorite wintery stamps, Fuzzy Winter Animals and the Etched Winter Scene Bold Prints. All of the details of how I made this are over on the Hero Arts so you can check that out if you're interested.
I watercolored the stamped images using my liquid watercolors...
...and, stamped the Etched Winter Scene Background in Sparkle embossing powder onto Mist cardstock.
I added details with a white gel pen and that was it! Thanks so much for stopping by and I hope you have an amazing day!
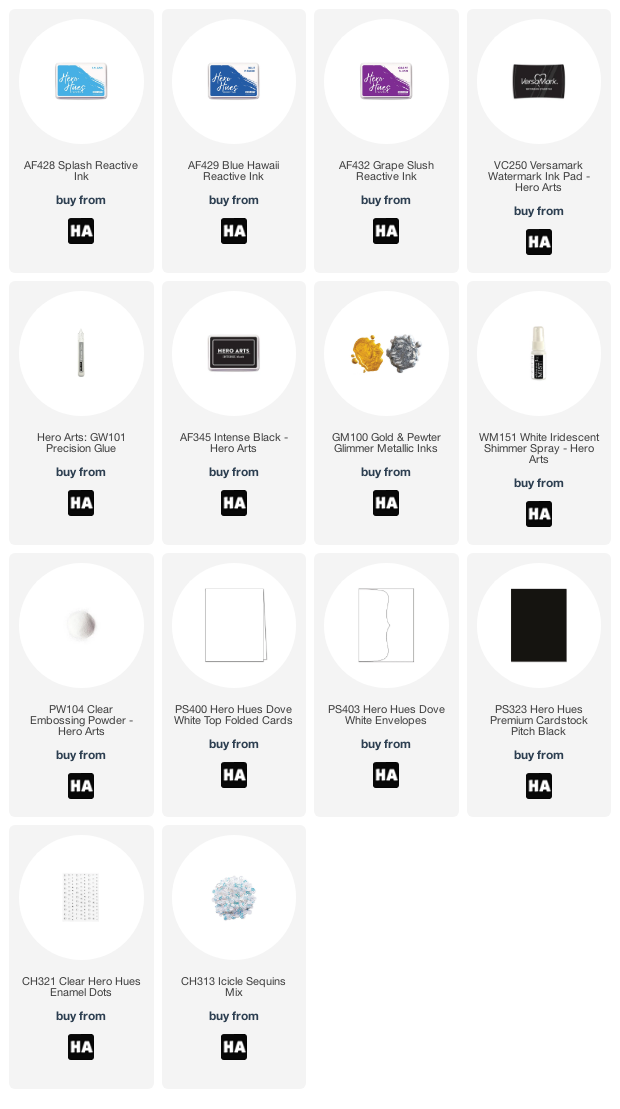
Hey everybody! It's time for your My Monthly Hero Countdown and this month's kit is so much fun! I've used just two stamps from the kit to make this simple but sweet card.
I started out by stamping the house and sentiment at the same time in versa mark ink. Then I heat embossed it all in clear embossing powder.
Next, I masked off the sentiment at the bottom as well as the little house. This allowed me to ink blend the background with my reactive inks (Splash, Blue Hawaii and Grape Slush). I sprayed the background with shimmer spray and then splattered it with silver metallic paint to complete the wintery look. The last details were to remove the masking paper and color in the house and glue on some star sequins and clear enamel dots.
Ok, you guys, that's it for today. I hope you've enjoyed this little sneak peek of the November My Monthly Hero kit. If you want to win a kit before you can buy it then head over to the Hero Arts Blog and leave a comment so that you can enter to win!
I'll see you all back here on Monday for the full kit reveal!