Hey everybody and welcome to today's launch of Snowmies from Tonic Studios! I've got a ton of cards and a VIDEO for you today so I am going to just dive right in! Oh! Also there are cards and envelopes in the video that are not on my blog today so make sure you head over there to see everything I've got to share today!
If you'd like to head straight to the shop here are my affiliate links:
-Snowmies bundle USA: https://shrsl.com/387hg
-Snowmies bundle UK: https://shrsl.com/387hk
-Mini Slimline Envelope Dies USA: https://shrsl.com/387hl
-Mini Slimline Envelope Dies UK: https://shrsl.com/387ho
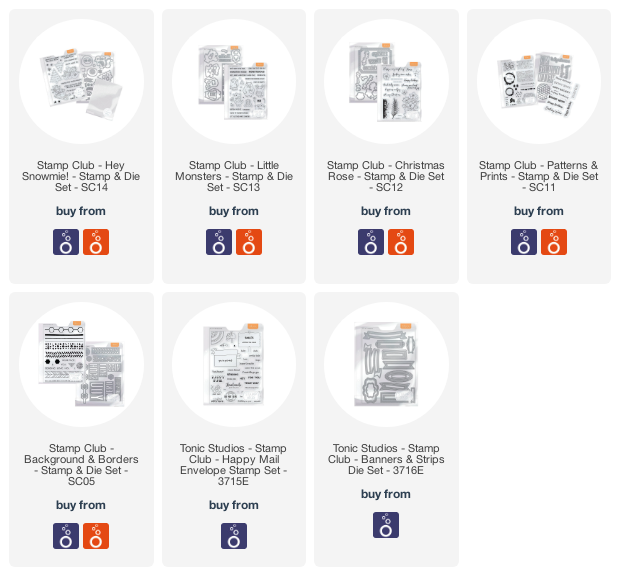
For my first card I made a slim-line card with trees and snowmies from this month's Snowmies release. I created a custom sentiment using the large die cut letters from both Patterns & Prints and Backgrounds & Borders.
To create the background I did an easy watercolor wash using Distress Oxide inks. Then I sprayed the background with White Iridescent Shimmer Spray from Hero Arts which gave it a sparkly, snowy finish. I added snowflakes that I die-cut from holowaves cardstock to the background.
To finish my card off I added the trees and snowmies with foam adhesive and the letters with liquid glue. Some Nuvo Dream Drops in Indigo Eclipse.
Now, I promised you a VIDEO and you can check that out HERE (affialiate links may be used at no extra cost to you)...
For my next card I made another slimline card. I inkblended the background in bold blues and then I used the stencil that comes in the Snowmies bundle to stencil snowflakes onto the background using glacier paste. It came out super sparkly and gorgeous! at the bottom of the card I sprayed the background with White Iridescent Shimmer Spray to make it look like snow.
I watercolored the sledding snowmies and die cut them out. I placed them in the center of the card using foam tape.
Then I added my sentiments at the top and bottom of the card to finish it off.
For this next card I built two snowmies using the snowman builder dies. I built them in different sizes and gave them each a mug of something warm and delicious to drink.
I used white glitter paper to create some snow drifts and I heat embossed my sentiments in white on black.
I inkblended my background and then I used the falling snow side of the stencil to add snow using my Moonstone Glimmer paste. After that all I had to do was glue it all together and add it to a black cardbase.
My next card was really easy to put together. I used patterned paper on the card base then covered that with a panel that I textured using the texture plates from the new mini slimline envelope builder die set. I added white, glitter snowflakes on top of the white panel.
I built myself an easy snowman using the snowman builder dies. I added him to the card along with some snow drifts.
The last step was to add a sentiment: Sending warm holiday hugs! I love that sentiment!
You can use this set to make some really beautiful and easy to reproduce cards too. For this next card I sprayed some white cardstock with my Dina Wakley acrylic gloss sprays in shade of green. Then I cut some trees out using the dies from the Snowmies bundle.
I covered the cardbase in red, striped patterned paper and splattered it with Midas Touch. Then I added a strip of vellum and adhered the trees on top using foam tape.
I added a beautiful sentiment from the Christmas Rose stamp set and then some gold sequins to finish it off.
Ok, that's it for today! Thanks so much for joining us today's fun release. We have a great giveaway and a blog hop to share with you today so please scroll down for all of that info!
Have an amazing day!
Maria
GIVEAWAY:
-One lucky winner will win a £50/$50 Giftcard to Tonic Studios and the Snowmies bundle!
-To enter, comment on every blog in the hop by 11:59pm PST on November 3, 2021/ 7:59am GST on November 4, 2021
-Winner will be announced on November 5, 2021 on IG and FB so make sure you're following all of the Tonic Studios social media accounts!
Happy STAMPtember everyone! Today is Hero Art's turn to collaborate with Simon Says Stamps as they come together to release an exclusive (to SSS) and limited stamp set! This stamp set is called, Make a Wish, and it's such a sweet little set.
I decided to make a mini-slimline card and I started out by ink blending my background in Taffy, Splash and Lemon Drop Reactive Inks. Then I used the Tile Pattern Stencil and some White Iridescent Shimmer Mist to create a subtle, textured background. I also splattered both White and Gold Glimmer Metallic ink onto the background for a little extra shine and texture. The final step for the background was to stamp the "Happy Birthday" sentiment multiple times in Versamark ink and heat emboss it in White Satin Pearl Embossing Powder.
I stamped the Make a Wish image in Onyx Pigment ink and heat embossed it with clear embossing powder. Then I cut it out using my Nesting Circle Infinity Dies. I also cut a silver glitter circle in the same size from the Holiday Sparkle Glitter Paper collection. After coloring my image with copic markers I glued the two circles together with liquid adhesive and attached them to my card base with foam tape.
After adding all of that to a dark gray mini slimline cardbase the final touch was to add some holographic stars that I had cut using the Star Confetti Fancy Die.
Well, that's it for today you guys! I hope you're enjoying all of the Simon Says Stamp STAMPtember releases and that you've thought this Make a Wish collaboration with Hero Arts is as fun as I think it is.
Bye for now and have an awesome day!
Maria
PRODUCT SUPPLY LIST (Affiliate links may be used at no extra cost to you):
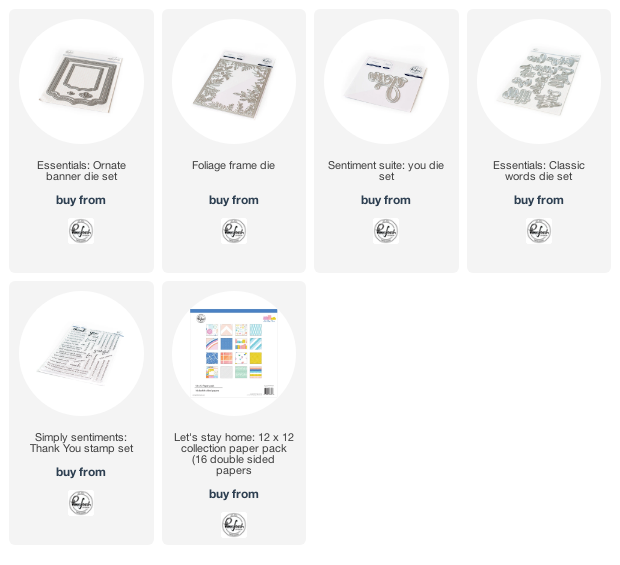
Hello everybody! Thanks so much for stopping by today! Today I'm excited to be joining Pinkfresh Studio for their Essentials Die release. This release is packed full of amazing dies and I'll be sharing two cards that I made with the new Mini Slimline Essentials Bundle Dies. I love these dies because they come with two complete layering sets of dies for mini slimline cards. They also include two sets of detailed circle dies that are sized perfectly for mini slims.
For my first card I used the new Mini Slimline dies to cut layers from white paper as well as from the Let's Stay Home paper collection.
I glued my layers together adding a yellow layer cut with the Essentials Ornate Banner Die Set. I finished the card off by adding a sentiment from the Classic Words Die Set.
The last step was to create myself a coordinating envelope using the new Mini Slimline Envelope Dies. I cut the main piece once and the wing piece twice. Hot tip: if you are cutting your envelope from patterned paper make sure you cut one wing from the "wrong" side of the paper so that when you put your envelope together your pattern will be on the correct side of the paper.
For my second card I used the new Mini Slim Line card dies again and added in the new Essentials Stitched Scalloped Circle, the Foliage Frame Die, the Sentiment Suite You Die and the Simply Sentiments Thank you stamp set. I started by die cutting my layers and gluing them together.
I cut out the Stitched Scallop Circles and taped them together in the back so I could use both of them. I ink blended them with some Sky Blue ink before adhering them with foam tape. Then I added in some vellum foliage from the Foliage Frame Die.
I heat embossed my sentiment, added some pearls and jewels, then made a matching envelope and called it good.
Ok, that's it for today you guys but before you go I want to let you know to check out the amazing giveaways and promos below. I've also linked up the products that I've used today in case you want to check anything out.
Have and awesome day!
Maria
GIVEAWAY:
-We will be giving away the full release on the Pinkfresh blog & YouTube channel
-We will be giving away a total of TEN $25 gift cards along the hop. As per usual with blog hops - the winners will be picked from the comments.
Winners will be posted on May 31 , 2021 on the Pinkfresh Studio GIVEAWAY PAGE. Winners must check that page & claim their prize within 2 weeks.
SHOPPING PROMO:
-Pinkfresh Studio is offering free US shipping on all orders $50+ from May 24th to May 30th.
-There is also a free die that will be automatically added to all orders over $35 - no code needed.