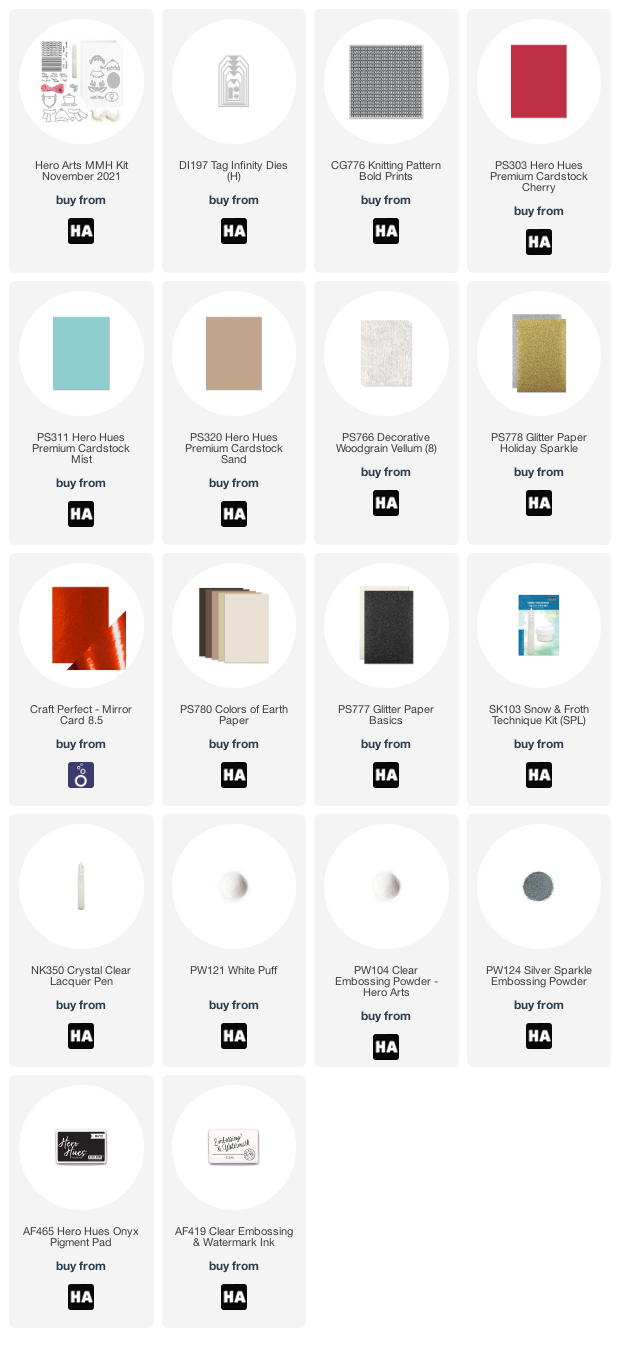
Hey everybody! The wait is over! It's time for theHero ArtsNovember My Monthly Hero release and this month's kit is a fun holiday tag building kit with many fun characters (affiliate links may be used at no extra cost to you)!
Before I get to my cards, if you aren't familiar with the My Monthly Hero kit, it's a kit that is released by Hero Arts on the first Monday of every month. It always has a fun, themed, collection of stamps, dies and other goodies. The cost is just $34.99/month and the value is always much greater! This month's kit is valued at $70!
You have the option to subscribe (subscribing now means your first kit will be the November release), or, to buy your favorite kits as one-off purchases. Be aware that once these kits sell out they are gone for good. If you see a kit you like make sure to snatch it up quickly! There are also a ton of amazing add-on products! You can buy the add-ons as a bundle at a discounted rate or just pick up your favorite products.
Now, this kit comes with some really fun tag building elements that allow you to custom build reindeer, elves, Santa and snowmen. You can make them tags or cut the circular "hook" off the top of the die cuts to create dies that can easily be used on cards. The kit also comes with two patterned stamps (dots and stripes), some sentiments and twine.
For my first card I got inspired by the "no peeking" sentiment. I decided to make presents using the patterned stamps and I used the twine to tie bows around them. For one present I used the the dot stamp, White Puff embossing powder and Paradise cardstock. For the second present I used the striped stamp, silver embossing powder and Lapis cardstock. I tied them up with the twine from the kit and the red added a nice little pop of color.
Then I built an elf and tucked him behind the gifts to make it look like he is indeed peeking- what a naughty guy! For my naughty elf I used paper from the Colors of Earth cardstock pack for his face and ears/hair. I colored his nose and hair with brown copic markers. I cut the eyes out of white cardstock, placed them in the eyeholes and held them in place with a piece of tape stuck to the back. I used a black gel pen to color the eyes then added highlights with a white gel pen. I cut the hat twice, once from red foil and again from white glitter cardstock. I cut the "crown" out from the white glitter and glued it to the red foil hat. This gave me dimension and sparkle. To embellish the pompom on the hat I used the lacquer pen and white puff embossing powder that come in the kit. When I heat set these two products they expanded and puffed to give me a really fun 3D effect on the pompom.
To finish my card off I used the new Candy Canes Bold Prints background stamp, versamark ink and Kiwi cardstock. Then I inkblended around the edges using Blue Raspberry Reactive ink which made the center of the card glow. I adhered the sentiment, gifts and elf using foam adhesive and that was that!
My next project was super fun to make and I could see myself making a bunch of these to handout as fun little treats! This is actually a box and I've put a packet of apple cider inside but it would be great with hot chocolate or fancy coffee packs too. I used mist cardstock to create my box which I custom sized to my apple cider packet. I used the Knitting Pattern Bold Prints stamp and versamark ink to stamp a subtle pattern onto my box (I did mask it off so that I only stamped the front of the box). I heat embossed my sentiment in Onyx ink and clear embossing powder. Then I glued my box together and wrapped it with a 1.5" strip of Woodgrain Vellum. I attached the vellum band to itself in the back so that I could slide it on and off of the box if I wanted to.
Next, I cut the mug from Kiwi cardstock and inkblended the edges with Blue Raspberry Reactive ink. I heat embossed a snowflake using White Puff embbossing powder. then I cut the top of the mug die again in Sand cardstock. I did this because the liquid part of the mug is not attached to the mug which made it really easy for me to make hot chocolate with Sand cardstock and some brown markers. I also die cut the whipped cream and the candy from white cardstock. I added color to the candy cane with red markers. Then, I added 3D foam to the whipped cream using the lacquer pen and White Puff embossing powder. I glued all of these pieces together and stuck them to my box using foam adhesive.
The last step was to create a topper for my apple cider packet. I did this by folding a strip of Cherry cardstock in half and glueing it to the top of the apple cider packet. I used the Tag Infinity dies to create a gold glitter circle thing for my topper and then I added some twine to finish it off.
The apple cider pouch fits perfectly inside the gift box. This could also be a really fun way to give some one a gift card to their favorite coffee shop or hot chocolate bar. I love having fun ways to give smaller gifts at the holidays because it's such an easy way to make people feel cared for and thought about.
Now, here's a look at another card that I made using the November MMH kit. This is the card that I shared during the countdown but I wanted to share it again today for anyone who missed my last post.
If you wnat to check out the details on how I made this please head to the original blog post by CLICKING HERE.
This reindeer really is so cute! I turned this tag into a card but it would be really fun to use this as a tag on a gift as well.
Now before I go I want to show you a look at the full kit... it's got so much great stuff in it!
Ok, that's all for today you guys! Make sure you check out the info below so that you can join our giveaway and keep on hopping along with us for more MMH kit inspiration!
Bye for now and have an awesome day!
Maria
GIVEWAY:
Hero Arts will give away ALL OF THE NOVEMBER ADD-ON PRODUCTS, drawn from the comments left across the hop. Enter by Sunday, November 7th at 11:59pm Pacific, and the winner will be announced on the Hero Arts blog the following week.
Hey everybody! I hope you had an awesome weekend! I am popping in to share a bunch of cards with you and to let you know that I am up on the Hero Arts blog and YouTube channel today sharing a video on how to use your Hero Paste and how to get the most out of it. I share a bunch of techniques and I hope you'll enjoy it.
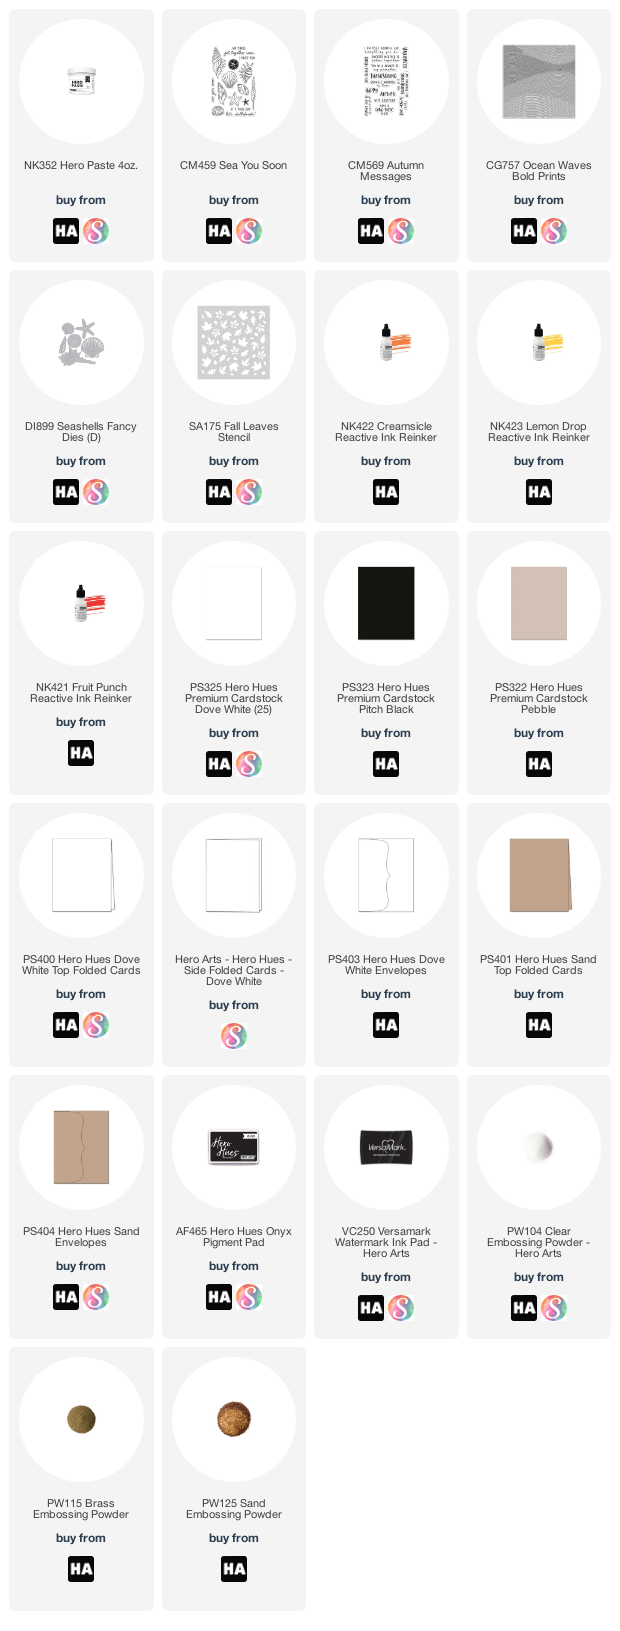
Here's a look at the cards I create in the video (well, I make the backgrounds in the video anyhow)... This first card was made by creating custom colors of Hero Paste using reactive ink re-inkers.
I paired my colorful Hero Paste with the Fall Leaves Stencil to create this beautiful fall colored background.
I finished the card off by adding a sentiment from the Autumn Messages stamp set.
This second card was put together using a scrap piece of Pitch Black cardstock and some Hero Paste that I covered with Brass Embossing Powder.
I stamped a Sand cardbase in Versamark ink with the Ocean Waves Bold Prints stamp.
I added a sentiment from the Sea You Soon stamp set, a sea star from the Sea Shells Fancy Dies and put it all together using foam tape.
For my last card I started out by spraying my DIY Liquid Watercolor Sprays onto a piece of cardstock to give it some fun color. Then, I used the Mermaid Sea Stencil to apply my paste.
Once the paste was dry I sprayed more liquid watercolor onto the background and allowed the color to pool in the spaces between the embossing paste.
To finish the card off I add a white frame using the Nesting Rectangle Infinity Dies. Then, I added a white shell from the Seashells Fancy Dies and topped that with a gold sea horse from the Paper Layering SeaHorses dies. The final touch was to add a sentiment from the Sea You Soon stamp set.
Ok, that is it for today you guys. For all the hot tips please head on over to the Hero Arts YouTube channel and watch the video!
Have an awesome day!
PRODUCT SUPPLY LIST (Affiliate links may be used at no extra cost to you):
Hi everybody and happy Hero Arts release day! The September My Monthly Hero Kit is here and it is such a magical kit!
If you aren't familiar with the My Monthly Hero kit, it's a kit that is released by Hero Arts on the first Monday of every month. It always has a fun, themed collection of stamps, dies and other goodies. The cost is just $34.99/month and the value is always much greater! This month's kit is valued at $87!
You have the option to subscribe (subscribing now means your first kit will be the October release), or, to buy your favorite kits as a one-off purchases. Be aware that once these kits sell out they are gone for good. If you see a kit you like make sure to snatch it up quickly! There are also always a ton of fantastic add-on products offered. You can choose to buy your favorites or buy them all at a discounted rate.
We also have an awesome GIVEAWAY and a BLOG HOP with tons of inspiration going on so please make sure to check the info for those at the bottom of my post! And, I have a VIDEO today sharing a really fun foiling technique where no heat is necessary to foil (see below)
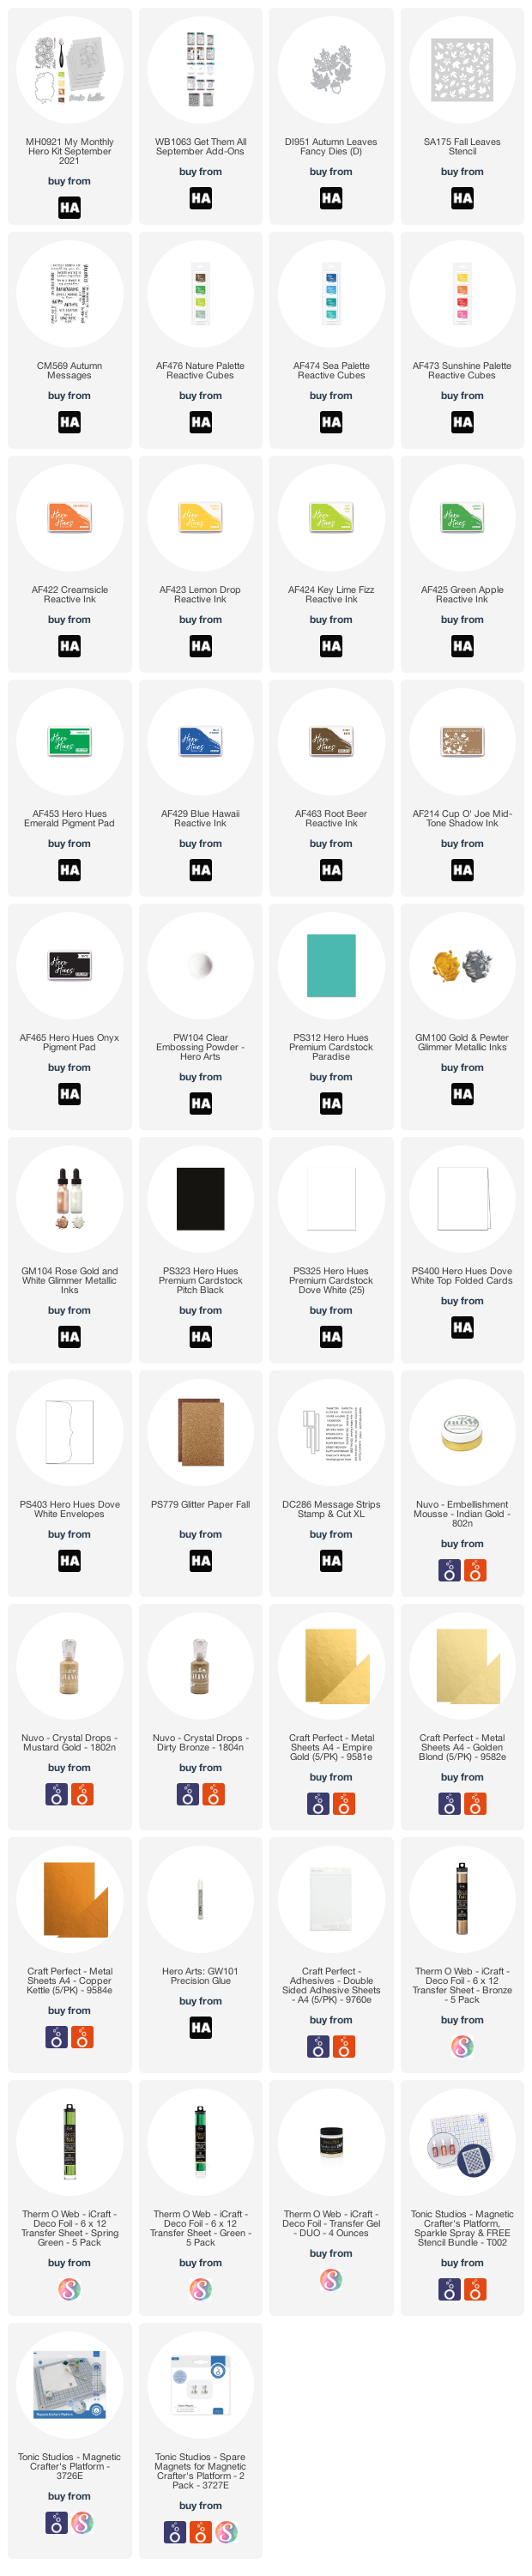
Ok, on to my first card! This kit has a gorgeous sunflower stamp with five coordinating stencils for adding perfect layers of color to your project. I used the stencils to ink blend the flowers and then I added a little extra color with a red copic marker.
Next, I used Deco Foil Transfer Gel Duo to add some foil accents to my flowers. Here's the video so that you can see exactly how I did all of that...
If you are having trouble watching this video CLICK HERE to view it on YouTube.
After foiling the flowers I cut the image out with the coordinating dies and set them aside. I took a piece of Paradise cardstock cut to 4.25" x 5.5" and partially inkblended it using Blue Hawaii ink. Then, I heat embossed the "so much" from the Message Strips Stamp & Cut XL onto my card front leaving enough space above to add the "thanks" die cut.
I added my sunflowers using foam tape and then splattered my card with both gold and white glimmer metallic ink. After the ink dried I added my thanks dies to front of my card with liquid adhesive. These dies were tripled up and I have a trick for perfectly aligning the dies and doing it without messy adhesive in my VIDEO.
This next card is another card with foiled accents and it was put together in much the same way as the first card. I did use a different color combo on the flower petals and centers (Creamsicle and Fruit Punch) But I didn't end up loving it so I again added red marker and then went in with a fine tip sharpie to add a bunch of scribbles and lines to make it my own.
I splattered my black background with gold glimmer metallic ink and then popped the sunflowers up in the center of the card using foam tape.
I added the "thanks" die to my card on an angle and using foam tape. This time instead of just using the detailed word die I also used the shadow background so that my sentiment would pop and be easy to read.
If you haven't seen the add-ons this month you have got to check them out! I made this card by combining three of them: Autumn Leaves Fancy Dies, Fall Leaves Stencil and a sentiment set called, Autumn Messages. I started off by grabbing a background I made using my DIY Liquid Watercolor sprays (How-to VIDEO HERE).Then I used gold Nuvo Mousse and the stencil to quickly create the background. I splattered it in both gold and white glimmer metallic ink and set it aside to dry.
Next I used the Autumn Leaves Fancy Dies to cut a whole bunch of leaves from the Fall Glitter Cardstock and some gold, metal sheets. I stamped the sentiment, cut it with my rectangle dies and popped it up using foam tape. I made sure only to apply foam tape in the center of the sentiment so that it was easy slide the leaves under the sentiment to embellish it.
I added all of my leaves using glue dots which made it easy to secure them without adhesive being visible.
I was also able to lift and curl the edges of some of the leaves to add even more dimension. If you decide to do use the metal sheets for your leaves or die cuts be aware that they can crease or bend in a very different way than paper does (because they are literally made of metal).
Now, Just in case you didn't see my blog post on Sunday with my sneak peek card for this release, here ya go. If you want more info on how to make this card you can head to my blog post HERE.
Ok, that's it for me today you all! I hope you love this Sunflower release and this month's add-ons as much as I do and will join the giveaway and continue hopping with us for even more inspiration.
Have an awesome day!
Maria
GIVEAWAY:
We will give away one $50 gift card, drawn from the comments left across the hop. Enter by Sunday, September 12th at 11:59pm Pacific, and the winner will be announced on the Hero Arts blog the following week.
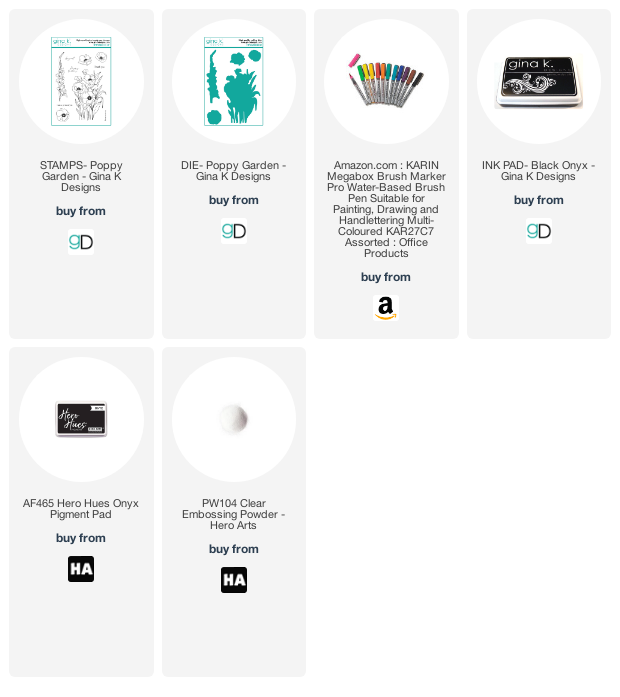
Hello everybody! Exciting news- it's Gina K. Designs release day! I've made a one-layer card using the new Poppy Garden stamp set (it has coordinating dies!) by Hannah Drapinski. This set is stunning and made me want to sit down and watercolor it straight away. I've made a VIDEO to share some easy watercoloring techniques so be sure to scroll on down and check out that video on my YouTube Channel.
I started out by heat embossing the largest image from the set onto Strathmore watercolor cardstock. To do this I used Onyx Pigment ink from Hero Arts and clear embossing powder.
You can check out the entire watercoloring process here...
My video shares my process for layering ink colors and easy application of color using Karin Brush Markers and a paint brush. I used four colors of ink for the poppies and three colors of ink for the leaves. I started by applying my lightest color of ink (yellow for poppies, lime green for leaves) as a light layer of color over my entire image. I used very little water and allowed my paint to almost entirely dry before adding the next layer of color. I added the darker colors into the areas where I wanted to have shadows and kept the other areas light as highlights.
After I finished watercoloring I stamped a sentiment in Gina K. Design Black Onyx ink and added a few white highlights with a gel pen.
It was a huge struggle not to splatter the heck out of this card but I managed to leave it as a clean and simple card. I hope you've enjoyed learning a little bit about my process today. For all of the details you can head over to YouTube and watch my VIDEO. You can also head on over to Gina K. Designs to check out the full release!
Have an awesome day!
Maria
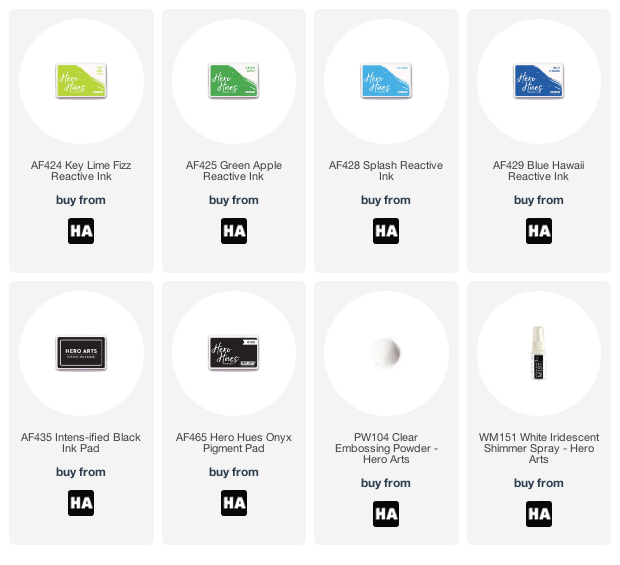
PRODUCT SUPPLY LIST (Affiliate links may be used at no extra cost to you):
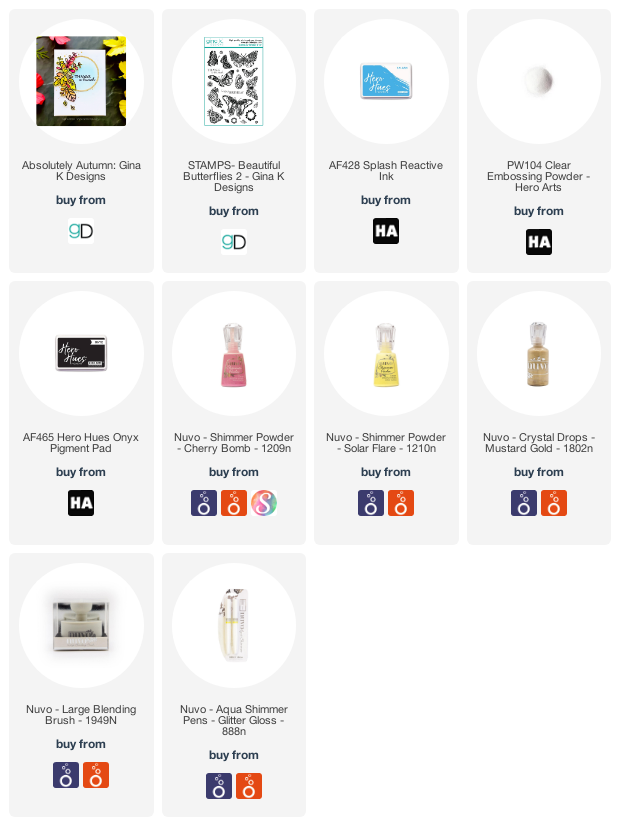
I started out by making some watercolor washes on watercolor paper. I used a combination of my Hero Arts Liquid Watercolors and Nuvo Shimmer Powders from Tonic Studios. When that was dry I stamped a whole bunch of the images from the Absolutely Autumn set in black ink right on top of my shimmery watercolored cardstock. I cut all of the images out by hand because I don't have the coordinating dies. It took a little while but was totally worth it so I could play around with the images and have some fun with them.
Next, I inkblended a white card panel with a little bit of Splash Reactive ink. Then I glued on a circle frame die cut in gold glimmer paper. I heat embossed a sentiment from the Beautiful Butterflies 2 set into the center of the circle. Then, I used the left side of the circle as a guide to place my leaves.
After that all I had to do was splatter the background with my Glitter Gloss pen and then add some Nuvo drops in Mustard Gold.
And, just like that, this card was done... I hope you all enjoy the new release from Gina K Designs! Have an amazing week and I'll catch you back here soon!
Maria
PRODUCT SUPPLY LIST (affiliate links may be used at no extra cost to you):
Hi everybody and happy Hero Arts release day! The July My Monthly Hero Kit is here and it is such a magical kit!
If you aren't familiar with the My Monthly Hero kit, it's a kit that is released by Hero Arts on the first Monday of every month. It always has a fun, themed collection of stamps, dies and other goodies. The cost is just $34.99/month and the value is always much greater! This month's kit is valued at $72!
You have the option to subscribe (subscribing now means your first kit will be the August release), or, to buy your favorite kits as a one-off purchases. Be aware that once these kits sell out they are gone for good. If you see a kit you like make sure to snatch it up quickly! There are also always a ton of fantastic add-on products offered. You can choose to buy your favorites or buy them all at a discounted rate.
We also have an awesome GIVEAWAY and a BLOG HOP with tons of inspiration going on so please make sure to check the info for those at the bottom of my post!
Ok, on to my first card! This kit is full of small images that are really great for scene building. The second I saw the little gnome in a hammock I knew I wanted to stick him on a tropical beach somewhere. I stamped him onto white cardstock with copic friendly black ink.
Then I used my copic markers to color him in, added sand below, and an ocean (or maybe the Caribbean Sea) behind him. I inkblended the background using my reactive inks and then heat embossed my sentiment.
The final touch was to add a black mat and pop the whole thing up on a kraft card base.
My next card was made using three of this month's add-ons. The add-ons this month are so awesome and I had a lot of fun making this card. I started out by creating a colorful galaxy background using my Nuvo Shimmer Powders and applying them to watercolor paper.
Next, I used the Starry Clouds Infinity Dies (the second largest die) to cut a gorgeous frame for my card out of Pitch Black Cardstock. I splattered this with Midas Touch Shimmer Pen for some subtle but gorgeous shimmer.
I heat embossed the fairies from the Meadow HeroScape set in gold onto black and added those in with foam tape. Finally, I added a sentiment from the Magical Forest set and embellished with some gems.
In case you missed it the other day, here's another look at the card I made for the Countdown to today's launch. You can learn more about how I put this card together by clicking here to head my original blog post.
Before I go I want to give you a look at what's included in this month's kit. Check out this picture to see everything you'll receive when this July My Monthly Hero kit lands on your doorstep...
Ok, you guys, that's all I've got for today! Please make sure to check out the GIVEAWAY info below and continue on with the blog hop to see some amazing creativity and tons of inspiration with this release!
Have an awesome day!
Maria
GIVEAWAY:
Hero Arts will give away one $50 gift card, drawn from the comments left across the hop. Enter by Sunday, July 11th at 11:59pm pacific, and the winner will be announced on the Hero Arts blog the following week.