Hey everybody! It's that wonderful time of month again when the countdown to the new My Monthly Hero kit is on and we get to share some sneak peeks! If you aren't familiar with the MMH kits from Hero Arts then here's the scoop... On the first Monday of every month Hero Arts releases a new kit full of all kinds of amazing supplies. These kits are hugely discounted! The value can be as much as $70 or $80 and they only cost $34.99. There are only a limited number of kits available so your choices are to subscribe and never miss a kit, or, to try your luck at getting a kit before they sell out. If you'd like to subscribe to future kits just click here.
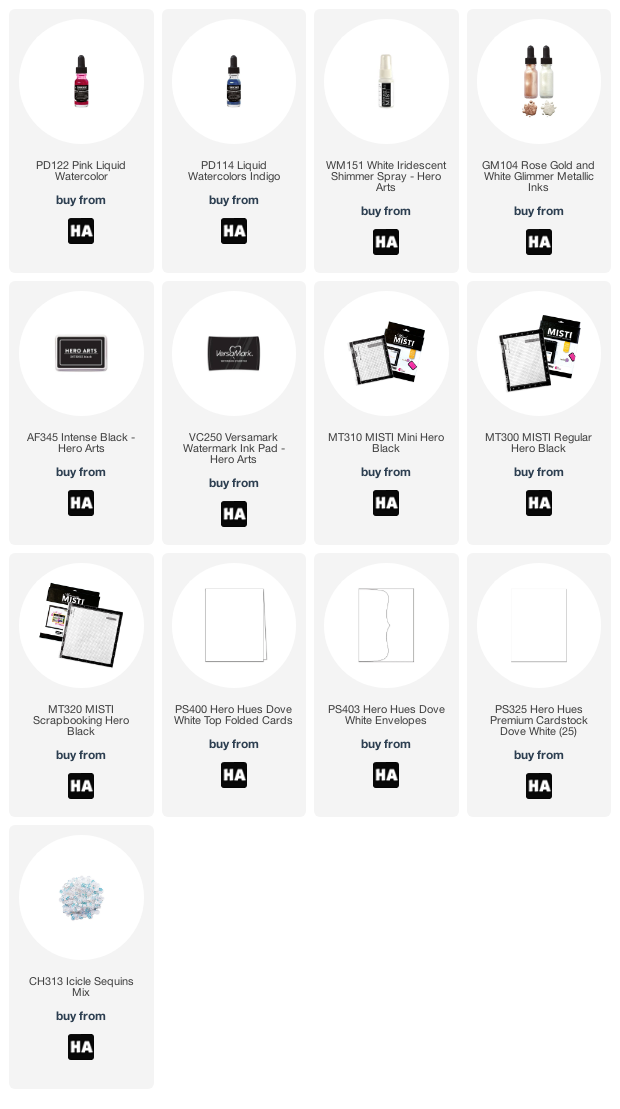
For my sneak peek at the October kit I'm giving you a look at two stamps (image and sentiment) and the sweet little tree dies. I started off by watercoloring my background with liquid watercolors in Pink and Indigo. Then I splattered the background with white metallic paint to give it a wintery look.
Next, I heat embossed the silhouette stamp in black embossing powder. I love how bold it looks against the background. Before stamping I did make sure that the stamp was placed in the center of the square I cut from a piece of white cardstock.
I stamped my sentiment using my Misti in black ink onto the card face. Then I added foam adhesive to the back of the panel and adhered it to the watercolored background. I die cut some little Christmas trees from white sparkle paper and added them to the bottom of my winter scene. I finished my card off by adding a few clear sequins and attaching the whole thing to a top-folding card base.
Now for some super exciting news! The Hero Arts My Monthly Kits come at a huge value every month and have never before gone on sale... until now! For the month of October only many of the kits are being sold at $5 off! If you're interested in checking out what's on sale just click here. There are some really good kits so I hope you find one you love.
If you're interested in winning a kit before you can buy one make sure you head over to the Hero Arts Blog and leave some comments to get yourself entered to win!
Ok you guys, that is it for today! I'll be back tomorrow to share more of the fun I've had with this kit. See you all then!
Hey Everybody! This month's My Monthly Hero kit from Hero Arts is almost here and that means the countdown is on! This month the kit is going live on Tuesday, September 8 so mark your calendars (Monday is Labor Day so it's going live a day later than normal)! The kit goes live at 10am Pacific and once it's sold out it's gone for good. If you want to make sure you never miss a kit you can subscribe here-subscribers are guaranteed a kit!
Today I've got a sneak peek of the kit for you. I've used the main image from the kit to create a fun pumpkin patch. I also had fun ink blending the happy sky with what I'm calling a harvest moon (or harvest sun?).
The sentiment is also from the main kit and was the perfect finishing touch for this pumpkin card.
Alright you guys-that's all you get for today! I promise to share more details on how this card was made on Tuesday when the hop goes live! Plus, I have a totally different take on this kit to share with you for the launch as well. I can't wait to share it all with you soon!
Oh! I almost forgot... Hero Arts is doing a giveaway and one lucky winner will be winning the September My Monthly Hero kit. All you have to do to enter is go HERE and leave a comment to win. Good Luck!
Hi everybody and happy Monday! Today is the day we've all been waiting for! My Monthly Hero Kit release day! The theme for this month's kit is Atlantis and it is so cool! Today I have three cards using the add-ons from this month's kit to share with you.
My first card features my favorite stamp from the whole release... the Deep Sea Background cling stamp. This is a red rubber stamp and it stamps this full background image beautifully. It's a bit larger than an A2 sized card.
I used my Hero Arts liquid watercolors to paint the whole scene. I did film the process but didn't have time to turn it into a video for you. So, if you'd like to see a process video for how I colored this please leave me a comment and let me know. If you guys are interested I'll do my best to get that video edited soon for you.
After I watercolored the whole scene I added some metallic ink to the waves, clouds and treasure chest. I also added some shimmer from my Nuvo Glitter Gloss pen to the whole ocean so that it would sparkle.
Here's a look at some of the products that I used...
I watercolored using Nuvo Aqua Flow pens and when that dried I stamped the image in black ink. I added some die cut seaweed in silver and black as well as some Dream Drops and subtle sequins.
The sentiment is from this month's main kit as is that gorgeous coral colored embossing powder.
This card came together with a soft, dreamy look that I think is really pretty.
For my last card I used another 6"x6" background stamp called School of Fish Bold Prints. I used my Misti stamping tool to make this card otherwise getting this effect would have been impossible. I started by inking up the center of my stamp in red and stamping it. Then, I did the next segment of fish in orange. I followed those with both yellow and green.
After I had all of the fish inked up properly I stamped the whole image again in clear embossing ink. Then I poured on clear embossing powder and heat set it. That gave me one clear layer on top of my fish but I wanted them to have some dimension as if they were coming off of the card. I re-heated the embossed fish with my heat tool and immediately covered them again with clear embossing powder. I did this three our four times until all of my fish were thickly embossed. I used my anti-static tool before I embossed the whole background. I did not use it after that when I was trying to achieve thick embossing. This allowed for some specks of powder to stick on white areas of the card (for other cards this might be seem like a mistake but it was part of the distress effect on this card).
Now I have a white background with embossed fish. Because these fish are embossed I can now ink blend over the top of them without worrying about changing their color. I used my reactive inks to ink blend the background. I made the center of the card, where the tiny fish are, lighter in color as if they were swimming up towards the light. I splattered my card with white metallic glimmer paint to give the look of bubbles and texture. Then, to finish my card off I stamped a sentiment from the main kit on a piece of card stock that I had colored with an ink pad (I just rubbed my Fruit Punch ink pad on white cardstock until it was saturated with ink). I cut it at a wonky angle and used foam tape to adhere it to my card. The final touch was to add some embellishments that looked like water droplets or gems and some dream drops.
Ok you guys, that's all I've got for today. If you're interested in checking out any of the products that I've shared I've got them all listed below for you. If you have any questions about how I made these cards please feel free to ask!
Now, as always Hero Arts is having a generous giveaway (details below), all you need to do is leave me a comment below to enter to win. If you're interested in purchasing this month's kit we have great news for you! The kit should start shipping this Friday, July 17th and continue shipping through next week.
To continue on with this inspiration filled hop please head on over to the lovely Mariana and check out what she's got to share today. If you prefer a list of hoppers, I've got one linked up for you below.
Have an awesome day and thanks for stopping by!
Maria
GIVEAWAY:
Hero Arts will give away one $50 gift card, drawn from the comments left across the hop. Enter by Sunday, July 19th at 11:59pm pacific, and the winner will be announced on the Hero Arts blog the following week.
Hi Everybody! Guess what day it is? Yep! It's time for another My Monthly Hero Kit release from Hero Arts! If this is your first time hearing about these monthly kits then here's the skinny: every month Hero Arts releases an exclusive kit filled with amazing products at an exceptional value. The kit cost is $34.99 and the value of most kits is over $60! You can subscribe to this kit to make sure you never miss out, or, you can buy them month to month as you like-BUT, once they are sold out they are never coming back so make sure to pick up the ones you like right away. There are also monthly add-ons that coordinate with the theme of the kit. The add-ons are amazing and for those who want all the add-ons there is a discounted Get Them All rate. I think that's what you need to know but please let me know if I've missed anything, or, if you have any questions.
This month's kit has a fun Northern lights, sea, nautical type theme and I had so much fun with it that I've made a video. My video shares six background techniques that work really well with the dies in this kit. I hope you'll enjoy it and maybe even try out some of the techniques I shared.
Before I get too far along I want to make sure you know that there is a GIVEAWAY today! Hero Arts has a generous giveaway for you all this month so be sure to check out the details at the bottom of my post. HINT: Leave a comment on my blog below and you are entered.
And now, here's that video...
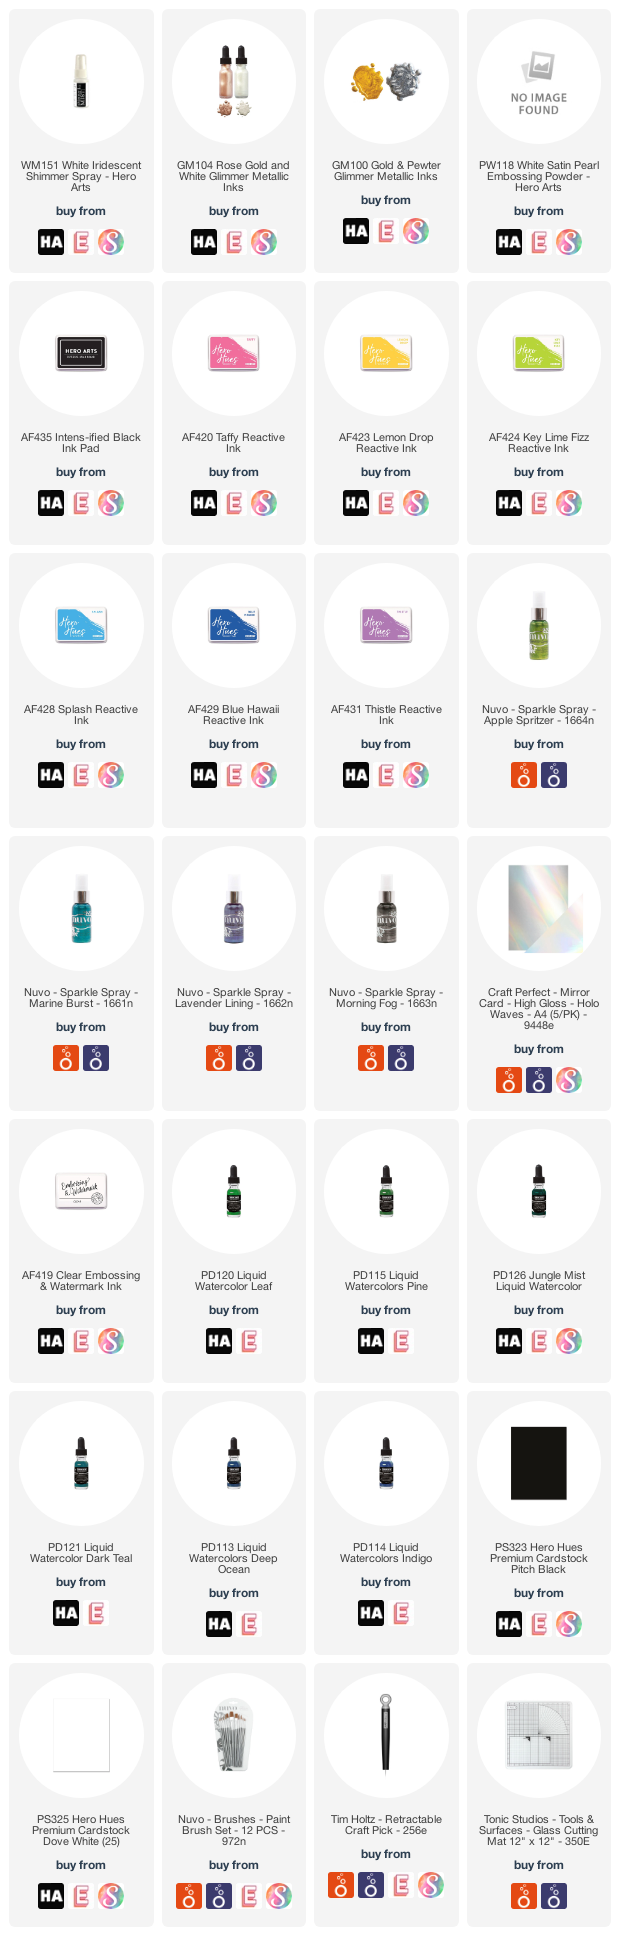
For my first card I ink blended the background using a variety of colors from the Hero Hues Reactive Ink line.
Once my background was ink blended I stamped the large background set that comes in this month's kit with Clear Embossing and Watermark ink. Then, I covered the ink with White Satin Pearl embossing powder and heat set it.
I love this embossing powder! It lets the color from the ink blended background shine through the pearlescent finish for such a magical look!
For my next card I did the exact same thing that I did on my first card... but in reverse order. Isn't it wild how different the two backgrounds look?
For this card I heat embossed my background first and ink blended on top of the heat embossed image.
This created a "resist' effect and the areas that had been embossed did not absorb any ink.
The background for this next card was created using the Hero Arts liquid watercolors. These watercolors are bold and vibrant and just a couple of drops can go a long way.
I wet a piece of watercolor paper and added watercolor very quickly using horizontal brush strokes (watch the video to see how). Then I added dies cut from white cardstock to create a scene.
My next card features a simple, ink blended background.
I used ink blending brushes and Hero Hues Reactive inks in Splash and Blue Hawaii. Then I spritzed the background with iridescent shimmer spray and splattered it with White Metallic ink.
The result was a gorgeous, shimmering background that a made a perfect backdrop for the lighthouse die.
This card features a sparkling night sky. I started out with a piece of black cardstock and gave it a few spritzes of Nuvo Sparkle Spray. The effect is absolutely magical!
I cut the mountains from some holographic purple cardstock from a past MMH kit and backed it with white mountains to make it pop off of the dark background.
The moon is cut from holographic cardstock and I thought the eagle was the perfect majestic finish to this card.
My last card is all about stenciling and the background showcases a creative way to use the negative pieces of your die cuts. I used the negative piece from the tree die as a stencil to ink blend a forest onto the bottom of my card.
Then I ink blended the sky with some blues to add a back drop for more stenciling. I used the new Shooting Star stencil (which is an add-on to this month's kit) and smooshed my embossing ink pad over the top of it.
Then I covered it in silver glitter embossing powder and heat set it. To finish the card off I added a heat embossed sentiment.
Here's a last look at everything that comes in this month's kit. In addition to the supplies that I have used you will receive black water color paper (what?! so cool!), a glow in the dark lacquer pen (heart eyes), and star sequins! There are so many great things in this kit!
Ok, you guys. That's all I've got for today. Thank you so much for stopping by and checking out the new MMH kit. I hope you like it! Please check out the note from Hero Arts, Giveaway info and the blog roll below to keep hopping along with us. From here you will head on over to Mariana's Blog-enjoy!
Have an awesome day you all!
Maria
A NOTE FROM HERO ARTS:
We are working on restarting our operations in a safe manner, bringing back our production and shipping teams with social distancing, and keeping our warehouse cleaned under the strictest standards. We are first focusing on all of the orders in-house for all of our wonderful and patient customers, subscribers, and international customers, and hope to get back to regular shipping times once we are through what was delayed. We estimate June kits and add-ons will begin shipping on Friday, June 19, after all previous orders have gone out.
GIVEAWAY:
Hero Arts will give away one $50 gift card, drawn from the comments left across the hop. Enter by Sunday, June 14th at 11:59pm pacific, and the winner will be announced on the Hero Arts blog the following week.
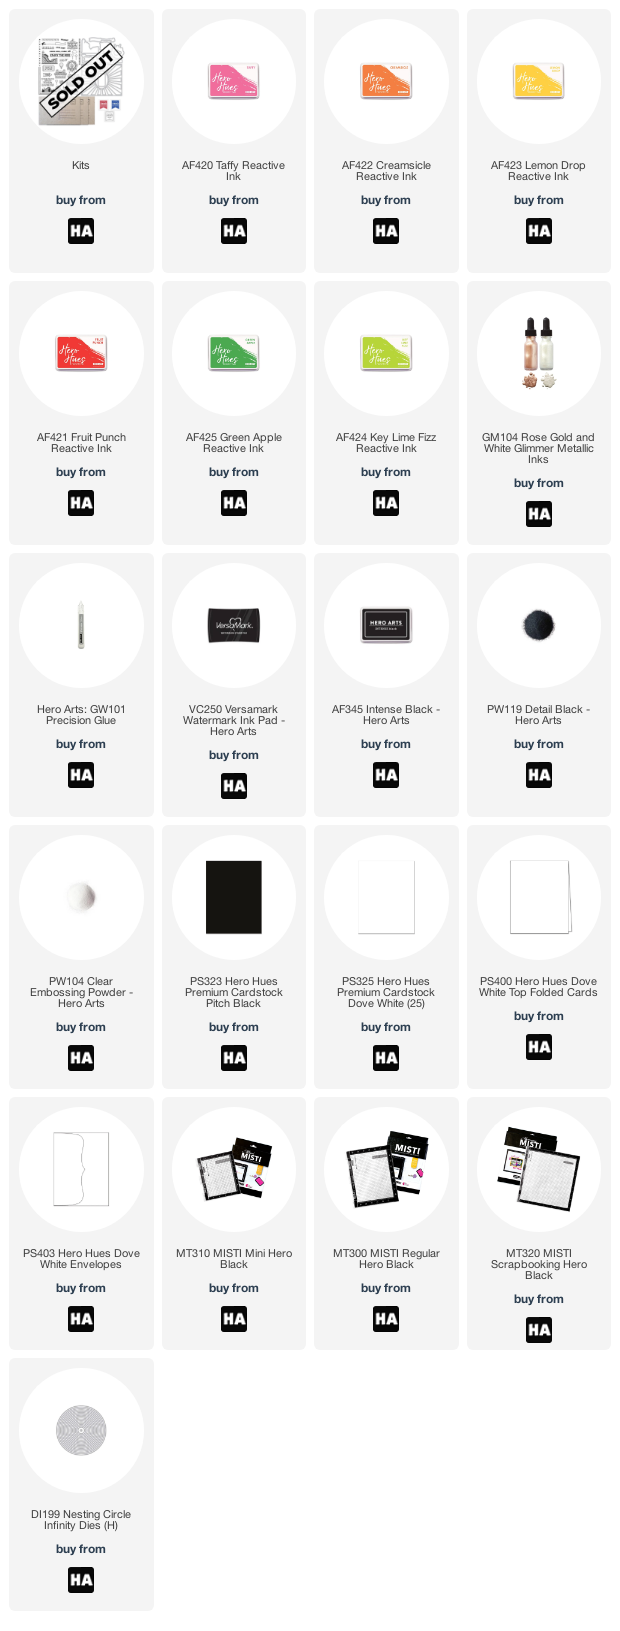
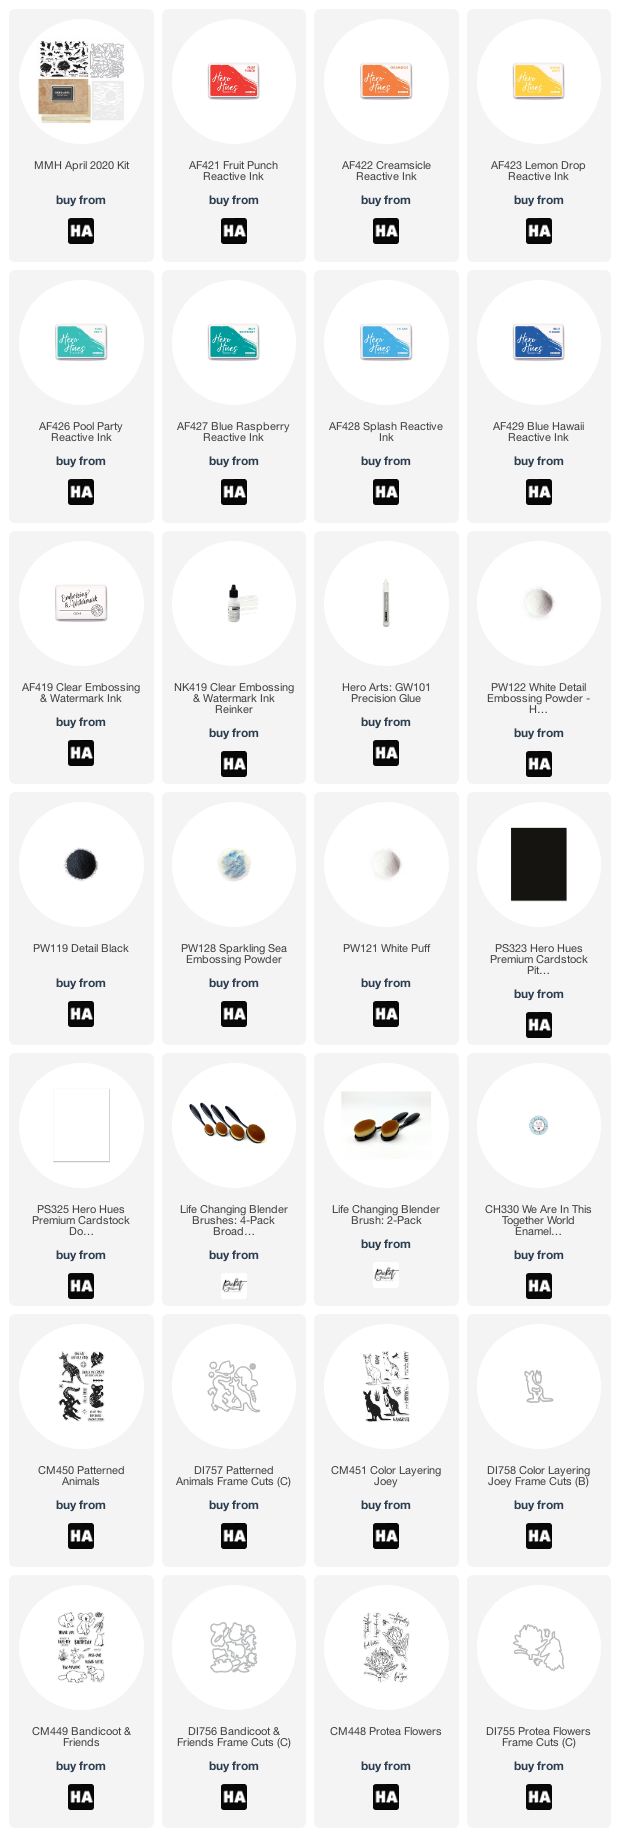
Hi Everybody! Guess what day it is?! It's the first Monday of the month and that means it's time for the Hero Arts My Monthly Hero kit release! If this is your first time hearing about the MMH kit you can CLICK HERE for more information. This month's kit is all about Australia. It wasn't long ago that Australia suffered a devastating amount of damage from relentless fires. Among the damage was great loss of life to much of Australia's wildlife. This month's kit is a tribute to Australia and it is truly beautiful! For my card I made an ocean scene (video tutorial below)...
...but the kit is full of images of a variety of wildlife as well as trees, terrain and other items to help you build scenes (check out that stencil!).
Here's a link to my video if you'd like to check it out:
I love the stencil included in this month's kit and I decided to use it to create an ocean scene with a fiery sky!
I started off by heat embossing the sharks in black. Next, I masked off the top portion of the stencil so that I could focus on the lower half of the card. I ink blended the ocean using Hero Arts reactive inks in blues and blue greens. Then I used a sponge dauber to add some embossing ink. I sprinkled that Sparkling Sea embossing powder to give the water a salty, shimmering texture. I used an embossing pen on top of that and heat embossed some puffy white embossing powder to give the look of sea foam.
Next, I cleaned off my stencil and masked off the bottom portion. I ink blended the sky in Hero Arts Reactive Inks in yellows, corals and bright pink. Then, I used a yellow Copic marker to fill in the white space so that it looked like it was glowing.
To finish my card off I mounted it onto a top-folding black card base and added a heat embossed sentiment from the kit. I love how striking those black sharks look against the bright ink colors.
This kit is so much fun! I hope to have time to create more with it soon because I had so many ideas for it. Interestingly enough while the world seems to be standing still I am busier than ever. I have just closed my business (so I'm cleaning out a huge commercial space) and we are also moving house. Soon things will settle down over here and I will have more time to craft. In the mean time, I cannot wait to see what you all will create with this kit!
Before i go here is some important information:
GIVEAWAY:
Hero Arts will be giving away a $50 gift certificate to one lucky winner! To enter just leave a comment here on my blog.
SHIPPING:
Shipping is estimated to begin on April 20th. Aaron (owner of Hero Arts) and his family will be shipping the kits themselves. Please be patient as there are just three of them and thousands of kits to be sent. Thank you Aaron, Laura and son for your dedication!
RUBBER STAMP AVAILABILITY:
Did you know that Hero Arts employees hand cut the rubber stamps?! They also hand mount the rubber stamps onto wood blocks for wood stamps. The amount of care that goes into Hero Arts products is truly amazing. Due to the Shelter In Place that is currently in effect in California there are no employees in the warehouse to cut and mount these stamps for us. For now, they will be unavailable.
WE ARE ALL IN THIS TOGETHER!
Now, more than ever, it is so important to remember that we are all in this together. Hero Arts has created this beautiful pin as a reminder to us all. 100% of net profits from the sale of this pin will be donated to support COVID-19 disaster relief.
Ok, you guys! That's it for today. Head on over to Seeka's blog and see what beautiful things she has created to share with us today!
Hey everybody! It's the first Monday of the month and that means it is time for a new My Monthly Hero Kit release from Hero Arts! I also want to make sure you know that there is a generous giveaway from Hero Arts and the details will be at the bottom of my post.
I decided to go for a bit more of a mixed media look with this kit. I ink blended the background using My Hero Hues Reactive inks. Then I sprayed the background with my shimmer mist and spattered it with my White Glimmer Metallic Ink.
I wanted to add some gold gilding flakes so I stamped my tree trunk using a liquid glue. Once that dried to the right tackiness I covered it with gilding flakes and used a dry paint brush to remove the excess. I also painted some extra adhesive onto the background and adding gilding flakes to that too.
I wanted the tree to really sparkle and have dimension so after stamping it I added gilding flakes and then a ton of glittering leaves (dragons scales from a past MMH kit). It really catches the light in real life. Oh! I almost forgot to tell you about the sentiment. I used a sentiment from the kit but I did a little bit of stamp surgery on it. Originally it said, "live life in full bloom." I cut the "bloom" off to get the sentiment that I used.
For my second card I wanted to do something a little bit different. I used the swirl stamp to create a background. The super cool thing about this stamp is that if you stamp it once then give it a 180 degree flip... the stamp will exactly together with the first stamped image. I used this method to stamp from left to right across the page. If making the stamp fit perfectly together as described weren't enough, it also fits together from top to bottom making it incredibly easy to put many rows of this image on top of each other to create a cool background. This is what I did using rainbow colors.
I used the Wood Frame Infinity Dies to cut a black frame and popped it up on the background. I cut the tree trunk from silver foil. The tree leaves are cut from vellum, heat embossed in Black Sparkle embossing powder and colored from behind with pink copic markers. The final touch was to add sequins followed by Nuvo Dream Drops.
Ok, guys, that is it from me for today. Thanks so much for stopping by! Before you go please remember that Hero Arts is generously gifting a $50 gift certificate to one lucky winner. To enter yourself just leave me a comment below (by March 8 at 11:59 pm and you will be automatically entered. The winner will be announced on the Hero Arts blog the following week.
The last thing that I want to make sure you know is that due to production delays, kits will begin shipping on March 16th this month.