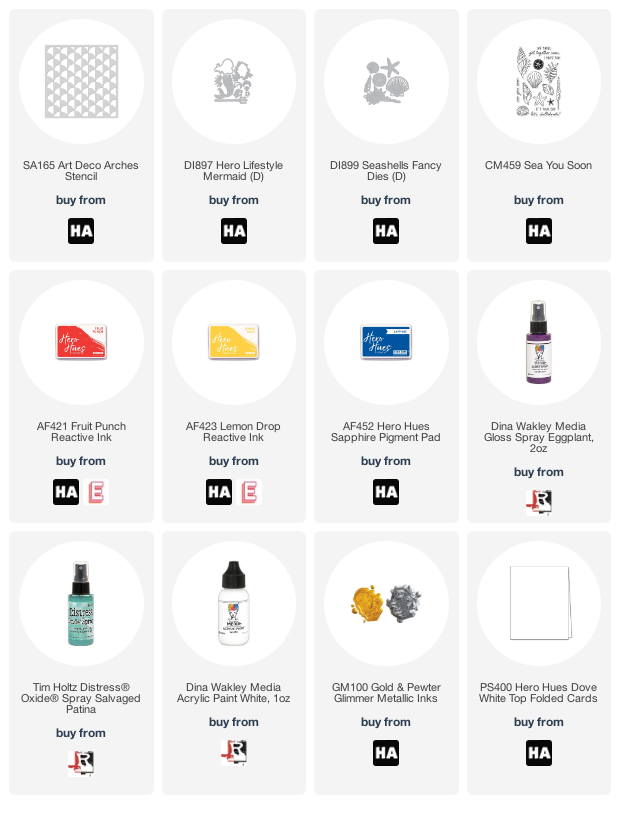
Hi everybody! I hope you're having an awesome day! I've got a fun mixed media card to share with you today and I made the background using just one stencil and some sprays, inks and gloss medium.
I started out by spraying the Art Deco Arches Stencil from Hero Arts with Dina Wakley Gloss Spray in Eggplant. I then layed my sprayed stencil onto a piece of white cardstock and pressed down over it with a paper towel. Some of the purple ink stuck to my cardstock leaving a purple ghosted image of the stencil. This gloss spray is acrylic paint and once it's dry it is permanent and will resist other mediums. After it was dry I sprayed over it with Distress Oxide Spray in Salvage Patina. I inkblended around that with Lemon Drop and Fruit Punch Reactive Inks. Then, I splattered the background with some white acrylic paint that I had watered down. The final step was to place my clean stencil back on the background. I lined it up with the purple paint that was showing and applied a clear gloss medium (Liquitex) over the top. I didn't cover the entire background but applied the gloss coat randomly. This trapped some of the layers I had already applied behind the gloss layer and added cool texture and sheen. This is hard to see in the photographs but I have a quick video clip at the end of my post to show you.
After making my background I thought that the stenciled arches looked a little bit like fish scales or waves so I decided to go with an ocean theme. I added die cut elements from the Hero Lifestyle Mermaid and Seashells Fancy Dies to the card after coloring them in matching colors. I layered them on top of a shredded piece of burlap using glue dots and foam tape.
I heat embossed my sentiment from the Sea You Soon stamp set by stamping first in Sapphire Pigment Ink and then heat embossing that with Clear Embossing Powder. This is such an awesome way to heat emboss in color because there is basically no risk of making a mess. After heat embossing my sentiment I inkblended it using Lemon Drop Reactive so that it would pop off of my card.
The last thing I did was to splatter my mermaid tail using blue (copic marker) and then the whole card using Gold Metallic Ink.
It's hard to see all of the background details in the pictures I took so here is a quick video clip for you to get a better look...
If you are having trouble viewing this video please click HERE to watch it on YouTube.
Ok, that's it for today you guys! I'm curious to know if you have used clear, gloss medium before? This was my first time using it and I loved it!
Hi everybody and happy Hero Arts release day! The May My Monthly Hero Kit is here and it is fantastic... or, should I say "fintastic?!" Hahaha! Sorry, I couldn't help myself.
If you aren't familiar with the My Monthly Hero kit, it's a kit that is released by Hero Arts on the first Monday of every month. It always has a fun, themed collection of stamps, dies and other goodies. The cost is just $34.99/month and the value is always much greater!
You have the option to subscribe (subscribing now means your first kit will be the June release), or, to buy your favorite kits as a one-off purchases. Be aware that once these kits sell out they are gone for good. If you see a kit you like make sure to snatch it up quickly!
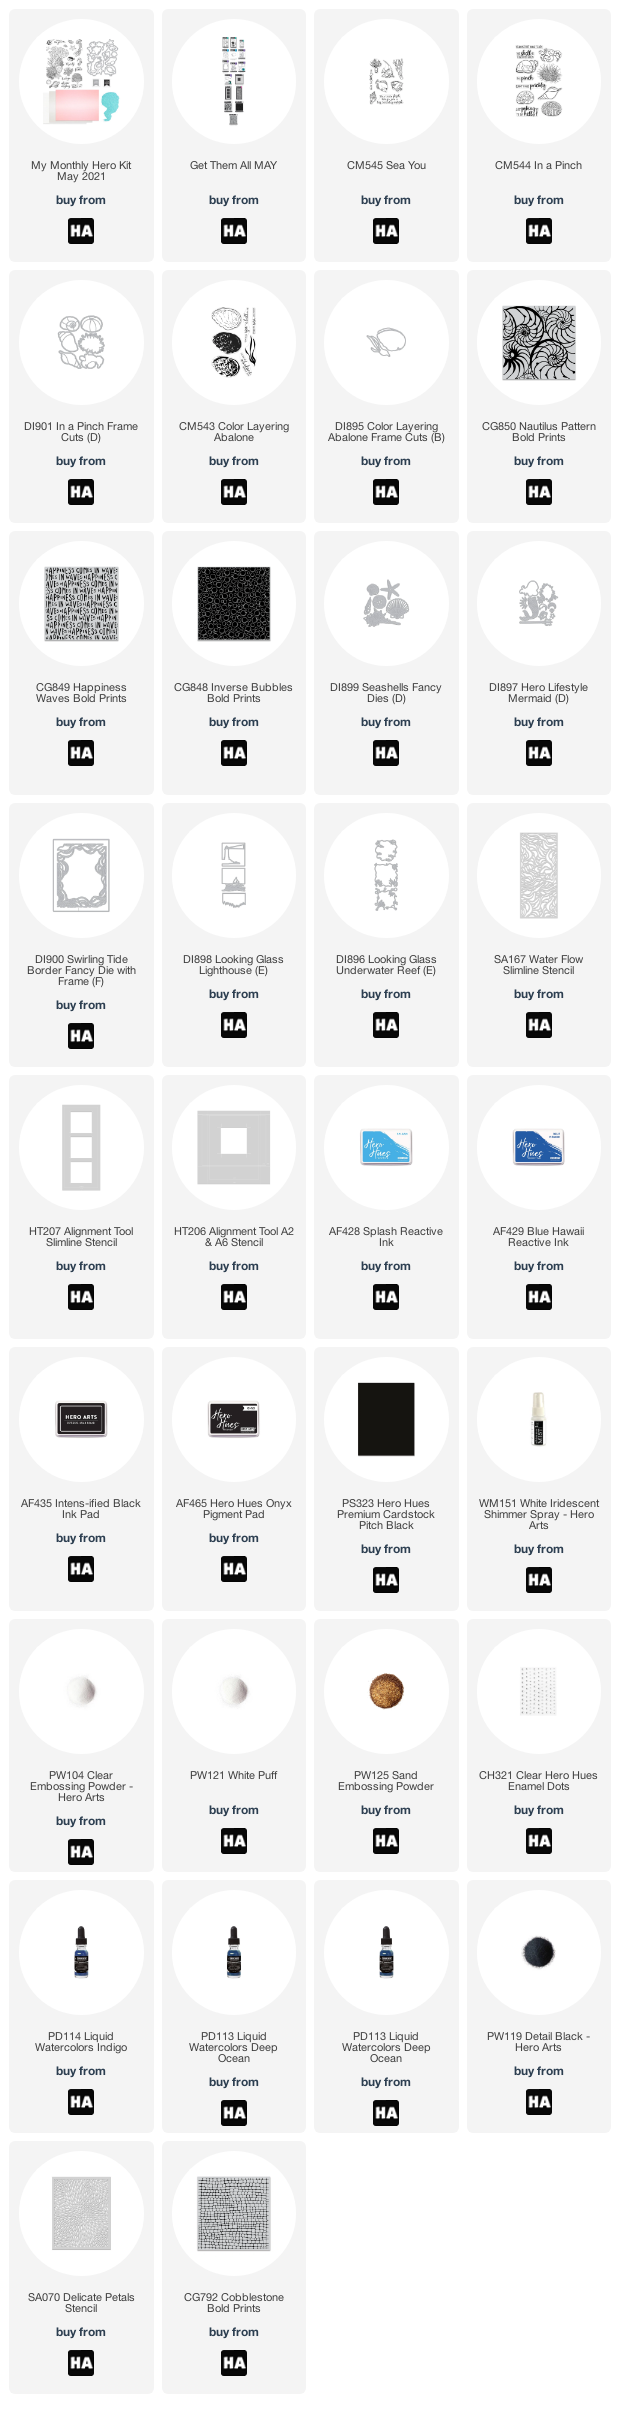
Now, onto my card! The main image in the kit is quite large and I thought it would be awesome on a slimline as I'd still have room to add some fish at the top of the card. I started out by watercoloring my background panel using Hero Arts Liquid Watercolors in Dark Teal, Deep Ocean and Indigo. Then I stamped randomly on the background in black ink. To finish off the background I added white acrylic paint using the Delicate Petals stencil and then added splatters with gold metallic ink. The final touch was to add a sandy bottom by heat embossing it with Sand Embossing Powder.
I stamped and colored all of my images using copic markers. Then I adhered them to my card face using foam tape.
After adding my heat embossed sentiment I added some clear and white enamel dots and then glued the whole thing to a black cardbase to make it pop.
I also wanted to share a second card I made using this kit. You may have already seen it yesterday but I wanted to share it in the same post as the first card to show that you can also make clean and simple cards with this kit.
If you would like to learn more about this card please check out my blog post HERE.
Well that's just about it for today you guys but before I go I want to make sure you know about the generous giveaway from Hero Arts as well as that this is a blog hop. Giveaway details as well as the blog hop list are below. I hope you love the May MMH Kit as much as I do!
Have an awesome day!
Maria
GIVEAWAY:
We will give away one $50 gift card, drawn from the comments left across the hop. Enter by Sunday, May 9th at 11:59pm pacific, and the winner will be announced on the Hero Arts blog the following week.
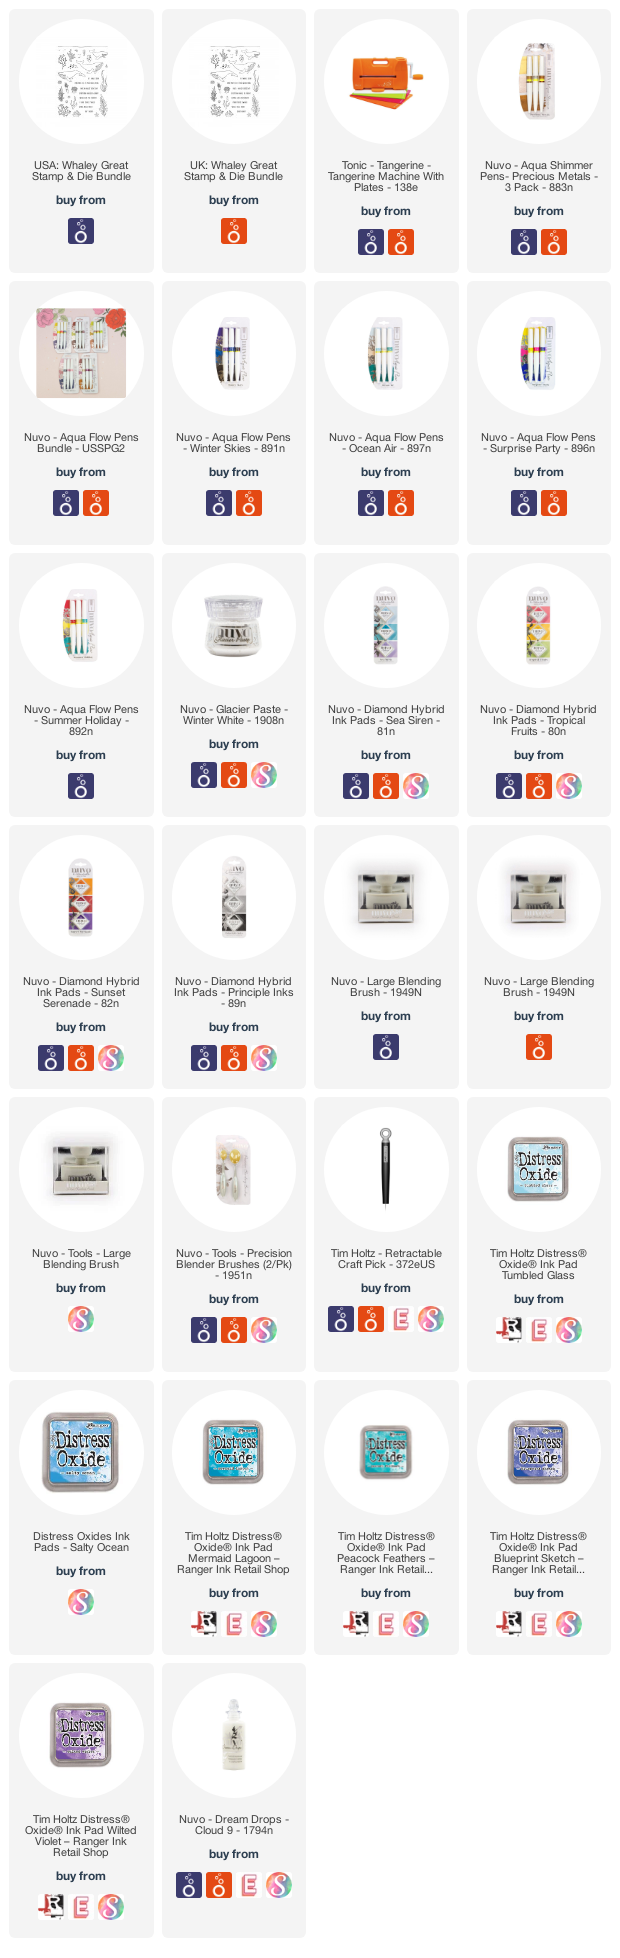
Hi Everybody! Happy Friday and I hope you've had a good week so far. Today I get to share the new Stamp Club release from Tonic Studios with you! This release is called, Whaley Great, and I had a whaley great time making cards with it. I had so many ideas that I wasn't even able to do everything I wanted because I ran out of time after making ten cards. Anyhow, this Whaley Great bundle is amazing for making cards if you love to color and do detailed scene building. It's also great if you don't love to color and need to whip up a great card really quickly.
Watch my video HERE if you'd like to see how to make a slimline card with zero coloring!
Before I get on to the cards I want you to know that this Stamp Club bundle is only available from Tonic Studios and that quantities are limited. Once it sells out it is gone for good so if you want to make sure you get one then hustle on over to the shop. Here are the links for both markets:
Ok, on to my cards! Before I even started putting cards together I stamped, colored and die cut a whole bunch of images so that I could easily put my cards together. I also stamped some of the whales onto gray cardstock so that I didn't have to color them. I find that this makes the process really enjoyable as I can focus first on coloring and then on creating backgrounds for my image pieces.
For my first card I ink blended a background using distress oxides. Then I used a die to cut a piece for the sandy ocean floor. I used Sand Embossing Powder to heat emboss the whole thing which gave it great texture. I adhered that to my card base using foam tape.
Next, I heat embossed the sentiment, stamped some background kelp, and built out my scene. The idea of a whale and a clown fish loving each other forever struck as both ridiculous and hilarious so I went with it.
I finished off my card with some Nuvo Dream Drops in Cloud Nine and feel like they are just the perfect, magical touch for an ocean card.
I mentioned before that I've got a video for you today. This video will show you what's included in the bundle as well as some tips for using this set especially if you prefer not to color, or, just need a quick card.
My next card came together really quickly. I ink blended and splattered my background panel and heat embossed the little school of fish in silver.
I die a circle from a piece of black cardstock and heat embossed my sentiment in white. I attached the black panel to the background using using foam tape so that there was some extra dimension.
After that it was a piece of cake to put my card together since I already had a bunch of finished images to work with. I just arranged them on the card until I was happy with them and glued them in place.
I made my next card using a background from my stash. I had done some ink smooshing with distress oxides and saved the background to use with just the right card and this was it. I heat embossed my sentiment at the top before adding the scene below.
This whale was heat embossed in white onto gray so there was no coloring- super easy!
I arranged a whole bunch of different images to create a gorgeous kelp and coral forest. The final touch was to add some clown fish and a sea horse so the whale had some little buddies.
I had a lot of fun watercoloring this next card! I used the horizon line stamp to heat emboss in white on some watercolor paper. I stamped multiple times at different angles to get a cool water ripple effect.
Then I used my Nuvo Aquaflow Pens to watercolor the entire background. I made sure to alternate colors and use different shades so that every layer popped.
Adding the little ship to the top was a fun touch. I'm not sure if the whale is curios or if we're about to have some wet sailors!
This next card is a super easy one. I ink blended the background in orange and yellows. Then I splattered it using Hero Arts White Metallic Ink.
I heat embossed my sentiment and cut it into a strip. I added it with foam tape and then positioned the whale above it.
To finish the card off I added some Dream Drops in Cloud Nine.
I also made some simple cards that can be made quickly especially if you use a whale that is stamped onto colored cardstock instead of coloring one. This next card has an easy watercolor wash background that I did using my Nuvo Aqua Flows.
After the watercolor had dried I heat embossed some fish and splattered a bunch of Glitter Gloss all over the background.
I finished it up by adding a sentiment and two whales with foam tape.
This next card came together in minutes. I used the circle fish die to create a stencil. Then, I ink blended through my stencil using two different shades of blue. After that I added some white glacier paste to the top to get some killer shimmer. The cool thing about adding just a touch of glacier paste is that you can still see the color of the fish but there is some mega, eye-catching sparkle to the whole thing.
All I had to do after that was cut down my panel and add a sentiment. Notice that this sentiment isn't punny or whale themed... it's because I cut the "whale" off of the front to customize it.
My final card starts out similarly to my last one. I used my homemade stencil to inkblend the background in purple. Then, I removed the stencil and added some blue so that the fish had an ocean to swim in.
I added a whale and a sentiment and I was done!
Well, that is all for today you guys! I hope you will love this Whaley Great stamp set as much as I do. If you're interested in heading over to pick up this newest Stamp Club bundle from Tonic Studios here are some quick links to the shop:
Hi everybody and happy Monday! Today is the day we've all been waiting for! My Monthly Hero Kit release day! The theme for this month's kit is Atlantis and it is so cool! Today I have three cards using the add-ons from this month's kit to share with you.
My first card features my favorite stamp from the whole release... the Deep Sea Background cling stamp. This is a red rubber stamp and it stamps this full background image beautifully. It's a bit larger than an A2 sized card.
I used my Hero Arts liquid watercolors to paint the whole scene. I did film the process but didn't have time to turn it into a video for you. So, if you'd like to see a process video for how I colored this please leave me a comment and let me know. If you guys are interested I'll do my best to get that video edited soon for you.
After I watercolored the whole scene I added some metallic ink to the waves, clouds and treasure chest. I also added some shimmer from my Nuvo Glitter Gloss pen to the whole ocean so that it would sparkle.
Here's a look at some of the products that I used...
I watercolored using Nuvo Aqua Flow pens and when that dried I stamped the image in black ink. I added some die cut seaweed in silver and black as well as some Dream Drops and subtle sequins.
The sentiment is from this month's main kit as is that gorgeous coral colored embossing powder.
This card came together with a soft, dreamy look that I think is really pretty.
For my last card I used another 6"x6" background stamp called School of Fish Bold Prints. I used my Misti stamping tool to make this card otherwise getting this effect would have been impossible. I started by inking up the center of my stamp in red and stamping it. Then, I did the next segment of fish in orange. I followed those with both yellow and green.
After I had all of the fish inked up properly I stamped the whole image again in clear embossing ink. Then I poured on clear embossing powder and heat set it. That gave me one clear layer on top of my fish but I wanted them to have some dimension as if they were coming off of the card. I re-heated the embossed fish with my heat tool and immediately covered them again with clear embossing powder. I did this three our four times until all of my fish were thickly embossed. I used my anti-static tool before I embossed the whole background. I did not use it after that when I was trying to achieve thick embossing. This allowed for some specks of powder to stick on white areas of the card (for other cards this might be seem like a mistake but it was part of the distress effect on this card).
Now I have a white background with embossed fish. Because these fish are embossed I can now ink blend over the top of them without worrying about changing their color. I used my reactive inks to ink blend the background. I made the center of the card, where the tiny fish are, lighter in color as if they were swimming up towards the light. I splattered my card with white metallic glimmer paint to give the look of bubbles and texture. Then, to finish my card off I stamped a sentiment from the main kit on a piece of card stock that I had colored with an ink pad (I just rubbed my Fruit Punch ink pad on white cardstock until it was saturated with ink). I cut it at a wonky angle and used foam tape to adhere it to my card. The final touch was to add some embellishments that looked like water droplets or gems and some dream drops.
Ok you guys, that's all I've got for today. If you're interested in checking out any of the products that I've shared I've got them all listed below for you. If you have any questions about how I made these cards please feel free to ask!
Now, as always Hero Arts is having a generous giveaway (details below), all you need to do is leave me a comment below to enter to win. If you're interested in purchasing this month's kit we have great news for you! The kit should start shipping this Friday, July 17th and continue shipping through next week.
To continue on with this inspiration filled hop please head on over to the lovely Mariana and check out what she's got to share today. If you prefer a list of hoppers, I've got one linked up for you below.
Have an awesome day and thanks for stopping by!
Maria
GIVEAWAY:
Hero Arts will give away one $50 gift card, drawn from the comments left across the hop. Enter by Sunday, July 19th at 11:59pm pacific, and the winner will be announced on the Hero Arts blog the following week.