Wednesday, May 19, 2021

Copic Coloring With Whimsy Stamps!

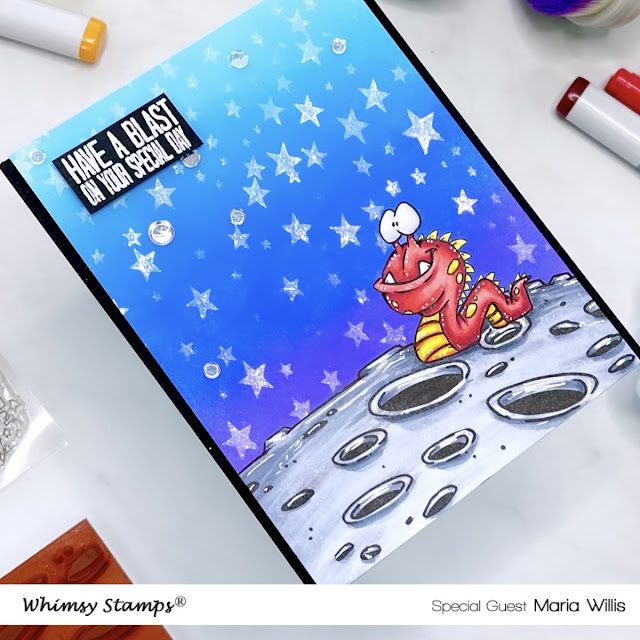
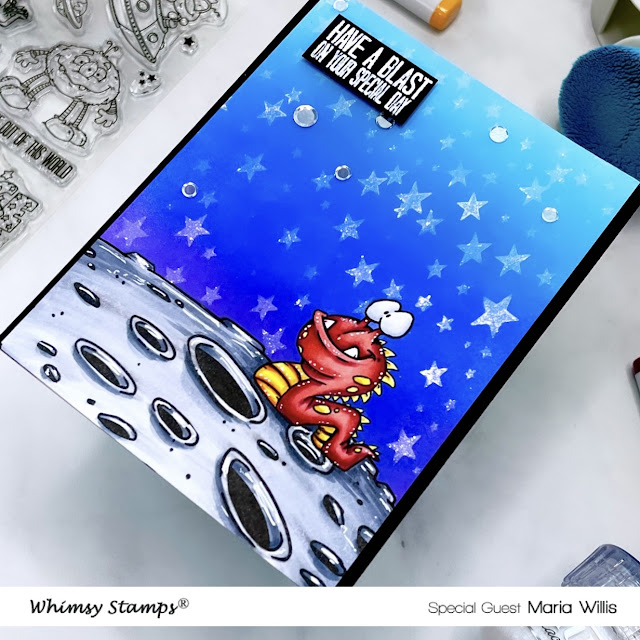
Hi everybody it's Maria here and I'm excited to be sharing my first post as a guest designer for Whimsy Stamps. From stamps, to stencils, to interactive dies, Whimsy has got such a great variety of product for card making and I had a ton of fun picking out what I wanted to use today. I decided to pair the A Boy's Dream stamp set, the Moon Background and the Star Galaxy Stencil to put this card together. 

I started out by stamping my little alien onto Hammermill cardstock using copic friendly black ink. Then I masked it off with masking paper so that I could easily stamp and inkblend on top of it. Next, I placed the Moon Background stamp so that it would look like the alien was slinking along the surface of the moon and stamped that using my Misti. I stamped the moon again onto masking paper, cut it out and adhered it on top of my moon. That left me with both of my images completely masked off. 

I ink-blended the background using Distress Oxides in Wilted Violet, Blueprint Sketch, Broken China and Tumbled Glass. Then I used the Star Galaxy Stencil to apply some Nuvo Glacier Paste in Winter White. I love Glacier Paste because it stencils on so easily, allows the background color to show through, and catches the light in such a magical way. In other words, this starry background shimmers like something else!

Cardbomb, Maria Willis, Whimsy Stamps, cards, cardmaking, stamps, stamping, ink, paper, papercraft, create, craft, art, diy, color, ink blend, nuvo,ranger ink,tonic studios, galaxy, moon, birthday,

Once my background was finished I peeled off the masking paper to reveal my stamped images. I colored both the slithery, little alien and the moon using copic markers. I'll list the colors at the end of the post for you. I also added some highlights using a white gel pen.
Cardbomb, Maria Willis, Whimsy Stamps, cards, cardmaking, stamps, stamping, ink, paper, papercraft, create, craft, art, diy, color, ink blend, nuvo,ranger ink,tonic studios, galaxy, moon, birthday,


When my card face was finished, I selected a sentiment from the A Boy's Dream stamp set and heat embossed it in white onto black cardstock to make it pop. Then I trimmed just a smidge off of the left and right sides so that I could mount my card face onto a black cardbase using foam tape. The last step was to attach my sentiment with foam tape and add a few sequins.
Cardbomb, Maria Willis, Whimsy Stamps, cards, cardmaking, stamps, stamping, ink, paper, papercraft, create, craft, art, diy, color, ink blend, nuvo,ranger ink,tonic studios, galaxy, moon, birthday,

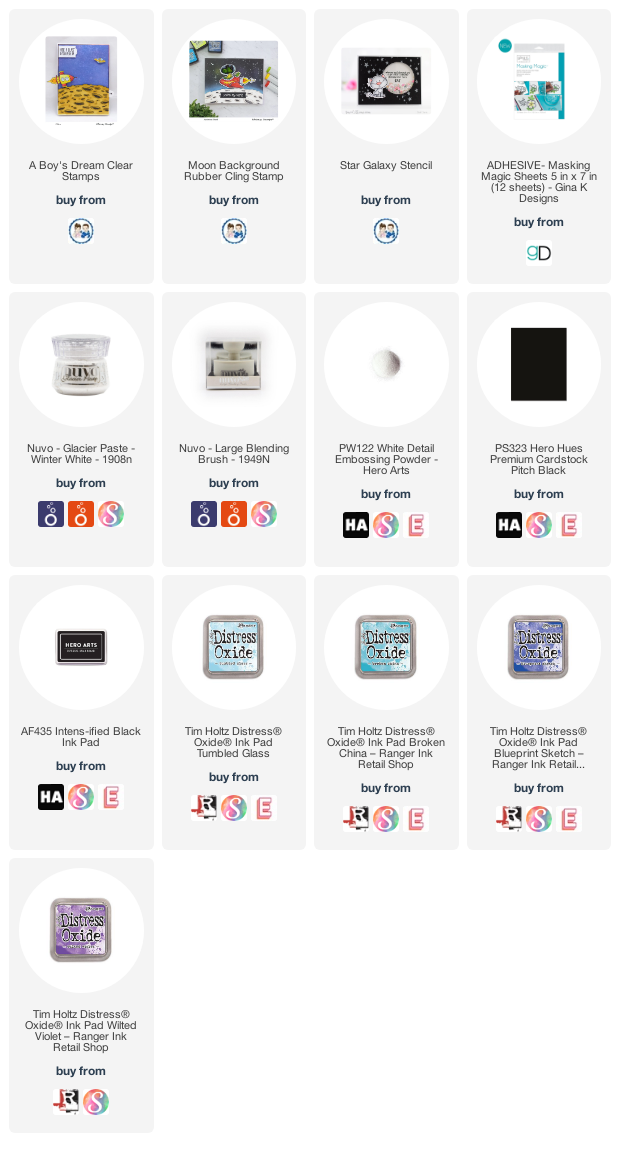
That's it for today you guys. I hope you've enjoyed reading about how I made this card and hope it might inspire you to have a little fun of your own. As promised I am adding all of the copic marker colors that I've used below. I'm also adding links to all of the products that I've used today in case you want to have a little look-see. 

Have an amazing day you all!


COPIC COLORS:
ALIEN:
-R21, R22, R24, R27, R29, R39
-Y04. Y06, Y08, Y38, YR09

MOON:
-C0, C01, C02, C03, C04, C05, C06, C07


PRODUCT SUPPLY LIST:

1 comment:

01 09 10