Showing posts with label Whimsy Stamps. Show all posts

Wednesday, May 26, 2021

Bam! Mixed Media Card with Whimsy Stamps!

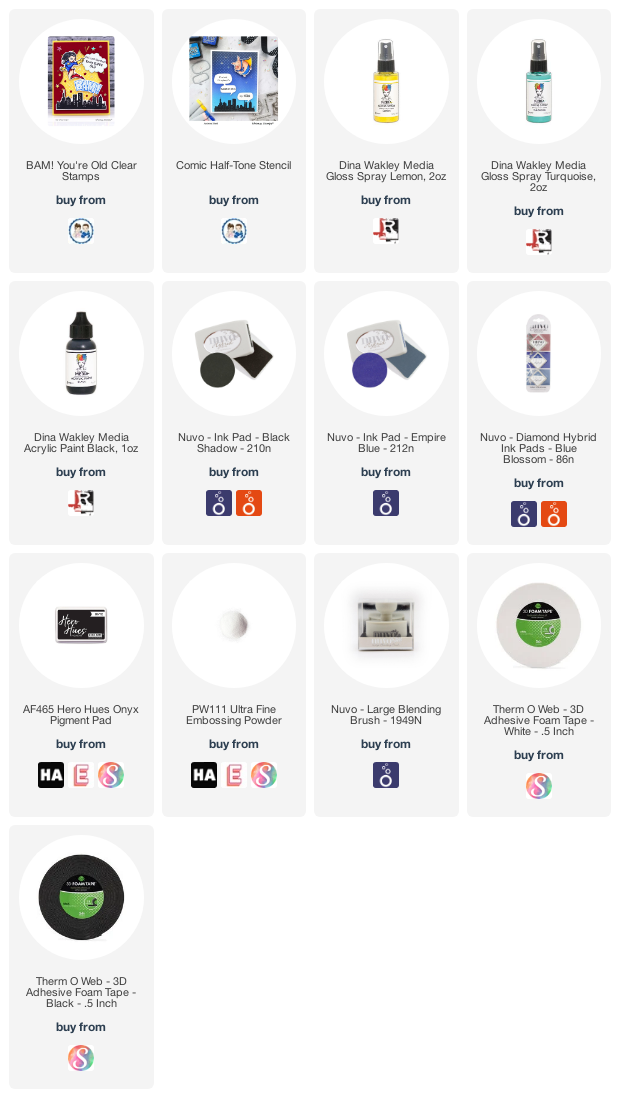
Hi everybody! It's Maria and I'm thrilled to be back as a guest designer for Whimsy Stamps today. This card was so much fun to make! I went a little bit mixed media style for this one and I always have a good time when I'm making a big old mess. I combined the BAM! You're Old stamp set with the Comic Half-Tone stencil to make this card. This stamp and stencil combo yields such a cool comic book vibe that I really love.

I started out by spraying my background (white Hammermill cardstock) with my Dina Wakley gloss sprays in Lemon and Turquoise. These sprays dry quickly and leave you with a shiny finish so I like to make sure I use permanent ink/products when working on top of them. I ink-blended around the edges of my panel using Nuvo Siren Blue hybrid ink and a blending brush. Then I used my Nuvo Black Shadow hybrid ink to ink-blend through the Comic Half-Tone stencil. I applied the ink more heavily around the edges of the card so that the inside would appear brighter and allow my images to pop.

Cardbomb, Maria Willis,Whimsy Stamps,Ranger Ink,Dina Wakley Gloss Sprays,cards, cardmaking, stamps, stamping, ink, paper, papercraft, create, diy, art, color,mixed media,copic coloring,birthday

I stamped the skyline stamp from the BAM! You're Old stamp set at the bottom of my card panel. My black ink was beading up a little bit on the glossy finish and I wasn't getting the dramatic contrast that I had hoped for. I decided to use the stamped image as a guide and painted right over the top of it using black acrylic paint. That left me with a pitch black skyline. I added the lights and other detail back in with a white posca pen. I also added little asterisks to the background with a white gel pen.
Cardbomb, Maria Willis,Whimsy Stamps,Ranger Ink,Dina Wakley Gloss Sprays,cards, cardmaking, stamps, stamping, ink, paper, papercraft, create, diy, art, color,mixed media,copic coloring,birthday

I stamped my images from the BAM! You're Old stamp set in copic friendly ink and colored them in with my copic markers (I'll add the colors at the bottom of my post). I grabbed a red copic marker that I had used to color my super hero and colored some white cardstock so that I would have a perfect color match for my sentiment strips. I used black pigment ink to stamp my sentiment and then heat embossed it in clear embossing powder. This is a great trick for getting flawless black heat embossing every time because it eliminates the need for black embossing powder.
Cardbomb, Maria Willis,Whimsy Stamps,Ranger Ink,Dina Wakley Gloss Sprays,cards, cardmaking, stamps, stamping, ink, paper, papercraft, create, diy, art, color,mixed media,copic coloring,birthday

To finish my card up I added my images and sentiments with foam tape and then adhered the whole thing to a black cardbase... and that was it! 

I hope you've enjoyed learning a little bit about my process today and that you might feel inspired to go have some crafty fun of your own. A huge thanks to Whimsy Stamps for having me back as a guest again! That's it for today folks. As promised, I will list the copic colors that I've used below and I will also add links to all of the products that I've used today in case you're interested in checking any of those out.

Have an amazing day everybody!


COPIC COLORS:
Reds: R21, R24, R27, R29, R39
Blues: B00, B04, B05, B18 (I would've loved to use B02 but can't find mine)
Yellows: Y06, Y08, Y38


PRODUCT SUPPLY LIST:

Wednesday, May 19, 2021

Copic Coloring With Whimsy Stamps!

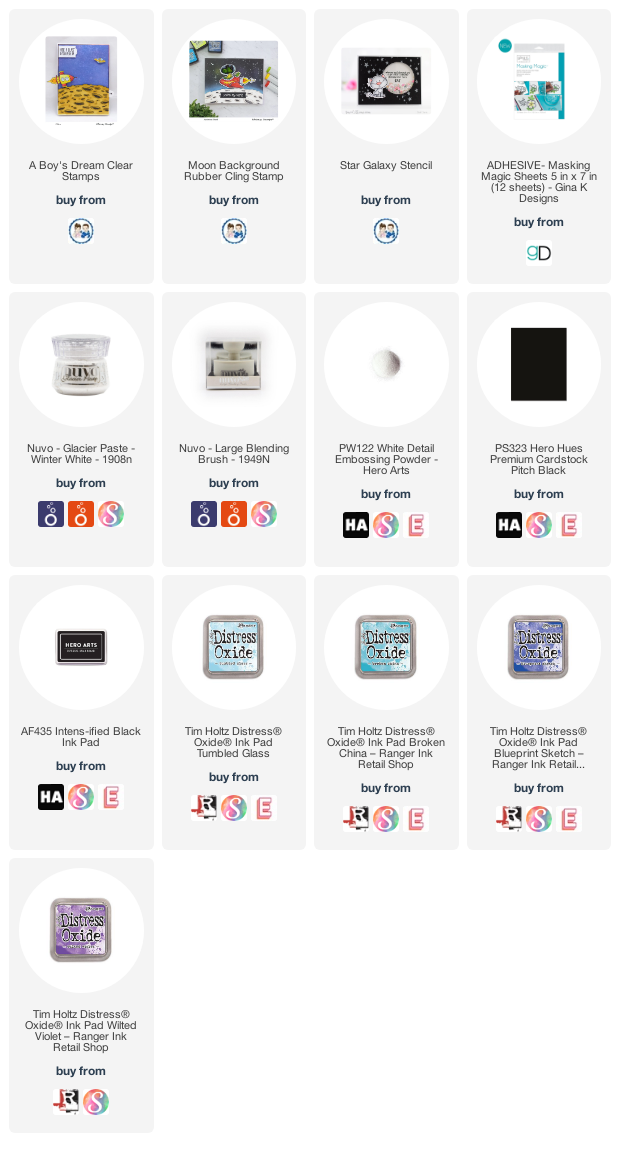
Hi everybody it's Maria here and I'm excited to be sharing my first post as a guest designer for Whimsy Stamps. From stamps, to stencils, to interactive dies, Whimsy has got such a great variety of product for card making and I had a ton of fun picking out what I wanted to use today. I decided to pair the A Boy's Dream stamp set, the Moon Background and the Star Galaxy Stencil to put this card together. 

I started out by stamping my little alien onto Hammermill cardstock using copic friendly black ink. Then I masked it off with masking paper so that I could easily stamp and inkblend on top of it. Next, I placed the Moon Background stamp so that it would look like the alien was slinking along the surface of the moon and stamped that using my Misti. I stamped the moon again onto masking paper, cut it out and adhered it on top of my moon. That left me with both of my images completely masked off. 

I ink-blended the background using Distress Oxides in Wilted Violet, Blueprint Sketch, Broken China and Tumbled Glass. Then I used the Star Galaxy Stencil to apply some Nuvo Glacier Paste in Winter White. I love Glacier Paste because it stencils on so easily, allows the background color to show through, and catches the light in such a magical way. In other words, this starry background shimmers like something else!

Cardbomb, Maria Willis, Whimsy Stamps, cards, cardmaking, stamps, stamping, ink, paper, papercraft, create, craft, art, diy, color, ink blend, nuvo,ranger ink,tonic studios, galaxy, moon, birthday,

Once my background was finished I peeled off the masking paper to reveal my stamped images. I colored both the slithery, little alien and the moon using copic markers. I'll list the colors at the end of the post for you. I also added some highlights using a white gel pen.
Cardbomb, Maria Willis, Whimsy Stamps, cards, cardmaking, stamps, stamping, ink, paper, papercraft, create, craft, art, diy, color, ink blend, nuvo,ranger ink,tonic studios, galaxy, moon, birthday,


When my card face was finished, I selected a sentiment from the A Boy's Dream stamp set and heat embossed it in white onto black cardstock to make it pop. Then I trimmed just a smidge off of the left and right sides so that I could mount my card face onto a black cardbase using foam tape. The last step was to attach my sentiment with foam tape and add a few sequins.
Cardbomb, Maria Willis, Whimsy Stamps, cards, cardmaking, stamps, stamping, ink, paper, papercraft, create, craft, art, diy, color, ink blend, nuvo,ranger ink,tonic studios, galaxy, moon, birthday,

That's it for today you guys. I hope you've enjoyed reading about how I made this card and hope it might inspire you to have a little fun of your own. As promised I am adding all of the copic marker colors that I've used below. I'm also adding links to all of the products that I've used today in case you want to have a little look-see. 

Have an amazing day you all!


COPIC COLORS:
ALIEN:
-R21, R22, R24, R27, R29, R39
-Y04. Y06, Y08, Y38, YR09

MOON:
-C0, C01, C02, C03, C04, C05, C06, C07


PRODUCT SUPPLY LIST:
01 09 10