Wednesday, February 12, 2020

Tonic Studios Spring Dreams Stamp Collection Online Party!

maria willis, #cardbomb, #tonicstudios, #tonicstudiosusa, #tonicstudiosspringdreams, #cards, #handmade, #color, #art, #unicorn, #stamp, #ink, #paper, #cardmaking, #cardmaker, #mixedmedia, #nuvo,

Hi everybody! It's release day over at Tonic Studios and we are throwing an on-line party to celebrate! Before I get too far into this post I want you to know this party comes complete with a little gift for you... 15% off all stamps from Tonic Studios! If you'd like to take advantage of the discount here are some links for you:


Now let's get to the good part, the stamps! This Spring Dreams stamp release has five different stamp sets and while they are all fantastic... I couldn't tear myself away from the Unicorn Wishes set. I ended up making two cards and a tag and believe me I could easily have kept going (but I decided I needed four hours of sleep). 
maria willis, #cardbomb, #tonicstudios, #tonicstudiosusa, #tonicstudiosspringdreams, #cards, #handmade, #color, #art, #unicorn, #stamp, #ink, #paper, #cardmaking, #cardmaker, #mixedmedia, #nuvo,

For my first card I ink blended the background and then splattered it with my Glitter Gloss pen. It gave the background a fun, sparkly look. After coloring my images I created a bouquet of balloons with silver strings so that I could suspend the unicorn in the air. Once I saw the sentiment, "You Don't Need Wings to Fly," I knew I had to have my unicorn flying around via balloons. 
maria willis, #cardbomb, #tonicstudios, #tonicstudiosusa, #tonicstudiosspringdreams, #cards, #handmade, #color, #art, #unicorn, #stamp, #ink, #paper, #cardmaking, #cardmaker, #mixedmedia, #nuvo,

The balloons are all coated in a thick coat of Nuvo Crystal Glaze so they all look shiny and thick. I heat embossed my sentiment in white onto black cardstock and cut it out so that it would pop off of the card. The last bit of fun that I had with this card was to add sequins in Silver Rain and Nuvo Dream Drops in Cloud 9.
maria willis, #cardbomb, #tonicstudios, #tonicstudiosusa, #tonicstudiosspringdreams, #cards, #handmade, #color, #art, #unicorn, #stamp, #ink, #paper, #cardmaking, #cardmaker, #mixedmedia, #nuvo,


My next card is even shinier as I decided to use Nuvo Sparkle sprays and Holowave holographic cardstock. I ink blended my unicorns and then used a white gel pen to add some sparkles to their booties. I added Glitter Gloss to my clouds, colored my rainbow, heat embossed my sentiment and set it all aside.
maria willis, #cardbomb, #tonicstudios, #tonicstudiosusa, #tonicstudiosspringdreams, #cards, #handmade, #color, #art, #unicorn, #stamp, #ink, #paper, #cardmaking, #cardmaker, #mixedmedia, #nuvo,

I used the Nuvo Sparkle Sprays in Marine Mist and Lavender Lining to lightly spritz the black cardstock background. I layered that with a wide frame cut from Holowave cardstock before adhering all of my stamped images on with foam tape. 
maria willis, #cardbomb, #tonicstudios, #tonicstudiosusa, #tonicstudiosspringdreams, #cards, #handmade, #color, #art, #unicorn, #stamp, #ink, #paper, #cardmaking, #cardmaker, #mixedmedia, #nuvo,

To finish this card off I added a little more sparkle with Silver Rain sequins.
maria willis, #cardbomb, #tonicstudios, #tonicstudiosusa, #tonicstudiosspringdreams, #cards, #handmade, #color, #art, #unicorn, #stamp, #ink, #paper, #cardmaking, #cardmaker, #mixedmedia, #nuvo,

Since I had my Nuvo Sparkle Sprays out I had to have a go with them on Tonic's Black Glossy Mirror Cardstock... Because the sparkle sprays on glossy cardstock are insanely gorgeous! I cut this perfect little tag using the Wondrous Woods Silhouette Tag & Wallet Die set. This is also the tag die that I like to use when I'm making swatches.
maria willis, #cardbomb, #tonicstudios, #tonicstudiosusa, #tonicstudiosspringdreams, #cards, #handmade, #color, #art, #unicorn, #stamp, #ink, #paper, #cardmaking, #cardmaker, #mixedmedia, #nuvo,

After spritzing the background with sparkle spray I used my heat tool to help it dry more quickly. Sparkle Spray dries pretty quickly on regular cardstock but with the glossy cardstock it tends to sit on top of the paper and takes a little while too dry. So, I sped that process up a bit so I could start putting my tag together. 
maria willis, #cardbomb, #tonicstudios, #tonicstudiosusa, #tonicstudiosspringdreams, #cards, #handmade, #color, #art, #unicorn, #stamp, #ink, #paper, #cardmaking, #cardmaker, #mixedmedia, #nuvo,

I stamped my image onto Holowave cardstock and adhered it using foam adhesive. I followed that up by adding the unicorn and a shooting star. This tag is so sparkly I decided not to add any embellishments.
maria willis, #cardbomb, #tonicstudios, #tonicstudiosusa, #tonicstudiosspringdreams, #cards, #handmade, #color, #art, #unicorn, #stamp, #ink, #paper, #cardmaking, #cardmaker, #mixedmedia, #nuvo,

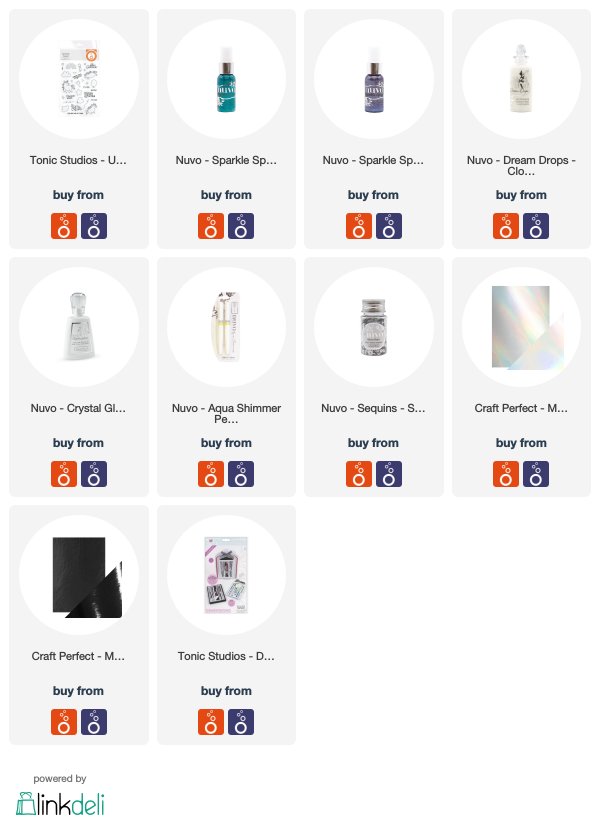
Well, that is it for my projects today but you can head over to some of these other party people for some inspiration (list below). If you're interested in checking out any of the products that I've used today I've put a list together for you below. 

You can see the whole stamp release by clicking HERE FOR THE UK SHOP, or, HERE FOR THE USA SHOP.

Have an awesome day and thanks so much for stopping by!

Maria Willis


PARTY PEOPLE!

PRODUCT SUPPLY LIST
Monday, February 3, 2020

Hero Arts My Monthly Hero Release and a Giveaway!

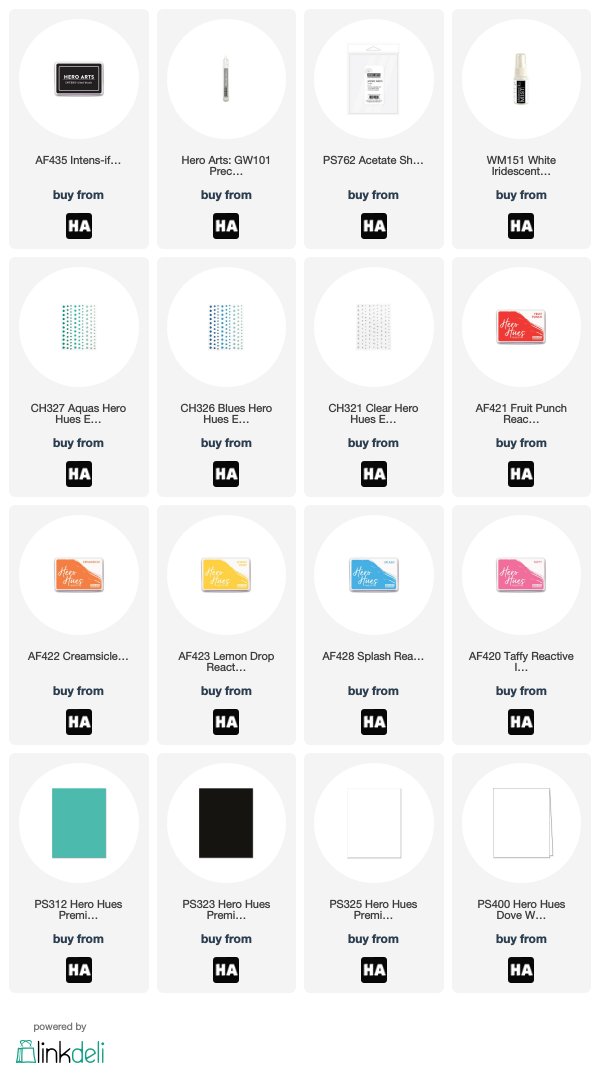
Hi everybody! I hope you're Monday is off to a great start but if you're having a little case of the Mondays I'm hoping this blog hop will turn things right around for you. Today is release day for the Hero Arts My Monthly Hero kit and in addition to a blog hop with tons of inspiration we've also got a giveaway for you (details at the bottom of my post)!

This month's kit is all about birthdays and I decided to make a few cards using some of the add-ons from the kit. This adorable dog and funny sentiment are from the Birthday Paw-ty set. There are multiple adorable dogs and many more great sentiments.
#cardbomb, #mariawillis, #heroarts, #mymonthyhero, #cards, #stamp, #ink, #paper, #papercraft, #color, #dog, #happybirthday, #art, #copics, #copicmarkers,
I'm having a bit of a birthday card shortage over here so I decided to stamp the dog and sentiment multiple times and change some details of the cards so that they'd all look different. I colored all of the dogs with my copic markers (E23, E25, E27, E29). 
#cardbomb, #mariawillis, #heroarts, #mymonthyhero, #cards, #stamp, #ink, #paper, #papercraft, #color, #dog, #happybirthday, #art, #copics, #copicmarkers,
I masked off the dogs and bottoms of my cards with masking tape and then I ink blended the backgrounds using Hero Arts reactive inks in Taffy, Lemon Drop, and Splash.
#cardbomb, #mariawillis, #heroarts, #mymonthyhero, #cards, #stamp, #ink, #paper, #papercraft, #color, #dog, #happybirthday, #art, #copics, #copicmarkers,
Then I used the Banner Letterset Fancy Dies to create customized sentiment banners for each of my cards. These banners are so cool! I left all of the letters attached and cut out the whole alphabet at once. It was so convenient and quick to do. I added sequins from the kit to add a little razzle dazzle and called it good for these cards.
#cardbomb, #mariawillis, #heroarts, #mymonthyhero, #cards, #stamp, #ink, #paper, #papercraft, #color, #dog, #happybirthday, #art, #copics, #copicmarkers,


For my next card I used an awesome die called the Happy Birthday Cake Fancy Die. I love this die! It was the first thing I had to use out of the whole stash and I love how quickly I was able to make a shaker card with it. I ink blended the inside panel in Splash reactive ink. Then I ink blended the front panel in Lemon Drop, Creamsicle and Fruit Punch. I used Hero Arts Shimmer Spray to add a bunch of sparkle and shine to this piece.
#cardbomb, #mariawillis, #heroarts, #mymonthyhero, #cards, #stamp, #ink, #paper, #papercraft, #color, #dog, #happybirthday, #art, #copics, #copicmarkers,

Next, I cut the die out of the front panel and I love how the leaves the Happy Birthday sentiment perfectly framed in the middle of the cake. Also, check out those candles! They are so much fun! I covered that opening with acetate, added a layer of foam adhesive, stuffed the card with sequin guts and sealed it all up. I decorated the front of the card with a combination of sequins from this kit, older sequins and enamel dots. I wish you could see how much this card sparkles in person because it's really fun.
#cardbomb, #mariawillis, #heroarts, #mymonthyhero, #cards, #stamp, #ink, #paper, #papercraft, #color, #dog, #happybirthday, #art, #copics, #copicmarkers,


Ok you guys, that's all I've got for you today except for telling you about the generous giveaway from Hero Arts! 

GIVEAWAY!
Hero Arts is giving away a $50 gift certificate to one lucky winner! All you have to do to enter is leave a comment right here on my blog by Sunday, February 9th at 11:59pm pacific and the winner will be announced the following week on the Hero Arts blog.

Thanks so much for stopping by today! Let me know if you have any questions and if not, I hope you'll continue on with the rest of the blog hop. The fabulous Michelle Short is up and her projects are always fantastic!

Bye for now and have an amazing day!
Maria Willis


BLOG HOP LIST:
Hero Arts
Amy Kolling
Caly Person
Channin Pelletier
Chari Moss
Daniel West
Debi Adams
Emily Midgett
Ilina Crouse
Janette Kausen
Jennifer McGuire
Laurie Willison
Libby Hickson
Lydia Fiedler
Maria Willis
Michelle Short
Nichol Spohr
Seeka


PRODUCT SUPPLY LIST:

Monday, January 20, 2020

Crafty Friends: Picket Fence Studios

Hey guys!
It's been such a long time since I've been here to share anything pretty with you. Life has been wild and this week I've been in Phoenix at Creativation. It's my second time to Creativation and this time I"m here working with Tonic Studios. I've been doing demos for all of the Nuvo products  and it's really been a great time. I'm glad to be back here today hopping along with my crafty friends and showcasing Picket Fence Studios.

Now, Picket Fence has so many amazing products and I really wanted to make so many things... but I've only been getting a few hours of sleep a night and at some point I need to admit that I can't do anymore. So today instead of a full card I've got some coloring to share with you because that is literally all I can pull off right now. I used the Dani Girl stamp set and colored with both copies and colored pencils.


I love this stamp set so much? I saw it for the first time last year at Creativation and here I am one whole year later working with it. Ok, guys. I am wicked tired and I need to go to bed. Thank you so much for stopping by today and I'm so sorry I didn't have more to share with you... good new, though. today's blog post is part of a monthly hop that I do with my Crafty Friends. Follow along the hop and enjoy projects from the rest of my friends. Bye guys!

Maria

BLOG ROLL:
Maria Willis: You are Here.


Tuesday, December 17, 2019

Magical Winter Scene with Nuvo Aquaflow pens and Glimmer Paste

Hi Everybody! I am so glad to be here today because I've got a fun card to share with you.
#cardbomb, #maria willis, #tonicstudios, #tonicstudiosusa, #nuvo, #tonicwonderfulwishes, #christmas, #cards, #handmade, #handmadecards, #stamp, #ink, #paper, #papercraft, #craft, #create, #color, #watercolor, #snowman,

This snowman family from Tonic Studio's Snowman Snuggles stamp set is so adorable and I hadn't used it yet so I decided it would be the focus of my card. Nuvo Aquaflow pens were the perfect medium to watercolor the image.

#cardbomb, #maria willis, #tonicstudios, #tonicstudiosusa, #nuvo, #tonicwonderfulwishes, #christmas, #cards, #handmade, #handmadecards, #stamp, #ink, #paper, #papercraft, #craft, #create, #color, #watercolor, #snowman,

I used Moonstone shimmer paste to stencil some small snowflakes onto the background. Then, I was able to highlight the snowmen in the center of the card by ink blending Royal Plum and Siren Blue at the edges of the card. I ink blended right on top of the glimmer paste which gave it a cool effect.
#cardbomb, #maria willis, #tonicstudios, #tonicstudiosusa, #nuvo, #tonicwonderfulwishes, #christmas, #cards, #handmade, #handmadecards, #stamp, #ink, #paper, #papercraft, #craft, #create, #color, #watercolor, #snowman,

 I finished the card off by adding splatters of white gesso, Dream Drops in Cloud Nine and accents of Glitter Gloss. 
#cardbomb, #maria willis, #tonicstudios, #tonicstudiosusa, #nuvo, #tonicwonderfulwishes, #christmas, #cards, #handmade, #handmadecards, #stamp, #ink, #paper, #papercraft, #craft, #create, #color, #watercolor, #snowman,

I'm so happy to have one more Christmas card finished as I am so far behind on mine. Are any of you as far behind as I am? Let me know in the comments below if you're done with your holiday cards or still working on them.

Have an awesome day you all!
Maria


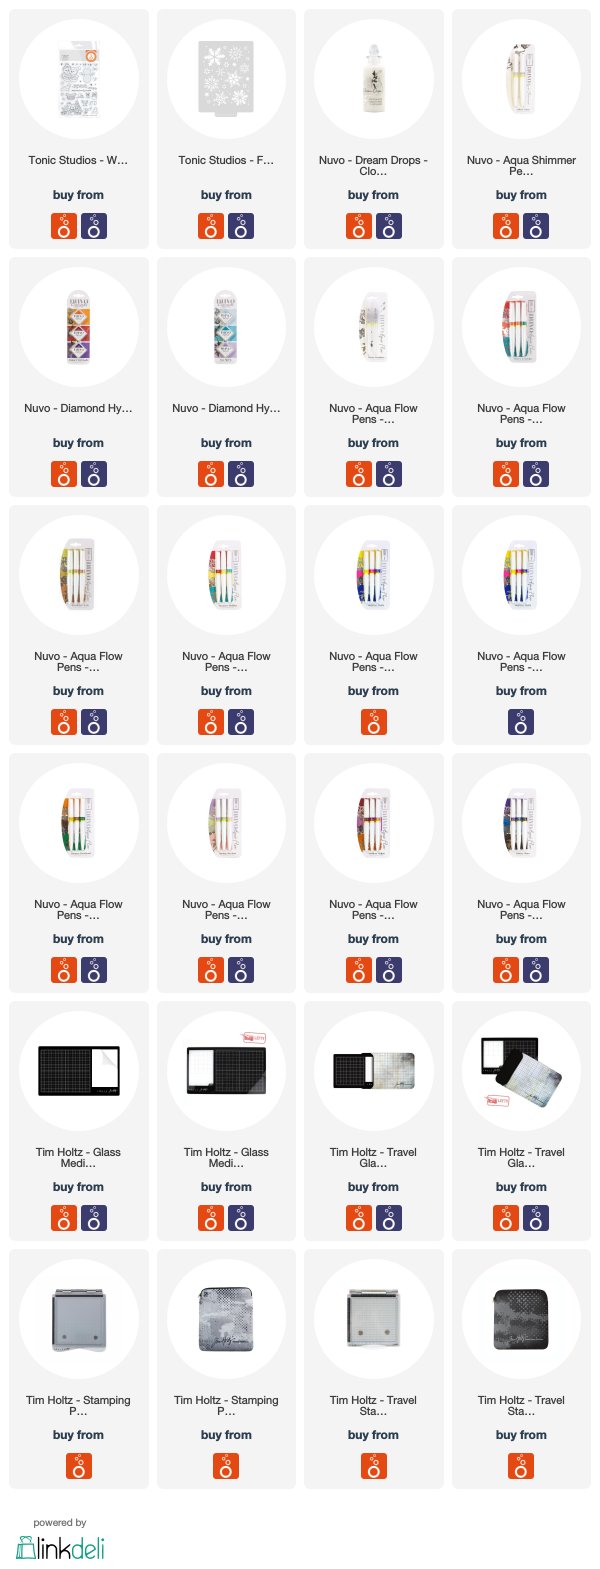
PRODUCT SUPPLY LIST:

Friday, November 22, 2019

Snowy or Snarky? A Crafty Christmas Blog Hop!

Hi everybody! I hope you had a great week and are planning to have a little fun this weekend! I'm hoping that some of my crafty friends and I can help get your weekend off to a great start. Some of us have decided to come together to bring you the Crafty Festival of Christmas Blog Hop. We will feature holiday projects every Friday from now until Christmas. Of course, each week we will be working off of a theme and this week's theme is: Snowy or Snarky!

I decided to go with "snowy" since I've been dying to play with this adorable Rooftop Reindeer set I just got from Hello Bluebird. I started by stamping the reindeer in Black Shadow Hybrid ink from Tonic Studios. I love this ink because it is a bold black and works well with both water and alcohol based medium. Next, I stamped the chimney and extended the roof line on either side so that it filled the width of the card.
#cardbomb, #mariawillis, #cards, #stamp, #ink, #paper, #papercraft, #handmade, #handmadecards, #christmas, #reindeer, #art, #color, #diy, #craft, #create, #hellobluebird, #rooftopreindeer

I colored the entire scene with my Copic Markers. Then I heat embossed the snowflakes onto the background using Hero Arts Sparkle Embossing Powder. I added a little extra color to the background with my blending brushes and some Distress Oxide ink in Salty Ocean.
#cardbomb, #mariawillis, #cards, #stamp, #ink, #paper, #papercraft, #handmade, #handmadecards, #christmas, #reindeer, #art, #color, #diy, #craft, #create, #hellobluebird, #rooftopreindeer

To finish off the card I added a bunch of fun details and a lot of sparkle! I added a glossy nose on the reindeer, gave him white spots with a gel pen, and added gold to his bells. I added Nuvo Dream Drops in Cloud 9 to the sky for extra snow and texture. Finally, and this is what makes the card stand out in real life... I added Nuvo Glimmer Paste in Moonstone to the snow on the chimney and rooftop to make the snow look glittery. It picks up on the blue and violet ink tones that I had used to color the snow.
#cardbomb, #mariawillis, #cards, #stamp, #ink, #paper, #papercraft, #handmade, #handmadecards, #christmas, #reindeer, #art, #color, #diy, #craft, #create, #hellobluebird, #rooftopreindeer

This stamp set has three other adorable deer in it as well as some really sweet sentiments. I'm looking forward to using it again and making something completely different.

Ok, that is it for today unless you all have some questions? If so, please feel free to leave me a comment below and I will get back to you as soon as I can. Now you can head over to my talented friend Jenny Hall to see what she has cooked up for you today. If you want to check out the whole list of talented crafters participating in today's hop please see the list I've added below. I'm also adding a list of products that I've used today just in case you'd like to check  them out.

Have a great weekend!
Maria


BLOG ROLL:
MariaWillis: You are Here.
Jenny Hall: Next


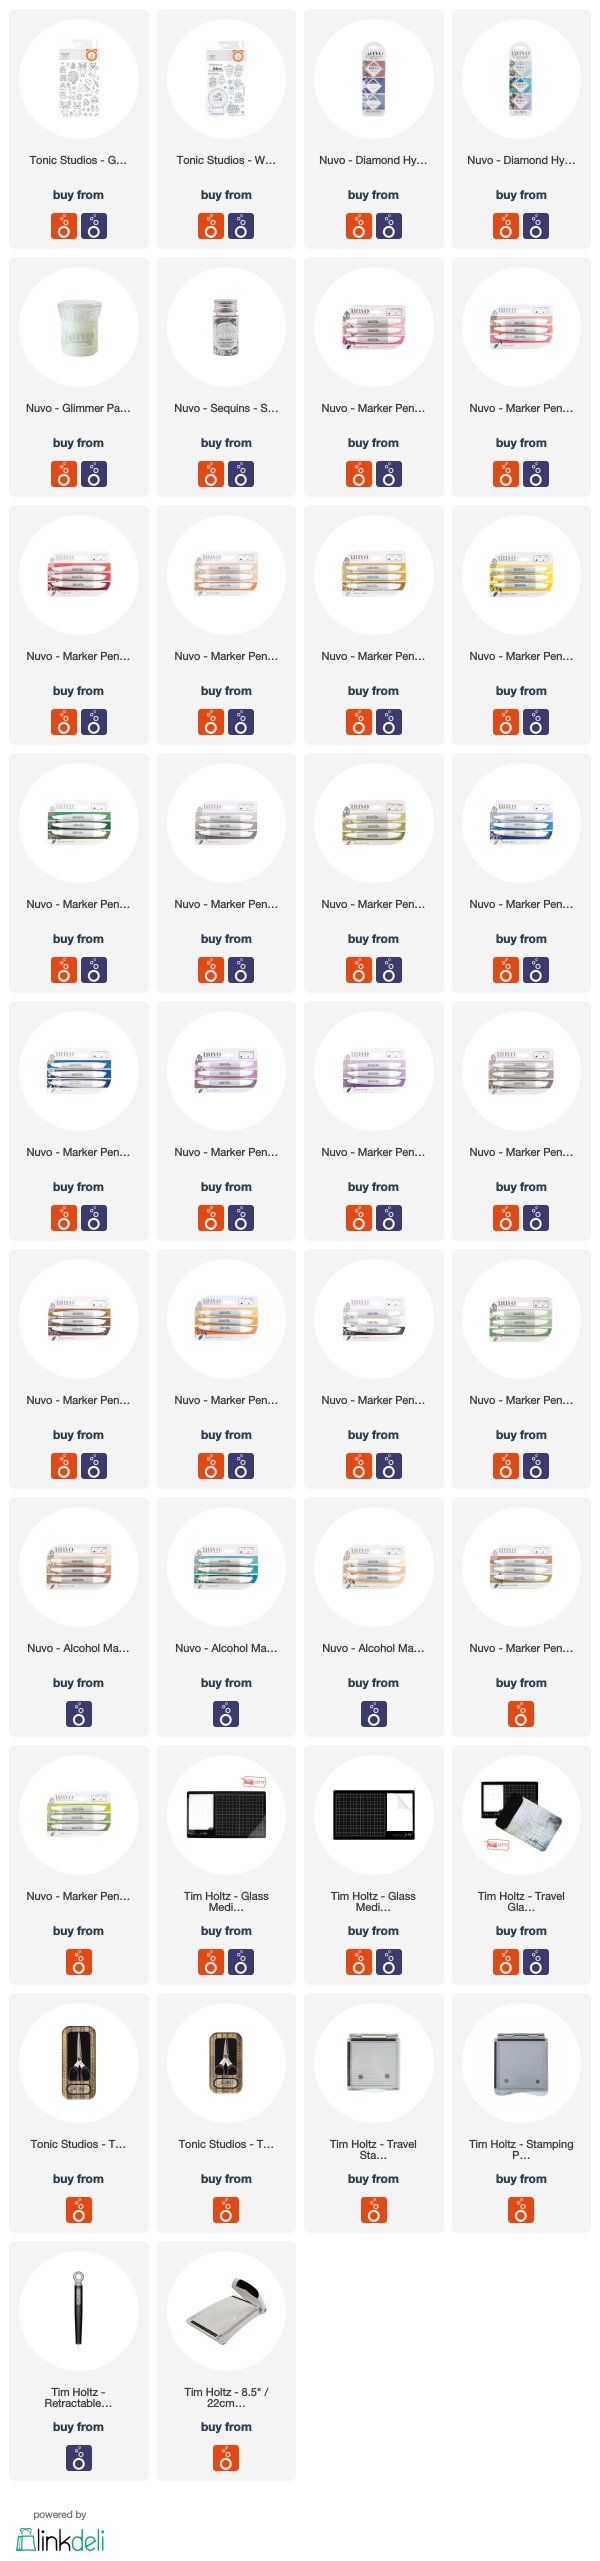
PRODUCT SUPPLY LIST:


Thursday, November 14, 2019

Sparkly Background and Christmas Magic with Tonic Studios

#cardbomb, maria willis, #tonicstudios, #tonicstudiosusa, #tonicstudiosgardenparty, #tonicwonderfulwishes, #stamp, #ink, #paper, #cards, #cardmaker, #cardmaking, #handmade, #art, #color, #christmas, #reindeer, Christmas Snow Globe, Celebrate Success


Hey everybody! I'm swinging by to share a quick and easy card with you today. I've been busy lately. I'm talking getting four hours of sleep a night for a little too long, kind of busy. So, when I sat down to make this card I knew that I needed to be quick, and so, I decided to stencil a fun background and put a brightly colored Christmas cutie in front of it.
#cardbomb, maria willis, #tonicstudios, #tonicstudiosusa, #tonicstudiosgardenparty, #tonicwonderfulwishes, #stamp, #ink, #paper, #cards, #cardmaker, #cardmaking, #handmade, #art, #color, #christmas, #reindeer, Christmas Snow Globe, Celebrate Success

  • I ink blended using Laguna Bay and Siren Blue inks.
  • If you need a circle stencil you can create one using your Tonic Circle Dies.
  • Next I used the Winter Wonderland Stencil and Moonstone Glimmer Paste over the ink.
  • I love that the Moonstone paste picks up the color of the ink below.
#cardbomb, maria willis, #tonicstudios, #tonicstudiosusa, #tonicstudiosgardenparty, #tonicwonderfulwishes, #stamp, #ink, #paper, #cards, #cardmaker, #cardmaking, #handmade, #art, #color, #christmas, #reindeer, Christmas Snow Globe, Celebrate Success

  • I colored the reindeer from Celebrate Success with my Nuvo Alcohol Markers.
  • Next, I gave him a holiday sweater from the recent free downloadable stamp set.
  • I popped the reindeer up on top of the heat embossed sentiment and adhered it with foam adhesive.
  • I added sequins, a blue card base, and called it a night!


#cardbomb, maria willis, #tonicstudios, #tonicstudiosusa, #tonicstudiosgardenparty, #tonicwonderfulwishes, #stamp, #ink, #paper, #cards, #cardmaker, #cardmaking, #handmade, #art, #color, #christmas, #reindeer, Christmas Snow Globe, Celebrate Success

Thank you for stopping by. If you're interested in checking out the products I've used on today's post I've got them listed down below.
Have an awesome day!
Maria

PRODUCT SUPPLY LIST:


Sunday, November 10, 2019

Ellen Hutson Release: Naked Ladies!

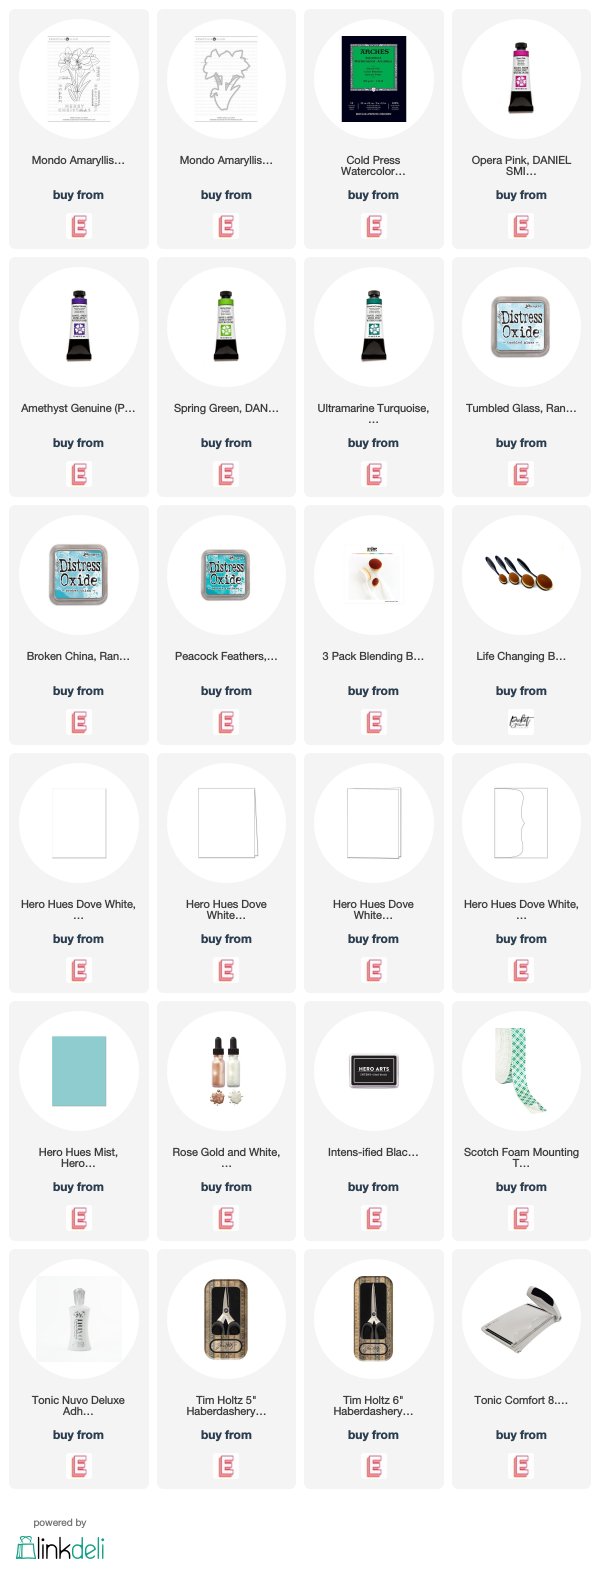
Hey everybody! I am so excited to have you stopping by today because for the first time I am joining the crew at Ellen Hutson for their new Essentials By Ellen Release! I paired a new sentiment set called, Tis the Season with the recently released Mondo Amaryllis for an out of the box Christmas card.

I grew up in the woods, in the middle of nowhere, surrounded by gorgeous redwood trees. Surprisingly, our driveway was lined with beautiful, pink Amaryllis... Of course, we didn't call them Amaryllis. We went with their street name: Naked Ladies. I grew up with Naked Ladies everywhere and not only were they gorgeous but they even smelled good too. I just learned that Naked Ladies come in a variety of different colors but since I've only ever seen pink ones, and they were a big part of my childhood, that's what color I decided to go with.
Maria Willis, Cardbomb, #ellenhutson, #mondoamaryllis, #danielsmith, #danielsmithwatercolors, #cards, #stamp, #ink, #paper, #cardmaker, #cardmaking, #handmade, #handmadecards, #art, #color, #watercolor, #papercraft, #flower, #christmas, #tonicstudios, #tonicstudiosusa,

I started by heat embossing the flower in white onto Arches cold press water color paper. Then I used my Daniel Smith watercolors to paint it. I used only one color of pink paint for these (Opera Pink). To add a little depth and shadow to the two flowers in back I added a little bit of purple mixed with the pink paint.
Maria Willis, Cardbomb, #ellenhutson, #mondoamaryllis, #danielsmith, #danielsmithwatercolors, #cards, #stamp, #ink, #paper, #cardmaker, #cardmaking, #handmade, #handmadecards, #art, #color, #watercolor, #papercraft, #flower, #christmas, #tonicstudios, #tonicstudiosusa,

I ink blended the background with Distress Oxides in Tumbled Glass, Broken China, and Peacock Feathers. I splattered the background with water and picked up the excess with a paper towel. If you look closely at the background you can actually see that my paper towel left behind a cool pattern in the ink. To finish the background off I splattered the whole thing with White Metallic Ink from Hero Arts. The whole background is shimmery!
Maria Willis, Cardbomb, #ellenhutson, #mondoamaryllis, #danielsmith, #danielsmithwatercolors, #cards, #stamp, #ink, #paper, #cardmaker, #cardmaking, #handmade, #handmadecards, #art, #color, #watercolor, #papercraft, #flower, #christmas, #tonicstudios, #tonicstudiosusa,

After adhering the floral image to my card face I stamped the sentiment in black onto Hero Arts Mist cardstock. I used foam adhesive to pop it up over the bottom of the stem. Then I added some rhinestones and Nuvo Dream Drops for a little extra magic.
Maria Willis, Cardbomb, #ellenhutson, #mondoamaryllis, #danielsmith, #danielsmithwatercolors, #cards, #stamp, #ink, #paper, #cardmaker, #cardmaking, #handmade, #handmadecards, #art, #color, #watercolor, #papercraft, #flower, #christmas, #tonicstudios, #tonicstudiosusa,

That's it for today you guys. Thanks so much for stopping by and I'll see you back here soon!

Have an awesome day!
Maria


PRODUCT SUPPLY LIST:


Monday, November 4, 2019

My Monthly Hero Arts Release, Stamping in the Dark, and a Giveaway!

Hi Everybody! Thanks for stopping by today and I am so glad you did because today is launch day for the November My Monthly Hero kit from Hero Arts. This kit has a classic, traditional Christmas look to it and contains so many sweet elements. From a classy staircase and gorgeous Christmas tree, to adorable cats and dogs, to a gorgeous die that cuts a brick house with a door that opens and closes... This kit has it all! The kit is valued at $81.50 and can be picked up for $34.99 while supplies last. So, if you are not a subscriber and you want this kit go snatch up quickly before it sells out! There are also add-ons that coordinate with the kit that are sold separately. 

Now, there's a funny background story to the card I'm sharing today... I live in California. The winds here have been insane and the fire danger has been high. This combination resulted in the electric company shutting down power grids across the state in order to try to decrease the risk of fire from fallen power lines. This has happened a couple of times and last week when we were shut down we lost power for three days. We have a generator so we are lucky to be able to plug our fridge in. We are also on a well... that means that without electricity our well doesn't pump and we don't have running water. Anyhow, our power was out, we knew it would be days before it came back on and I had cards that weren't going to make themselves. I work during the day and craft at night so I decided to try to craft by lantern and flashlight light so that I could get some cards made. 

I decided I needed to make a simple card so I picked some of my favorite stamps from the kit and colored them by lamplight. Have you ever tried to color by lamplight? It is really hard to see what you are doing! Lol! Anyhow, I did my best to color the Christmas tree and the puppy dog with my Copic Markers and some colored pencils. 

I used some of Hero Art's new colored enamel dots in different sizes to decorate the Christmas tree. I love the dimension and color they add to the tree. I cut the tree and dog out and then used a black sharpie to color the edges of the images so that there wouldn't be a white halo around them. There are coordinating dies of course, but, since I planned to make these the focus of my card I wanted to hand cut them.

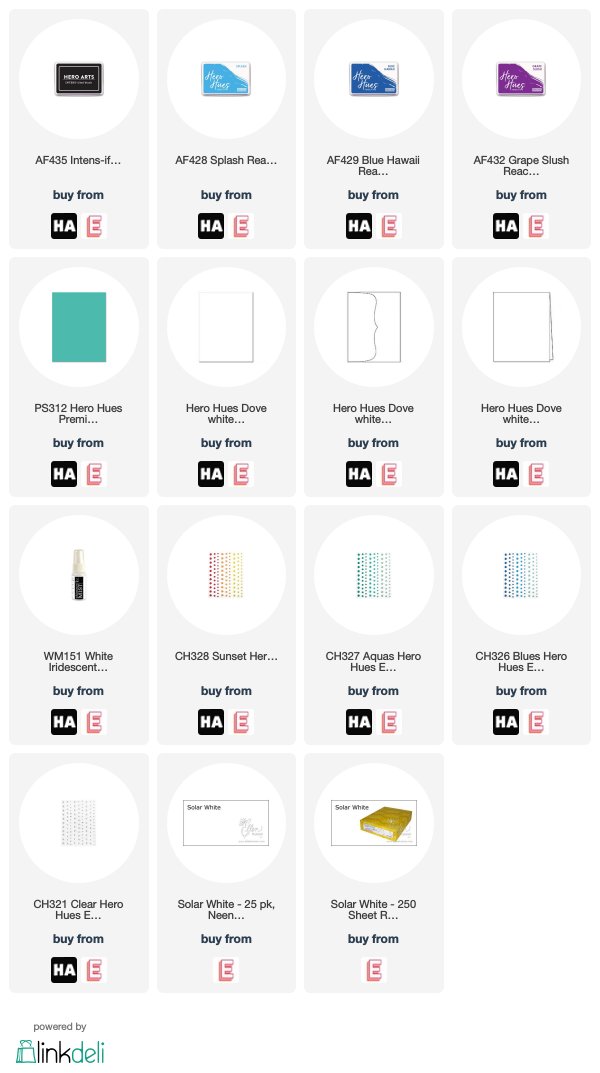
I ink blended a background using Splash, Blue Hawaii and Grape Slush reactive inks. Then, I splattered the ink with water droplets and quickly picked them up using a paper towel. This left a snowy, distressed look to my background. Next, I used Hero Art's white iridescent shimmer spray to spray the ink blended background. I let it set for a minute so that most of it dried. Then, I used the paper towel again to lift any wet spots. You can't see it in the picture but the whole background sparkles and shimmers! 

I used the new-ish Hero Arts Intens-ified Black Ink to stamp my sentiment. This ink is rad! It's SO black and it works with both alcohol markers and water based products (you never have to worry about running ink again!). Then I used foam tape to adhere my tree and pup up on the card front. The final touch was to add some clear enamel dots to the card. Can you tell that they have a subtle blue hue to them? Hot Tip: You can use your alcohol markers to color directly onto these clear dots and make them any color that you want!

That's it for my card today but I want to let you know that Hero Arts is generously giving away a $50 gift certificate to one lucky winner! The winner will be chosen from the blog comments on this hop so be sure to leave me a comment below as your chance to enter. The winner will be announced next week on the Hero Arts blog.


Thanks so much for stopping by today. You can keep hopping along with us by heading over to Mariana's Blog, or, by following along with the list below. If you're interested in checking out the products I've used today, as well as the kit and kit add-ons, I will add them below.

Have an awesome day!
Maria


BLOG ROLL:
Maria Willis: You are Here.


PRODUCT SUPPLY LIST:


Sunday, November 3, 2019

Most Adorable Flower Teddy- Watercoloring with Arteza Brush Pens

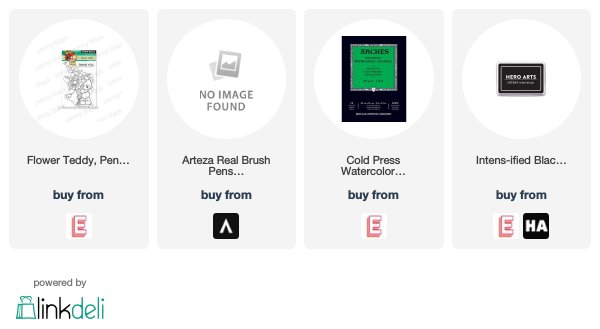
Hey folks! I hope you're having a great day today! I got the chance to watercolor this adorable little bear from Penny Black. This stamp set is called Flower Teddy and I've had it for a while but haven't had time to ink it up. I'm so glad I finally made the time because it is so darn cute!
maria willis, Cardbomb, #pennyblack, #cards, #stamp, #ink, #paper, #cardmaker, #cardmaking, #handmade, #handmadecards, #papercraft, #craft, #create, #color, #watercolor, #arteza, #artezarealbrushpens,

I watercolored on Arches Cold Press watercolor paper using my Arteza water brush pens. I like to scribble with the pens onto my glass mat, mix the colors there, and use that as my palette. Then I use a paintbrush and water to paint the colors onto my image. 
maria willis, Cardbomb, #pennyblack, #cards, #stamp, #ink, #paper, #cardmaker, #cardmaking, #handmade, #handmadecards, #papercraft, #craft, #create, #color, #watercolor, #arteza, #artezarealbrushpens,

For this card I worked in layers laying down a light coat of color and letting it dry before going back in and adding more color. 
maria willis, Cardbomb, #pennyblack, #cards, #stamp, #ink, #paper, #cardmaker, #cardmaking, #handmade, #handmadecards, #papercraft, #craft, #create, #color, #watercolor, #arteza, #artezarealbrushpens,

After I was done watercoloring I added a little shading to the paper flower wrapping with some colored pencils. Then I used a light blue marker to splatter some ink onto the background.
maria willis, Cardbomb, #pennyblack, #cards, #stamp, #ink, #paper, #cardmaker, #cardmaking, #handmade, #handmadecards, #papercraft, #craft, #create, #color, #watercolor, #arteza, #artezarealbrushpens,

When I was done I used my Deckled Edge dies from Honey Bee Stamps cut out my image piece. I used foam adhesive to pop it up on brown cardstock that I had speckled with brown ink.
maria willis, Cardbomb, #pennyblack, #cards, #stamp, #ink, #paper, #cardmaker, #cardmaking, #handmade, #handmadecards, #papercraft, #craft, #create, #color, #watercolor, #arteza, #artezarealbrushpens,


The sentiment was from a different set... maybe an Altenew set but I can't remember which one and now I've gone and put away all of the stamps that I've used so... we may never know which set it was perfect for what I wanted. 

Do you all have stamp sets that you love but you never seem to use them because it's hard to find the time? I'm so glad that I finally found the time for this one. It's been a while since I've been able to play along with a Simon Says Stamp Challenge so I'm entering this card in this week's Wednesday challenge of Anything Goes. You can head over to check out the challenge by clicking HERE.

Ok, I'm outta here for now but I will be back tomorrow for the Hero Arts release so I will see you soon! Have an amazing day!

Maria


PRODUCT SUPPLY LIST:

Saturday, November 2, 2019

The Daily Marker 30 Day Coloring Challenge: Days 1 & 2

Hi Everybody! I'm popping by with a quick share today. I'm participating in The Daily Marker 30 Coloring Challenge hosted the fabulous Kathy Racoosin. If you haven't heard of this challenge I urge you to go check it out and participate if you can. The idea is to try to get a little coloring in every day for 30 days. You don't have to finish a project or even color an entire image... just sit down and take ten minutes for yourself each day. Here's a link to Kathy's blog where you can read about the challenge and participate if you want. She has some great giveaways and a team of encouraging people helping her out.


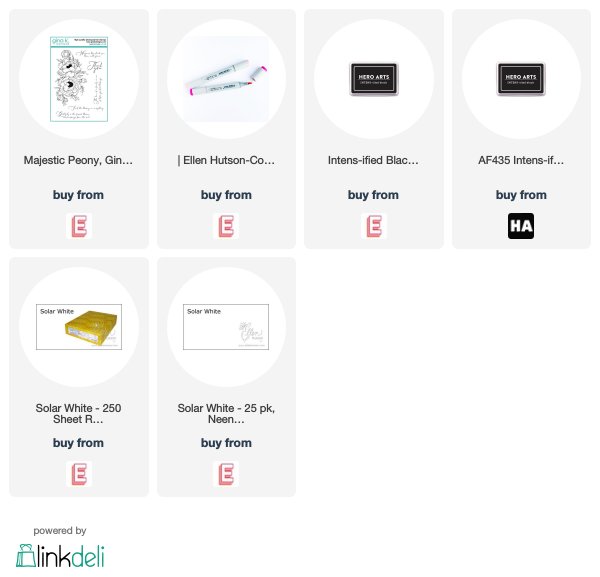
I decided that when I can (meaning I have time to both color and blog) I will share some of my coloring challenge posts. Today I am sharing both my day one and day 2 coloring. I used a gorgeous stamp set from Gina K. Designs called Majestic Peony. I colored the floral image with my Copic Markers in yellows, oranges, reds, pinks and greens. It had been a long time since I've last colored with my Copic markers and I felt really rusty. It took a little while to find my groove. If you look closely you can see that on the upper floral images I tried to add some depth and extra shading with my pencils. I was not thrilled with how it was looking. By the time I got to the largest flower I was feeling a little bit smoother and instead of grabbing pencils for shading I grabbed a brown marker and that helped a lot with the depth and contrast. I ditched the pencils on the larger floral and was happier with the look.
maria willis, Cardbomb, #cards, #cardmaking, #cardmaker, #handmade, #art, #color, #copics, #copicmarkers, #ginakdesigns, #thedailymarker30day, #stamp, #ink, #paper, #papercraft, #craft,


For day two of the coloring challenge I decided to try to keep working on the same piece and take it up a notch. I added a blue background with deeper shading behind the flowers. Then I grabbed my cool grays and added even more shading with drop shadows to try to pop the image forward. The last thing I did was to grab a sharpie and add some extra depth and some extra detail to the image. It worked much more easily on the large flower than it did on the upper ones. Can you guess why? Yup, the pencil shading I had laid down created a barrier which meant that the paper wasn't taking the ink the way I wanted it to. Live and learn. I do love adding pencil shading on top of my coloring in a lot of situations but with this image it didn't turn out the way I had hoped.
maria willis, Cardbomb, #cards, #cardmaking, #cardmaker, #handmade, #art, #color, #copics, #copicmarkers, #ginakdesigns, #thedailymarker30day, #stamp, #ink, #paper, #papercraft, #craft,

Looking at this coloring piece I have some things that I'd like to work on and improve at... and, that's what this coloring challenge can be all about! Using our coloring to just relax or to improve our skills...Whatever works for each of us!

Alright guys, that's all I've got for today. I'm sure you'll see this image on a finished card at some point soon. Let me know if you're participating in the coloring challenge this time around. I also want to know if any of you have have successfully finished a coloring challenge? Truth be told I've never completed all thirty days even though I've tried. 

Ok, bye! Have an awesome day/night and I hope you find a little time to color!

Maria


PRODUCT LINKS:


01 09 10